



PREPARATION
Planning an Outdoor Sauna: Location, Foundation and Drainage
A successful outdoor-sauna installation depends on stable, level and consistently dry ground. Before assembly, assess the required footprint, foundation, runoff, safe clearances, utility routes and delivery access.
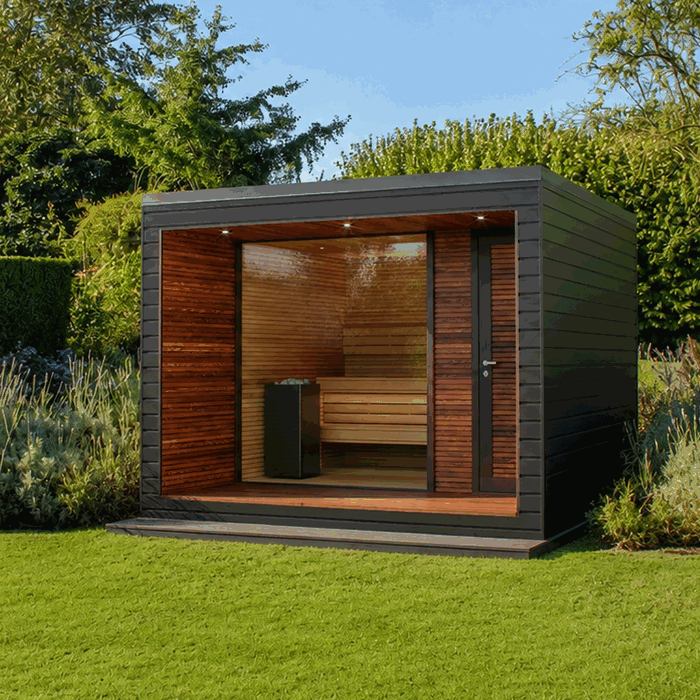
Prepare the whole sauna site: ground, drainage, clearances, services and access. Choosing only a footprint can leave doors binding, moisture trapped underneath, maintenance areas inaccessible or connections on the wrong side.
Use this guide for preliminary technical planning, whether the project involves a small barrel model or a larger garden sauna with straight walls. Final decisions must follow the chosen model’s documents, assembly manual and requirements for the property. Explore the available forms in the Sauna range, and find more ordering and project-planning guidance under useful information.
Checklist before preparing the sauna site
Confirm each item before digging, constructing the foundation or installing utilities:
- You have selected the model and verified its prescribed installation footprint.
- Allowance has been made for eaves, entry, heater, flue, construction work and future servicing.
- The supporting soil is sound below the surface, not just compacted on top.
- The proposed foundation will provide lasting, even support.
- Rainwater drains away instead of collecting under the building.
- Designed airflow remains possible below and around the sauna.
- Required manufacturer clearances and relevant local controls have been investigated.
- Electricity, lights, water and any required drain have been considered.
- Width, headroom, ground strength, bends and obstructions have been assessed along the delivery path.
- Installers will have safe access to each face of the structure.
Settle any uncertainty about the model or its technical documents before foundation work begins. Assistance is available through the Contact page.
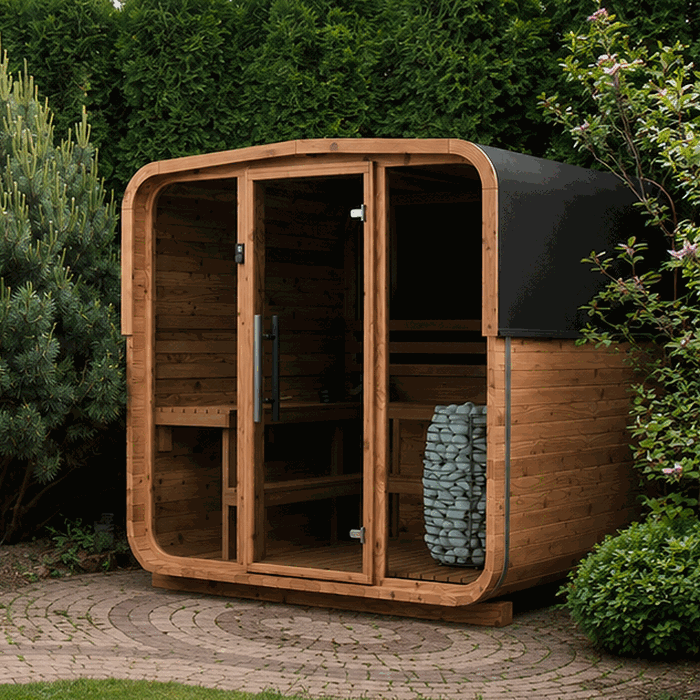
1. Find a practical position for the sauna
Picture how the sauna will be used
A location can be technically feasible yet inconvenient in practice. Walk the route from the house as it would be after dark, during rain and, in colder Australian regions, through frost or snow. Keep access short and secure. Privacy screening should not cover vents or prevent maintenance along any side.
Include the space immediately outside the entrance. Provide firm, slip-resistant footing and enough room for the door to travel through its full arc. Steps, balustrades and furniture must not hinder evacuation, delivery movements or servicing. Broader help with comparing timber, barrel and garden designs appears in Comparing timber, barrel and garden saunas.
Read the property as one system
Map the slope, soil, existing stormwater paths, boundaries, buildings, fences, vegetation and buried utilities. Sheltered hollows are often poor choices because rain or, in cold districts, meltwater can settle there. Roots, imported fill and recent excavation may also cause movement over time.
Check public and private site restrictions before choosing the position. Approvals, setbacks, heaters and services depend on the jurisdiction, council, property and design. NSW exempt development requires compliance with every relevant standard; confirm the pathway and constraints through council or the NSW Planning Portal. The article Approval checks for garden structures explains general checks; obtain advice for your property.
Account for exposure to weather
Solar exposure and prevailing winds influence the timber, roofing, doorway and nearby sitting space. Weather-facing surfaces need careful runoff detailing and continued inspection access. Mature trees may cast welcome shade, yet they also shed leaves and branches and can impose concentrated impacts on the roof. Avoid positions beneath unhealthy or ageing limbs.
When practical, inspect the block during intense rain and again after an extended wet spell. Water paths that disappear in dry weather will then be easier to identify. Wider ideas for organising the yard are available in garden design trends and planning.
2. Verify the footprint before foundation work
Never derive foundation size from a general sauna category. Work from the latest drawings for the exact model on order. Overall outside width and length are only part of the calculation; eaves, roof-water disposal, an entrance landing, heater layout, equipment and construction access can enlarge the area needed.
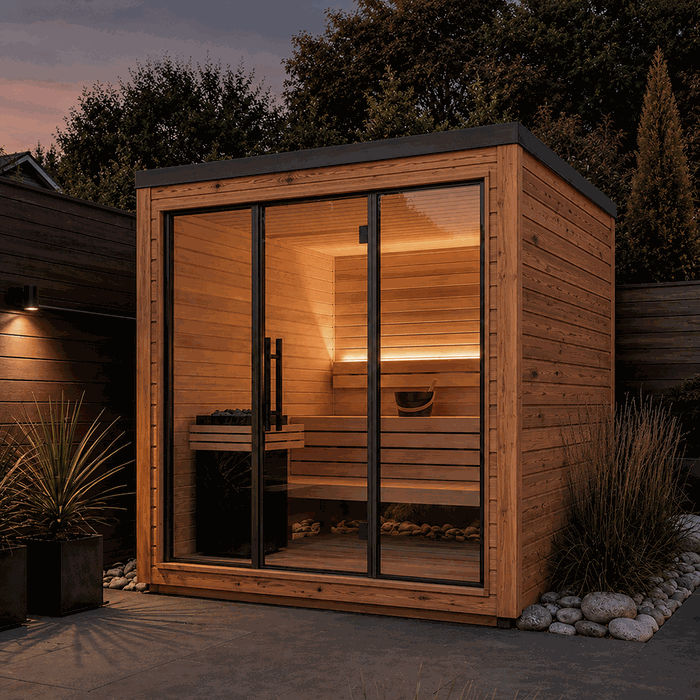
Do not treat different forms as dimensionally interchangeable. Review the separate drawings for the Elma S elegant outdoor sauna and the Elma L elegant outdoor sauna. Barrel models also require their own assessment: the HC150 sauna barrel, HC 180 sauna barrel, HCF 225 sauna barrel, LC 225 sauna barrel, LCF 260 sauna barrel and N 210 sauna barrel must each be checked separately.
Set out the outside perimeter and the door arc on the ground before construction. Then mark the work areas around them. This full-scale layout can expose clashes with walls, paths, beds or breaks in ground level while changes are still straightforward.
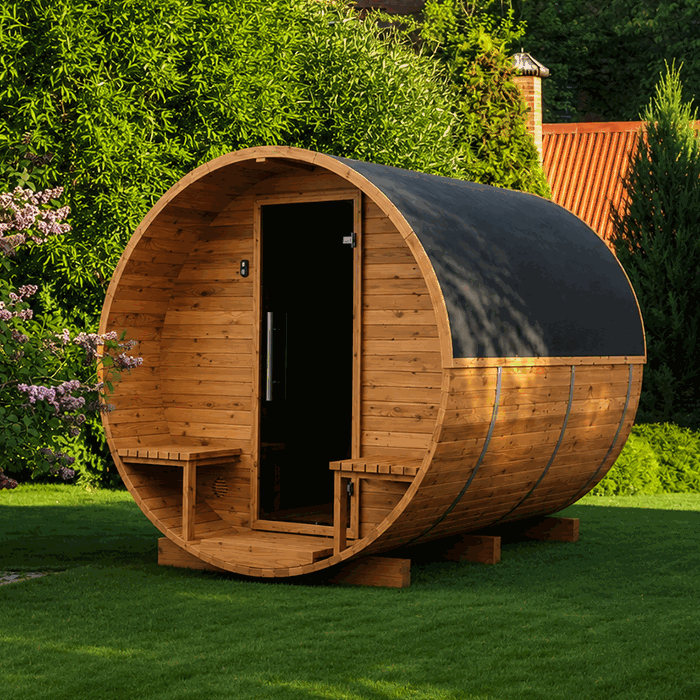
3. Choose an appropriate supporting foundation
A stable base must distribute loads evenly and protect timber from persistent damp. Soil, terrain, drainage, sauna design and local requirements determine suitability. Properly designed concrete slabs, load-bearing paving or other model-compatible foundations may work; none suits every property.
| Assessment item | Question to resolve |
|---|---|
| Bearing strength | Will it carry the structure for the long term without differential settlement? |
| Surface plane | Does every specified support receive complete and even bearing? |
| Runoff | Can water escape without ponding below the building? |
| Long-term stability | Will rain, frost and seasonal ground movement leave it stable? |
| Layout | Do its size and support positions follow the approved foundation drawing? |
A level support need not trap water
Manufacturer-specified bearing points need to share the required plane. That requirement does not call for a flat, ponding landscape around the sauna. Treat structural levels and surface drainage as separate design tasks: align the supports correctly, then shape nearby areas so runoff is carried away in a controlled direction.
Look beneath a neat finished surface
Attractive pavers can conceal a weak base. Excavate organic matter, loose material and other unsuitable layers as far as the site requires. Compaction, sub-base design and cold-weather ground behaviour warrant competent assessment. Seek specialist planning where the land is soft, sloping, filled or of uncertain capacity.
4. Manage runoff and persistent moisture
Outdoor saunas encounter rainfall, splash, damp ground and changing temperatures. A channel alone does not constitute a drainage strategy. Roof discharge, overland flow, water generated inside and drying ventilation all need to operate together.
Trace water from the roof
Identify the roof edges that shed water and decide where that flow will finish. Repeated discharge must not saturate the entrance, foundation perimeter or soil beneath structural supports. Where gutters or another collection method are specified, provide a lawful discharge or infiltration route suited to the soil and the site.
Grade the nearby landscape
Form adjoining ground so rain moves away, without a depression between the foundation and garden path. Later landscaping must not undo this work: raised soil, gravel or beds can hold moisture against timber or block ventilation openings. Related principles for reducing damp are covered in managing temperature and humidity in garden buildings .
Decide how interior water will be handled
A floor waste is not automatically necessary or incorporated in every model. The answer depends on construction, cleaning practices, intended use and the manufacturer’s documents. If one will be fitted, settle the location, gradient, cold-weather protection, trap and authorised outlet before foundation work. Moving an incorrectly placed drain later can require substantial reconstruction.
Protect the drying space below
Air movement beneath the floor helps moisture evaporate. Keep designed openings free of garden soil, edging and close-fitting decorative panels. The cavity should also avoid becoming a trap for leaf litter or pooled water. A base that can be inspected is preferable to one enclosed solely for appearance.
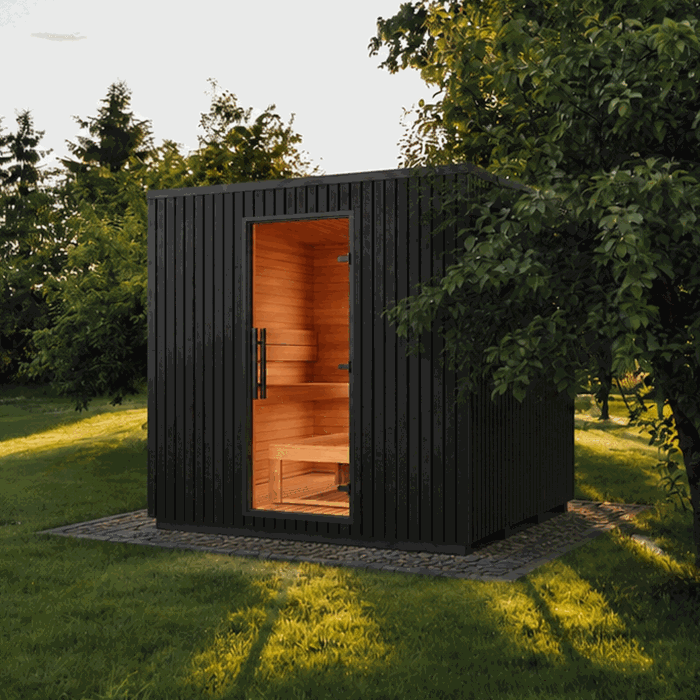
5. Provide workable space on every side
Clearances for the structure and heater
Separate spacing instructions may apply to the enclosure, heater, shielding and any flue. Refer to the latest documents from each manufacturer. Wood-fired equipment introduces further site-dependent considerations. Resolve these with the relevant local authority and suitably qualified trades before confirming the position.
Room to build and maintain it
A narrow strip shown between a fence and the sauna may be impossible to use. Preserve practical working room for construction, timber care, roof inspection, cleaning and equipment replacement. Allow tools to move and long components to be carried into place. Any wall that becomes unreachable cannot be inspected or maintained reliably.
Space above the roof
Survey overhanging limbs, eaves, wires, lighting and any other overhead obstruction. Flue proposals require their own professionally determined clearances. Installation movements matter too: a panel or roof component may occupy considerably more vertical space while it is being lifted than after it has reached its final position.
6. Coordinate the heater and utilities
Electric heaters
Plan electrics once the heater is selected, before assembly. Equipment and site conditions determine load, cable routes, protection, controls and permitted positions. Use an appropriately licensed contractor for design, connection and testing. NSW fixed wiring requires a licensed electrician's work or supervision.
Do not commit to a cable route based on a guessed heater position. Confirm the installation drawing and entry point first. Keep the route protected yet accessible, and photograph or map buried services before the trench is closed.
Wood-burning heaters
For a wood heater, plan the appliance, combustion-air supply, protective distances, nearby floors and walls, and the entire flue route as one package. Relevant local controls and competent trades must be involved. Do not purchase or construct the foundation detail or roof penetration until those matters are settled.
Lighting, water and optional services
Exterior lights can make the approach safer, provided they neither glare nor interfere with the doorway. Outdoor plumbing must suit its purpose and the coldest conditions expected locally. Include any network, controller or sensor cables at this stage as well. For guidance on the selection and purchasing order, see Ordering steps.
7. Confirm access for delivery and construction
Inspect the entire public-access-to-foundation route: gates, bends, steps, slopes, soft ground, carports, gutters, branches and parked vehicles. Wet lawn may not carry delivery loads. Confirm delivery and assembly arrangements; crane or lifting assistance cannot be assumed.
Clear away movable furniture and unsecured obstacles. Use an appropriate protection system on vulnerable paths, and reserve an unobstructed work zone. Cross-check the confirmed arrangements against Purchasing and delivery .
8. A sensible order for the work
- Select the model: Confirm its form, heater and necessary options.
- Read the documents: Note dimensions, bearing layout, door orientation, utility entries and installation needs.
- Record site conditions: Map levels, runoff, boundaries, utilities, trees and the access route.
- Resolve local controls: Consult responsible authorities and trades before designs are fixed.
- Design support and drainage: Resolve loading, the structural plane and runoff as coordinated issues.
- Coordinate utilities: Lay out power, lights, water, waste and any flue route.
- Complete the foundation: Follow the design and wait for full curing or completion.
- Measure the finished work: Verify lengths, diagonals, heights, bearings and surrounding access.
- Reopen the delivery path: Remove obstructions and inspect the route once more.
9. Mistakes that disrupt sauna projects
- Constructing before selecting the sauna: Its supports and connection points may not suit the eventual model.
- Using only the outside measurements: Roofing, door travel, maintenance and construction require more space.
- Judging a patio by its finish: A tidy, flat surface may still lack structural capacity.
- Sending runoff towards the sauna: Grades, downpipes and garden beds can sustain damp conditions.
- Covering designed air openings: Added skirting can restrict both drying and inspection.
- Leaving electrical design until later: Poor entry locations and conspicuous cable detours can follow.
- Walking the route without assessing delivery loads: Transport equipment, components and installation techniques require wider working room.
- Postponing authority enquiries: Approval, boundary or heater constraints may require relocating the project.
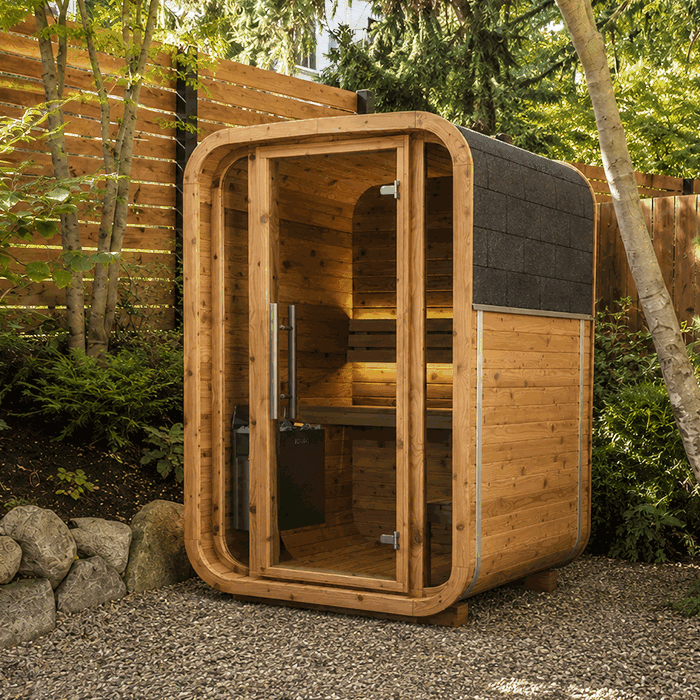
More background on the barrel form as an outdoor wellness space appears in Outdoor wellness with barrel saunas.
10. Applying lessons from other garden projects
Greenhouses, sheds and pergolas benefit from the same sequence: establish the structure and its purpose, then resolve support, runoff and entry. The sections on Conservatories and greenhouses and Garden buildings illustrate the range of footprints and access arrangements. The discussion of a glass roof or bioclimatic pergola likewise demonstrates why exposure, drainage and connections with the existing landscape belong in early planning.
Questions about preparing an outdoor-sauna site
Is lawn a suitable permanent support?
Usually not. Turf and topsoil retain water and can compress or settle unevenly. Provide a structurally adequate foundation designed for both the selected model and the underlying ground.
Does the entire foundation need to be horizontal?
Bearing locations must satisfy the manufacturer’s plane and tolerance specifications, while adjacent ground must shed water. Do not introduce an improvised slope through the supports. Instead, design the structural bearing level independently from the grades that manage surface runoff.
Could an existing concrete patio support the sauna?
It may, provided its size, structural capacity, condition, plane, drainage and bearing arrangement are all appropriate. Investigate cracking, movement and ponding beforehand. The mere presence of a slab does not prove suitability.
What clearance is appropriate around the structure?
No single distance applies to every project. Determine it from the chosen model, heater, flue, construction method, servicing tasks and local controls. The available space must accommodate all of those factors, not merely form the smallest possible strip around the walls.
Must the foundation extend beyond the sauna?
Follow the model’s foundation plan and the selected structural design. Too much flat concrete can retain water beside the timber, whereas an undersized platform may leave support points without bearing. Do not decide this from the outside dimensions alone.
Is a floor waste compulsory in every sauna?
There is no model-independent rule. Design, use and cleaning methods determine whether one is included or needed. Where a waste is planned, establish its position and lawful discharge before the foundation is constructed.
May the sauna be positioned beneath trees?
A site near trees can work, but first assess branches, roots, fallen leaves, resin, damp shade and future canopy spread. Preserve access to every roof and wall surface for cleaning and inspection.
At what stage should electrical design start?
Start once the model, heater and position are known. Before paving or foundation construction, have the cable route and entry point coordinated with the electrical contractor. Final connection must comply with the applicable requirements and the manufacturer’s instructions.
Can it sit beside a wall or boundary fence?
Only if manufacturer spacing, local controls, ventilation, construction and maintenance access can all be satisfied. Nearby walls may also change airflow and drying patterns. Do not create a narrow cavity that nobody can enter or inspect.
Which items need a final pre-delivery inspection?
Recheck dimensions, plane, cleanliness, curing or completion, runoff, utility entries and working space. Inspect the approach again for temporary problems such as parked cars, low branches or rain-softened ground.
Final check before installation
Installation should proceed only after the current documents have been used to verify the model, foundation, drainage, safety spacing, utilities and access as one coordinated plan.
- Current model and assembly documents are on hand.
- Finished bearings and foundation match the approved drawing.
- Runoff is directed away from the building.
- Working access remains around and above the sauna.
- Qualified parties have coordinated the heater and utilities.
- The route for delivery and construction is unobstructed and structurally adequate.
- Relevant authorities have been consulted about requirements specific to the property.
Store site photographs, measurements and utility drawings with the order records. Applicable commercial guarantee conditions are explained under Guarantee; details about the business appear under About us.
