



PROCESS
Order lodged: the path from confirmation to dispatch
This guide explains what follows an order, from checking the confirmation and preparing the site through to dispatch advice, receiving the goods and checking components before assembly.
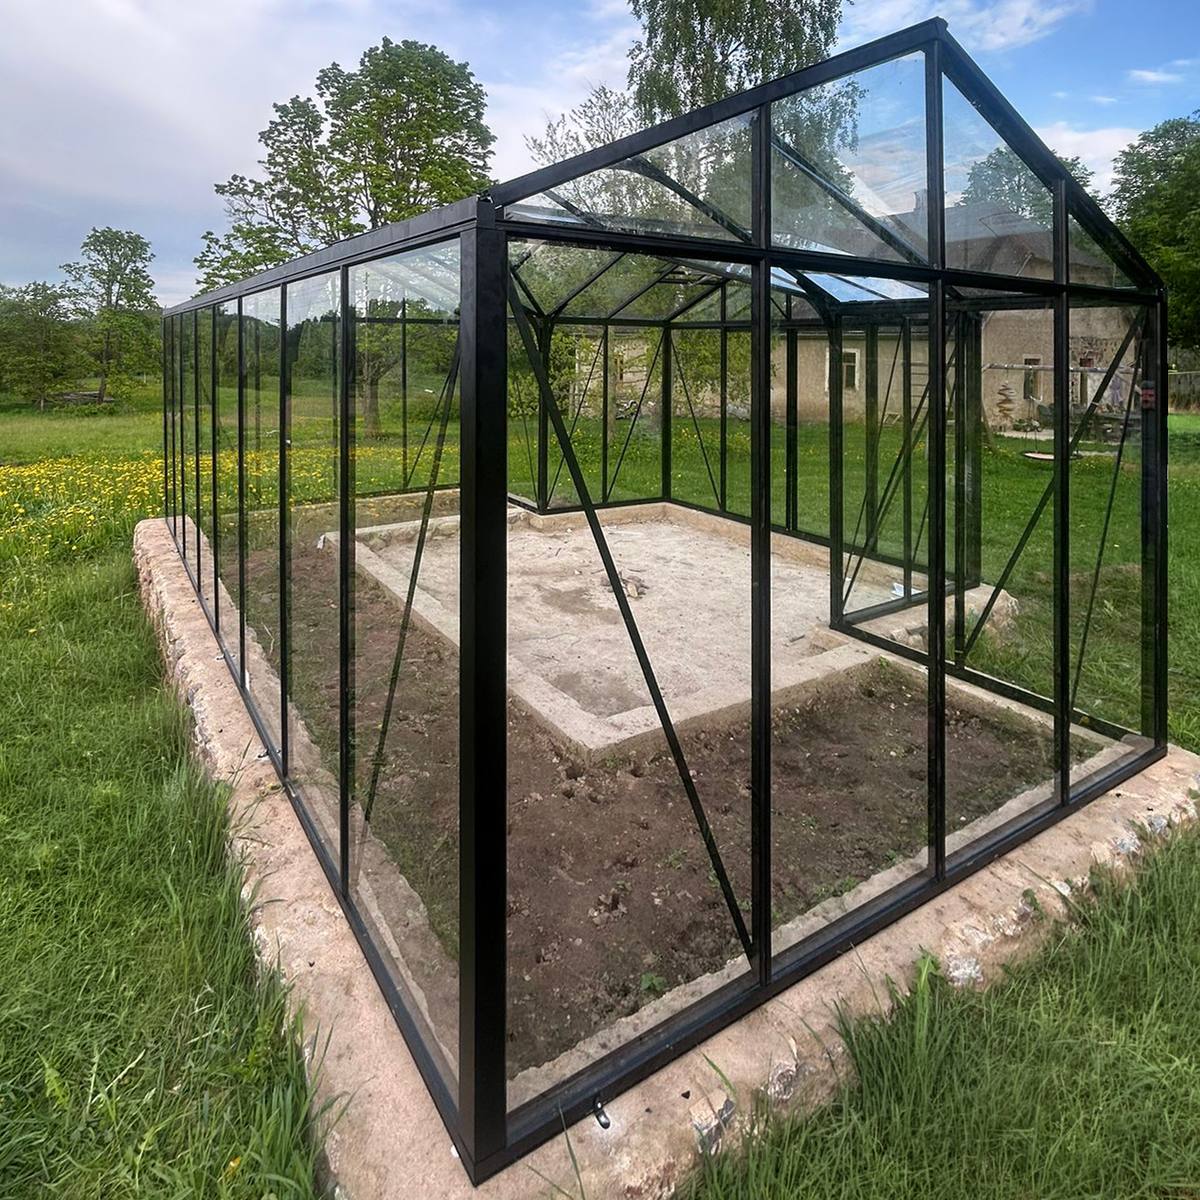
Submitting an order does not mean installation starts immediately at your property. Several technical and organisational steps come first: your order details and selected configuration are checked, the site needs preparation and delivery must be planned. Dispatch communication, receipt of goods and a component check follow before assembly begins.
The following sections put these tasks into a practical sequence. The guidance covers greenhouses, pergolas and outdoor saunas in general, while the exact steps vary with the selected model, destination, site access and local requirements. Always follow the documents and messages issued for your specific order.
What to do once your order is lodged
- Verify the confirmation: Make sure the model, configuration, addresses and contact information are correct.
- Wait for assessment: Relevant technical details and the order's completeness are reviewed.
- Raise corrections promptly: Advise us of mistakes or proposed changes before dispatch arrangements begin.
- Get the site ready: Resolve approvals, base preparation, wall interfaces and delivery access.
- Await dispatch preparation: The consignment and its packaging are organised before carrier handover.
- Follow delivery updates: Review each instruction and nominate a reachable person where required.
- Document the handover: Count the packages and inspect their visible condition.
- Identify everything before building: Use your order documents to group and verify the components.
For an overview of the purchasing steps, visit How to order. Broader guidance covering payment and arrival is in Purchasing & delivery.

Phase 1: Read and check your order confirmation
Treat the confirmation as your first formal checkpoint. Match it against both the shopping cart and what you intend to build on the property. Verify the product description, model variation, options, quantities and both addresses. Check the phone and email details too, because later questions and delivery coordination may depend on them.
Similar model names and dimensions call for extra attention. For example, the outdoor sauna Elma S differs from the Elma L . Likewise, the barrel-sauna models HC150 and HC 180are distinct. Use the exact version identified in your order paperwork.
Do not treat this message as evidence that freight has commenced. It confirms only that the listed order information was recorded. Save it with the associated paperwork and respond without delay if anything appears incorrect.
Phase 2: Review of the order and configuration
Internal processing begins after confirmation. Staff may review configuration choices, completeness, delivery information and any requirements particular to the order. If clarification is sought, provide a complete response and include the order or reference number every time.
That assessment does not establish whether your site is ready. Without project-specific information, the supplier cannot assess the soil, title boundaries, underground or overhead services, access clearances or council controls. Product selection and site suitability therefore need separate consideration.
Still deciding among structural formats? Consult resources including bioclimatic or classic pergola, compare wall-mounted or freestanding pergola , and review the pergola size guide. Wherever possible, settle those choices before lodging the order.
Changes, cancellations and corrected details
Send any correction promptly, particularly one affecting the model, specification, accessories, delivery address or contact information. Availability of a change or cancellation depends on how far the particular order has progressed and its terms. A request alone is not acceptance; wait until you receive unambiguous written confirmation.
Describe the required final information, rather than mentioning only the error. For instance, “replace the delivery address with …” gives clearer instructions than “change house number”. Review every replacement document afterwards.
International delivery can involve a different process. Consult the guidance on ordering a greenhouse for delivery to Australia for further context. If you need help with an existing order, use its stated contact channel or the Contact page.
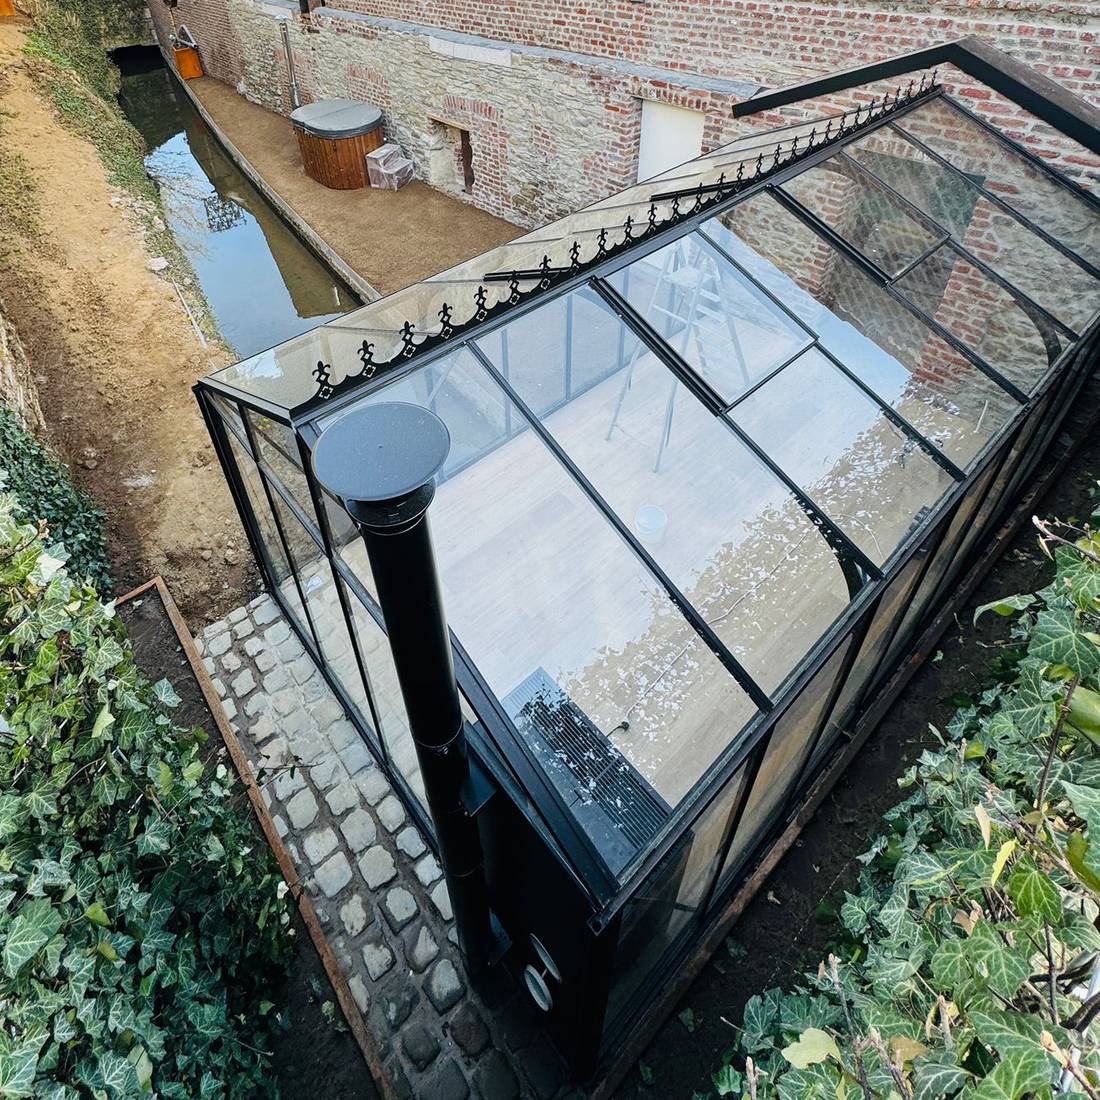
Phase 3: Ready the site during order processing
Put the interval before dispatch to use by completing checks and project planning. Delay permanent work that would be difficult to reverse until the model, installation measurements and relevant assembly documentation have all been confirmed.
Clarify approvals before building
Australia has no single approval answer for every greenhouse, pergola or outdoor sauna. Establish the state or territory, council area, zone, use, attachment method, roof and enclosure, size and services for the project. Planning consent, building certification and installation certification are separate questions, and an exempt pathway can still carry conditions.
Ask the responsible authority and engage a suitably qualified adviser where the project warrants it. In New South Wales, use the NSW Planning Portal together with current council controls. The guide to greenhouse and pergola approvals in Australia provides an introduction, but the rules for the actual property must govern the project.
Check placement and intended use
Outline the intended footprint on the ground, then assess door swings, other openings, paths, drainage, shade, roof projections, trees and maintenance access. In a greenhouse, available light, airflow and the proposed crops shape practical use. For more detail, read the guides to managing greenhouse temperature and humidity and raising lettuce under greenhouse cover.
A pergola layout should account for the sun's movement, prevailing rain, furniture and room to circulate. For help assessing possible uses, read is a bioclimatic pergola worthwhile? Sauna planning also needs safe entry and professionally designed services that are permitted at the site.
Plan the foundation or supporting surface
The supporting surface needs to be level, structurally adequate and set out accurately. Errors can hinder construction, distort alignments and interfere with doors or component joints. Select the foundation, dimensions, datum, drainage and anchoring for the actual model, soil and location.
For pergola projects, refer to the pergola foundation guide, while recognising that an example for one design may not suit another. Align excavation and concrete works with the current model instructions and seek local professional input when appropriate. Locate services and drainage before breaking ground.
Assess walls before attaching a structure
An attached design relies on a wall capable of taking its proposed fixings. Cladding, external insulation, cavities, unidentified masonry and irregular façades each call for a solution developed for that project. Appearance at the surface cannot establish the wall's structural capacity.
Have a competent person determine the fixings, sealing detail and junction levels. Map nearby windows, shutters, gutters, downpipes, lights and services as well. No drilling should begin until the wall build-up and likely service routes are known.
Prepare the access route and storage point
Walk the full route between the street and unloading location. Tight corners, gates, parked cars, low vegetation, gradients or soft surfaces may obstruct the handover. Notify Bloomcabin in advance if vehicles cannot readily reach the address.
Choose a flat, sheltered and dry place for the packages without blocking circulation or emergency egress. Long and heavy pieces need stable support rather than being propped insecurely. Keep children and anyone not involved in the work away from storage and assembly zones.
Responsibilities across the order
| Task | Typical responsibility |
|---|---|
| Check model, options and address details | Customer |
| Process the order using supplied information | Bloomcabin |
| Clarify local approvals and property requirements | Customer or property owner |
| Provide a stable, dimensionally accurate base | Customer and engaged professional |
| Report access restrictions early | Customer |
| Provide dispatch information for the order | Bloomcabin or involved freight provider |
| Check packages externally at handover | Recipient |
| Carry out electrical or other specialist work | Qualified professional under local requirements |
These are typical roles only; the arrangements for the individual order remain controlling. If the property is rented or shared, check whether the owner, owners corporation or another affected party must also consent.
Phase 4: Preparation before dispatch
The consignment is organised before it passes to the freight provider. This stage comes after order confirmation: seeing “ordered” or “confirmed” does not establish that the packages have left or are travelling.
Keep the nominated phone and email details current, and check junk or spam folders. Avoid committing trades solely because you expect a particular dispatch date. Schedule firm work around the actual updates issued for the order.
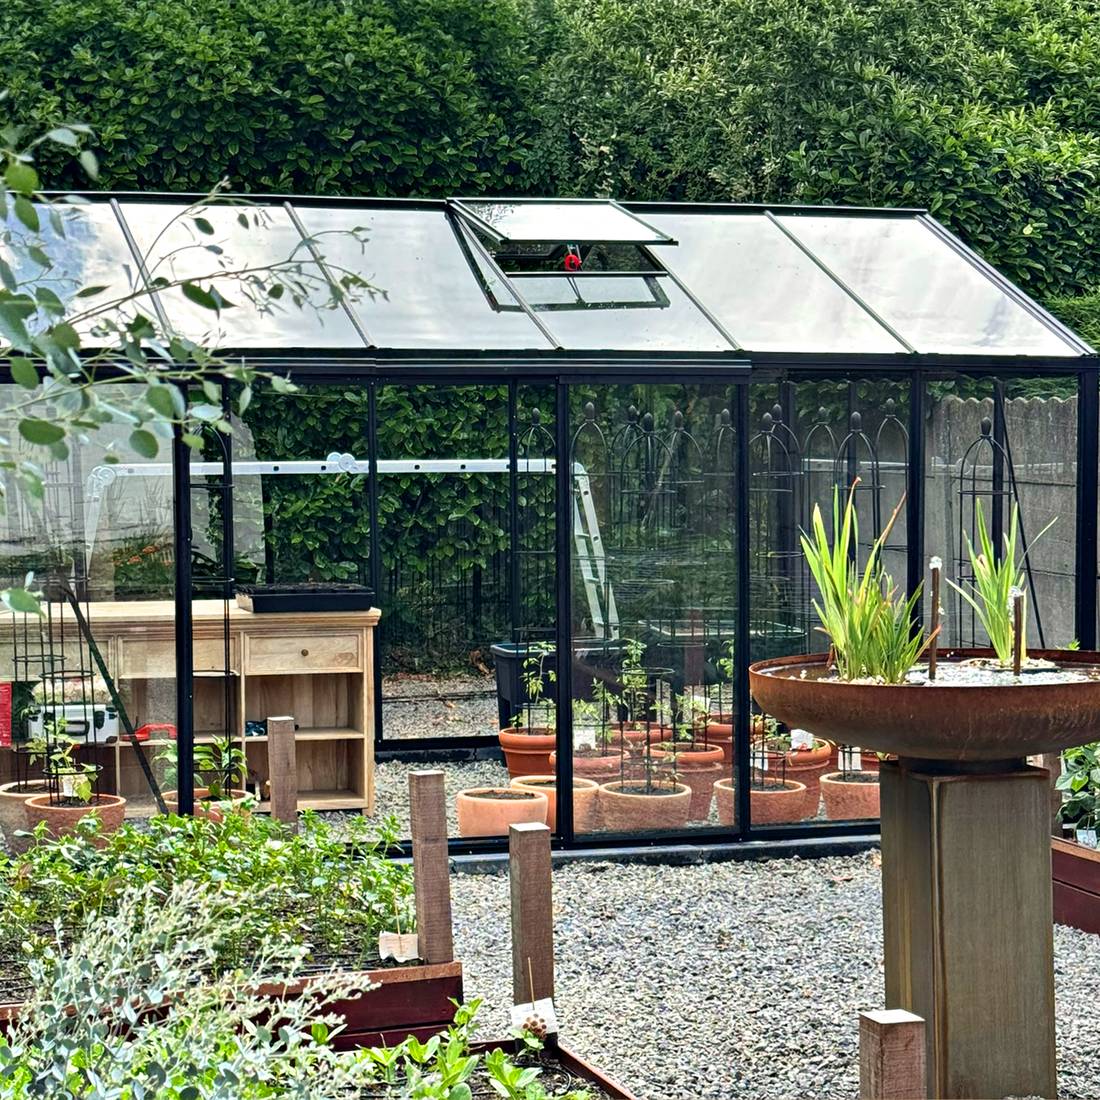
Phase 5: Dispatch updates and delivery arrangements
Once freight is allocated or handed to the carrier, the available order-specific details are sent to you. Their format and content vary with the transport method. Read the full message because instructions about site contact, access or handover may require a response.
Do not read a dispatch update as a promise of arrival at an exact time. Road conditions, freight runs and other operational events may alter delivery. Leave enough flexibility in your arrangements and avoid scheduling follow-on work that depends on minute-perfect timing.
A central collection of ordering guidance appears in Useful information . Browse the product ranges under greenhouses and conservatories or saunas.
Phase 6: Inspect and record the delivery
Handover is an important inspection stage, not simply an administrative step. Arrange for someone familiar with the order to attend, direct unloading to the prepared place and record any immediately visible concern.
Compare the package count with the delivery paperwork before inspecting every face of each package. Note tears, punctures, heavy crushing, wet areas, loosened straps and openings. Before anything is shifted or unpacked, take both overall and close-range photographs of anything unusual.
Describe visible damage precisely in the handover record, naming the affected package and location rather than using a broad remark. Unpack in a controlled manner afterwards, and retain labels together with any damaged packaging until the matter is resolved.
Delivery handover checklist
- Have the reference number and freight paperwork to hand.
- Nominate an informed person who can attend the handover.
- Count packages and note any mismatch.
- Examine every face of the packaging for damage.
- Take photographs and describe each concern precisely.
- Leave labels attached until every item has been matched.
- Transfer packages to the prepared area, keeping them dry and stable.
- If anything is unclear, promptly send the reference number and photographs with your enquiry.

After arrival: inventory the parts before building
Avoid unpacking everything at once. Begin with the assembly manual, package lists and identification marks, then open one package at a time. Keep fasteners and small connectors in their labelled sets, and protect profiles, glazing and finished surfaces against dirt, scratches and falls.
Use the manual's identifiers, not appearance alone, to match each component; similar profiles can be difficult to distinguish. For an uncertain part, record its package, marking, approximate position and visible characteristics. Clear photographs can make an enquiry easier to resolve.
Construction details differ among models. Material guidance such as polycarbonate in greenhouses is useful context, but it cannot take the place of the assembly manual for the ordered model.
One project from delivery to completion: Anna Koku Skola
The Anna Koku Skola installation records a single project as it develops. Rather than depicting unrelated builds, the sequence follows one site from its prepared initial state through construction to a structure ready for use.
Use that sequence when creating your own project record. Start with photographs of the site and base, continue with organised packages and major assembly stages, then capture the finished structure. A dated visual sequence helps answer later questions and indicates whether discrepancies were present in the base or appeared during the work.
- Capture the site first: Record the footprint, datum, adjoining structures and approach route.
- Organise the consignment: Sort packages by label while keeping vulnerable components protected.
- Follow the build sequence: Work from the current manual rather than guessing from appearance.
- Review progress points: Verify diagonals, level lines, alignment and joints at the nominated stages.
- Photograph the result: Include doors, movable sections, connections and the cleared area around the structure.
If you are exploring contrasting architectural styles, browse the features on Victorian greenhouses and orangery greenhouse. Treat these as design inspiration rather than construction instructions.
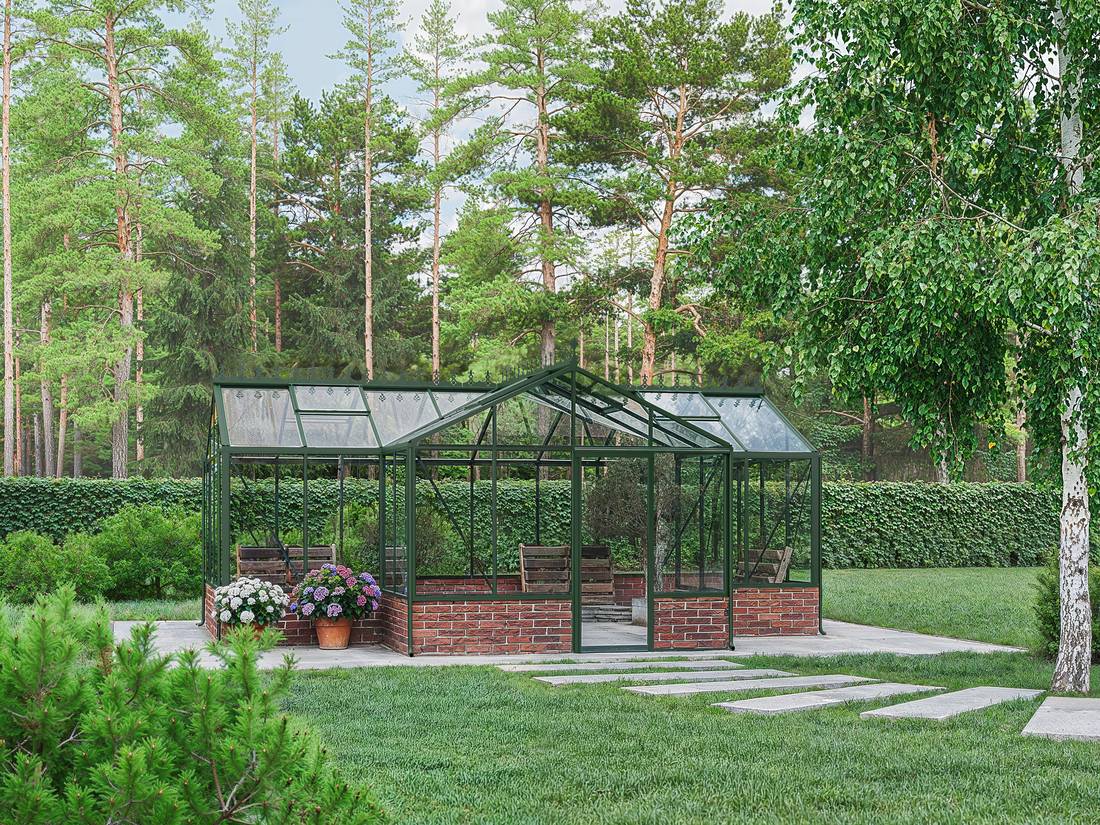
Prepare for use once assembly finishes
Assembly of the principal components does not by itself complete the project. Confirm that doors and other moving parts travel freely, every specified fixing is installed and the surrounding area can be used safely. Clear away packaging, then store any remaining parts that have been positively identified.
Before filling a greenhouse, decide how ventilation, irrigation, paths and growing beds will work. The feature on growing basil in a greenhouse offers one example of coordinating cultivation with the space. Ongoing maintenance is covered in caring for an aluminium greenhouse.
Pergola planning should preserve drainage paths and enough room for furniture and movement. Sauna connections, commissioning and testing need to follow the manufacturer's documents and the requirements applying locally. Arrange electrical work through a practitioner with the qualifications or licence required for that jurisdiction.
Retain the project records
- Confirmation paperwork, including subsequent amendments
- Invoices and payment records
- Freight and handover paperwork
- The correct model's operating and assembly manuals
- Photographs showing delivery, foundation, construction and completion
- Messages concerning revisions or reported concerns
- Available certificates or records for commissioned specialist work
Refer to the Warranty section for the terms that apply. File everything so the order and model remain identifiable well into the future.
Frequently asked questions
Has my greenhouse been dispatched when I receive confirmation?
No. Confirmation initially records the order and the details shown in it. The freight stage is reached only when you receive a separate update concerning dispatch.
How do I know when dispatch or delivery will occur?
Use the updates issued for your individual order rather than general guidance. Dispatch status and arrival are separate milestones, and neither should be inferred from information that is not specific to the order.
May I change the selected model or destination address?
Possibly, depending on the processing stage. Submit the full correction immediately and quote the order number. Do not regard it as accepted until explicit confirmation is provided.
Can foundation work start immediately after purchase?
A general product page is not enough information for irreversible work. First confirm the model, specification and applicable manual. Design the foundation for the site's ground conditions and obtain professional input where appropriate.
May I schedule assembly before dispatch is advised?
You may find a provisional hold useful, but avoid committing to a fixed paid appointment without sufficient flexibility. Base the final timing on the delivery information actually received.
How should restricted site access be handled?
Advise us early about narrow approaches, load limits, no-through roads, low overhead clearance or any other obstruction. Give a precise description and attach photographs of the route when they would help.
How should visible packaging damage be managed?
Before unpacking, photograph the relevant package and exact damaged point. Describe it on the available handover document, then retain the photographs, labels and packaging while the issue is assessed.
How can I resolve an unidentified part?
Check its marking and profile against the instructions for your model, without forcing it into the build. Photograph the component, label and surrounding packaging, and include the order number in your enquiry.
Does every Bloomcabin model use the same assembly manual?
No. The components and build order can vary by model, structural form and specification. Work only from the current manual intended for the exact version supplied.
Is outdoor storage suitable before construction?
Not without protection. Rain or damp, wind, ultraviolet exposure, unstable stacking and dirt may harm the packaging or its contents. Choose somewhere sheltered, dry and secure.
Which checks are needed before declaring completion?
Verify the inventory, geometry, prescribed fixings, doors, movable components, services and safety of the adjoining space. Complete every final inspection specified in the relevant operating and assembly documents.
Where are completed-project ideas available?
Project experiences and ideas appear in the greenhouse reviews and the Bloomcabin blog. They can inform your planning, but they cannot determine whether your own site is suitable.
Pre-dispatch final check
- Confirmation reviewed from start to finish
- Exact model, specification and options verified
- Billing and destination details correct
- Phone and email contacts working
- Site and approval questions resolved
- Foundation designed for the ordered model
- Supporting wall assessed for any attached design
- Delivery route and unloading point inspected
- Dry, sheltered storage space arranged
- Handover contact briefed
- Order paperwork and correct assembly manual ready
- Construction timing includes a suitable freight contingency
The key rule is simple: check the details first, prepare the site technically, receive the delivery with records, and begin assembly only after all components have been fully identified.
