



MATERIALS
Planning a Greenhouse for Canadian Wind, Snow and Four-Season Exposure
Choosing the greenhouse is only the beginning. Location, foundation work, assembly, ventilation, drainage and routine inspections all influence how it handles the weather. Use this guide to examine those factors in light of the conditions at your Canadian property.
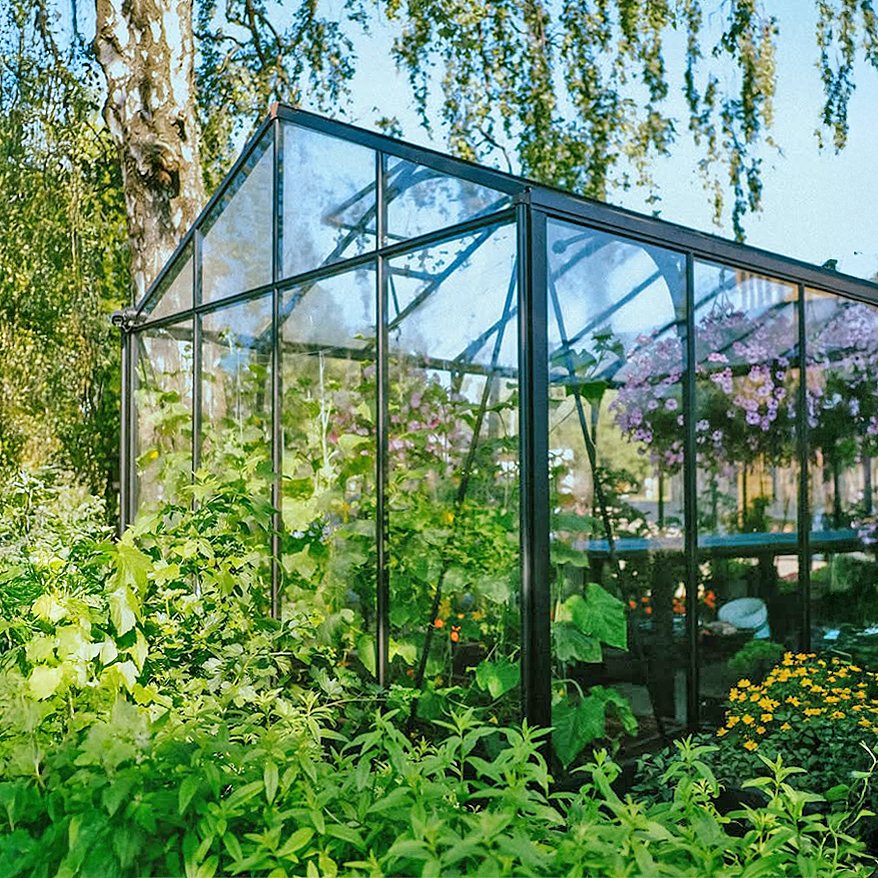
A greenhouse creates a managed growing area within an unpredictable outdoor setting. Gusts, suction around the structure, snowfall, driving rain, freezing temperatures, summer heat and sudden temperature changes may follow one another or occur together. Reliable use therefore depends on the entire installation—from site and building form to anchoring, construction and daily operation—not just the frame or glazing.
This guide supports project preparation and ongoing care, but the manual for the selected model and any necessary structural assessment remain essential. Canada's national model codes do not determine the requirements for every property by themselves. Confirm the applicable provincial or territorial and municipal requirements for the site and project.
Understanding a greenhouse designed for outdoor exposure
An outdoor greenhouse is built to face changing environmental conditions over an extended period. It is not an assurance of resistance to every event on any site or foundation. Expected performance depends on using the chosen model within its stated conditions and completing the installation correctly.
Preparing for weather means coordinating several functions:
- Load transfer: Forces from wind and snow must travel through the roof, walls, frame, connections and base before reaching stable ground.
- Shape retention: Profiles, glass or panels, and connectors must all be installed and secured as instructed.
- Water management: Rain and snowmelt need clear drainage routes without pooling at the base or nearby surfaces.
- Movement allowance: Aluminium, glass, polycarbonate and seals respond differently to temperature changes.
- Operational checks: Doors, vents and automatic openers require inspection and operation suited to current conditions.
For that reason, aluminium greenhouse maintenance is not merely cosmetic. Clearing debris and inspecting the structure help preserve drainage, ventilation and secure connections.
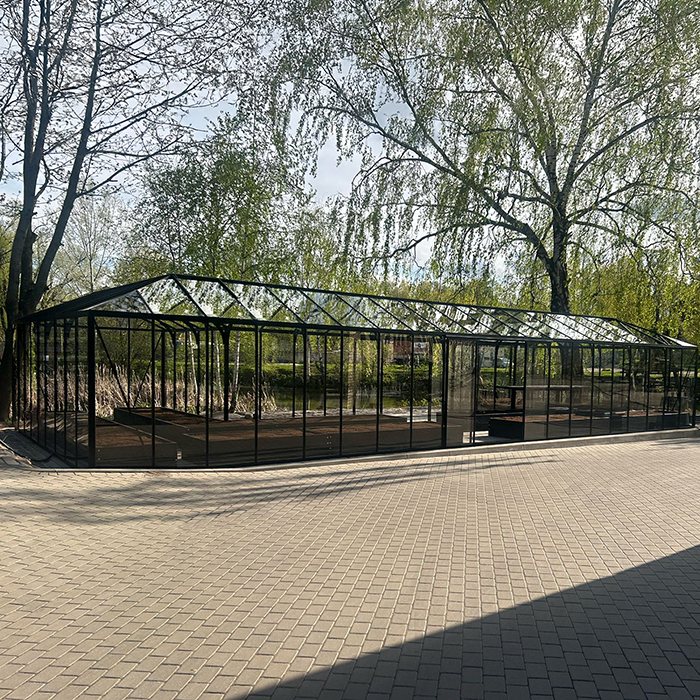
Study the property before settling on a model
Examine the proposed location before fixing the greenhouse size, roof style or accessories. Take photographs from several angles and observe the area during wet and windy conditions when feasible. Record slopes, shade, vegetation, nearby structures, walls, access and known underground services.
Wind exposure
Exposed farmland, elevated edges, coastal settings, broad road corridors and spaces between buildings may channel stronger or less predictable airflow than sheltered yards. Barriers are not always beneficial: eddies and localized suction can form around hedges, walls and building corners.
Identify the usual direction of severe winds and consider where doors and roof vents would face. A door caught open presents a broad surface to a gust. The location also needs enough room for construction, glazing replacement, cleaning and winter maintenance.
Snow and water movement
Account for water and snow arriving from beyond the greenhouse roof. Drifting can build deposits between structures, while snow or ice may slide from a taller roof. Runoff from a slope, patio or adjoining hardscape can also reach the foundation. A better location avoids these concentrated effects.
Shape the surrounding grade to carry water away. Give gutter outlets a discharge point that will not erode paths or undermine the base. During freeze-thaw weather, meltwater may pond where no problem was visible in warmer conditions.
Plan access for every season
Year-round use calls for a safe winter route to the greenhouse. Allow for the full door swing, movement of supplies, cleaning and repairs. If power or water is planned, have suitable local professionals confirm the design and approval path before work begins.
Define the greenhouse's purpose as well. Seed starting, a spacious orangery and a place to sit call for different planning decisions. For examples, read the orangery and greenhouse guide and browse greenhouses and conservatories.
Match the configuration to the property
Let exposure and site constraints guide the choice rather than relying on floor area alone. Review the roof, door positions, ventilation, glazing, access and proposed foundation as a single project. Specifications belong to the precise model and configuration described; never assume that a similar-looking product has the same values or features.
Glass and polycarbonate differ in their construction, light transmission and thermal characteristics. The article Polycarbonate for greenhouses outlines those distinctions. When looking for design context, greenhouse reviews and documented projects may offer useful observations, although the conditions at the property still require their own assessment.
Compare options only after every part of the configuration is identified. Added vents, doors, shelving and technical systems can change airflow, use and assembly order. Verify that each accessory is intended for the model and follow its installation documentation.
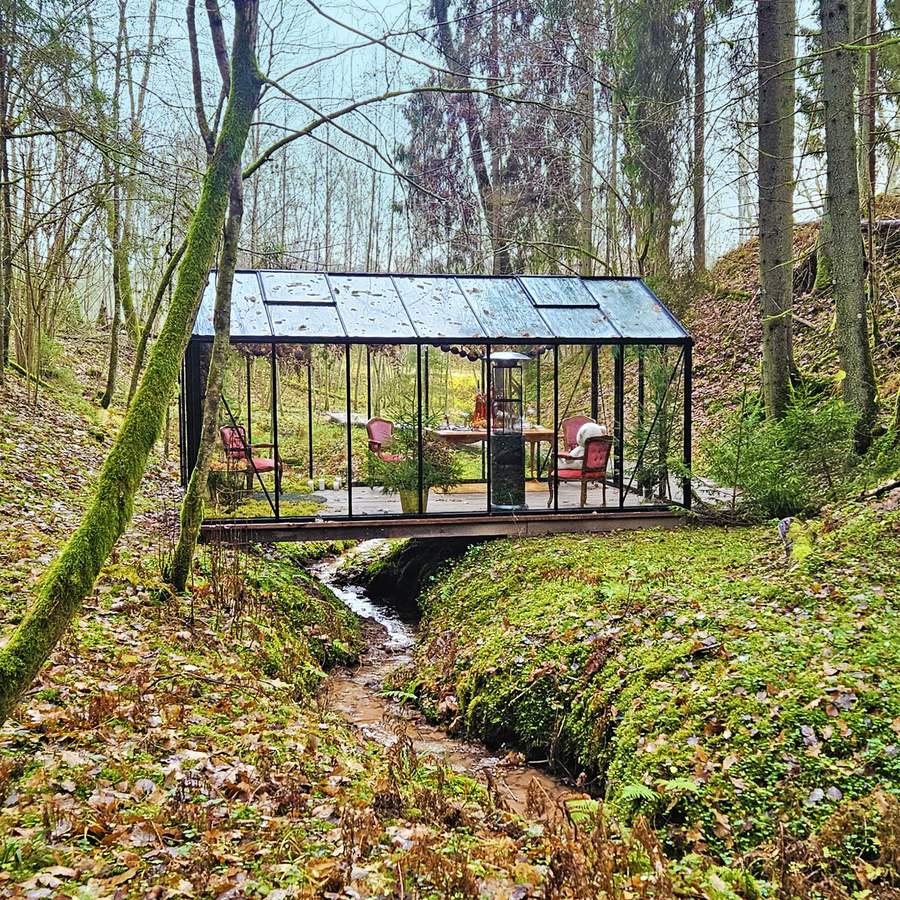
Weather preparation begins at the foundation
A frame can pass forces into the ground only through a flat, stable and accurately formed base with adequate bearing support. Settlement or poor geometry can twist profiles, interfere with doors, leave glazing unevenly supported and compromise junctions.
Foundation selection depends on the greenhouse, soil, frost conditions and requirements for the property. Do not assume an existing patio will work. Pavers can appear flat while resting on an inadequate sub-base or offering no suitable anchoring arrangement. Consult the model documents and seek project-specific professional advice where the ground construction is uncertain.
Base-planning checks
- Set out external dimensions and reference points using current documentation.
- Check squareness across both diagonals.
- Check finished height, level and the surrounding grade.
- Consider soil bearing capacity and frost behaviour.
- Coordinate anchor locations before pouring concrete or drilling.
- Direct rainwater and snowmelt away from the base.
- Locate and protect underground services.
- Leave practical working clearance on each side.
- Recheck dimensions and surface condition before assembly.
The same basic physics matters for other structures, even though their product details differ. The pergola foundation planning guide illustrates why supporting ground, runoff and fastening need to be considered as one system.
Inspect and protect the components before building
Soon after arrival, compare the shipment with its accompanying records. Photograph packaging and any visible discrepancy before moving parts around or disposing of materials. The steps are set out under ordering and delivery for the process.
Keep profiles, glazing, panels and small components dry, secure and stored as the manual directs. Support long pieces evenly, protect glazing from tipping and avoid concentrated pressure on it. Restrain light packages and panels against gusts. Do not leave parts for extended periods on wet ground or in pooled water.
Use position numbers or part markings when organizing the fasteners. Screws that look alike may have different functions, so combining them prematurely can cause incorrect placement.
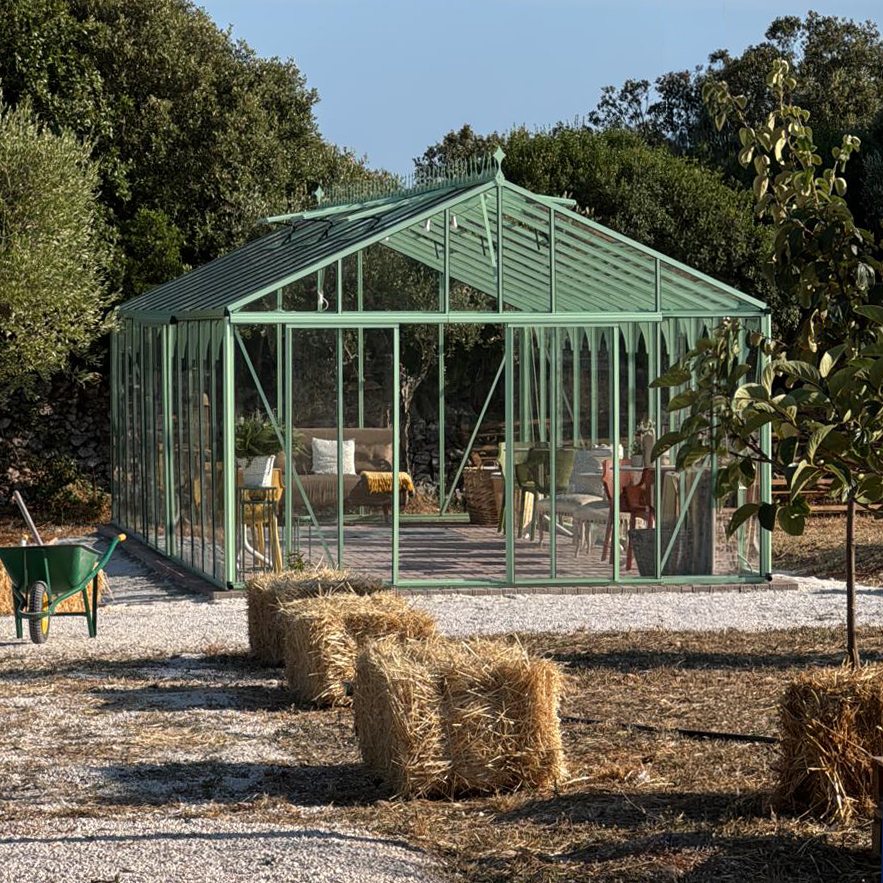
Accuracy through the Anna-Koku-Skola build sequence
The recorded Anna-Koku-Skola installation follows a connected progression: prepare the ground, arrange and raise the frame sections, install the glazing, then complete the final inspection. Its value lies in the ordered workflow rather than in any single image or task viewed separately.
Choose calm, suitable conditions for assembly. Wind can make large frame sections hard to control and turn the handling of glass or panels into a hazard. At every stage, verify that completed work is square, plumb and fastened as specified before moving on. A minor discrepancy at foundation level can become much larger by the ridge.
Checks to make during assembly
- Match documentation: Confirm that the manual and parts list match the delivered configuration.
- Pre-sort components: Group profiles and hardware by assembly stage without removing markings.
- Measure the base: Check sides, diagonals, level and anchoring before raising the frame.
- Align the frame provisionally: At first, tighten each connection only as much as the manual specifies.
- Check roof geometry: Do not force the ridge, eaves or rafters into position.
- Install glazing methodically: Keep bearing surfaces clean and fit every required retainer.
- Test opening elements: Doors and windows should operate without rubbing, binding or excessive play.
- Complete final checks: Finish all prescribed work only after checking the overall geometry.
Unless expressly approved, do not add holes, shorten profiles or replace the specified fasteners. Alterations may change structural force paths, corrosion interactions or glazing support. Ask Bloomcabin before making a change.
Reduce wind risks during routine use
An unsecured opening or wind-blown object can cause trouble before the closed frame itself does. Inspect latches regularly, and move furniture, tools, branches and light containers away from the structure.
Preparing when high winds are forecast
- Fully shut and latch every manually operated door and window.
- Check and prepare automatic openers according to their own instructions.
- Secure or remove loose items inside and outside.
- Address damaged glass, panel retainers or seals before the storm.
- Keep gutters and outlets clear if heavy rain is expected.
- Stay indoors rather than attempting repairs while the storm is underway.
Leaving a door partly ajar does not provide safe pressure control. A gust may catch it and impose additional force on the surrounding frame and glazing.
Managing snow, freezing rain and frost
Visible snow depth does not tell the whole load story. Wet accumulation is much heavier than loose powder, and drifting or material sliding from another roof may concentrate weight unevenly. Use the information for the selected greenhouse and account for conditions at the property.
Monitor the roof during prolonged snowfall so that heavy or one-sided buildup can be addressed early. Use only a safe technique that will not damage the materials. Stay off the roof, keep hard tools away from glass and panels, and never pry frozen deposits loose.
Frozen water can immobilize doors, vents and outlets, so do not force them. Following repeated thawing and refreezing, examine the joints and drainage system. Related seasonal considerations appear in Pergolas through winter: snow, ice and wind.
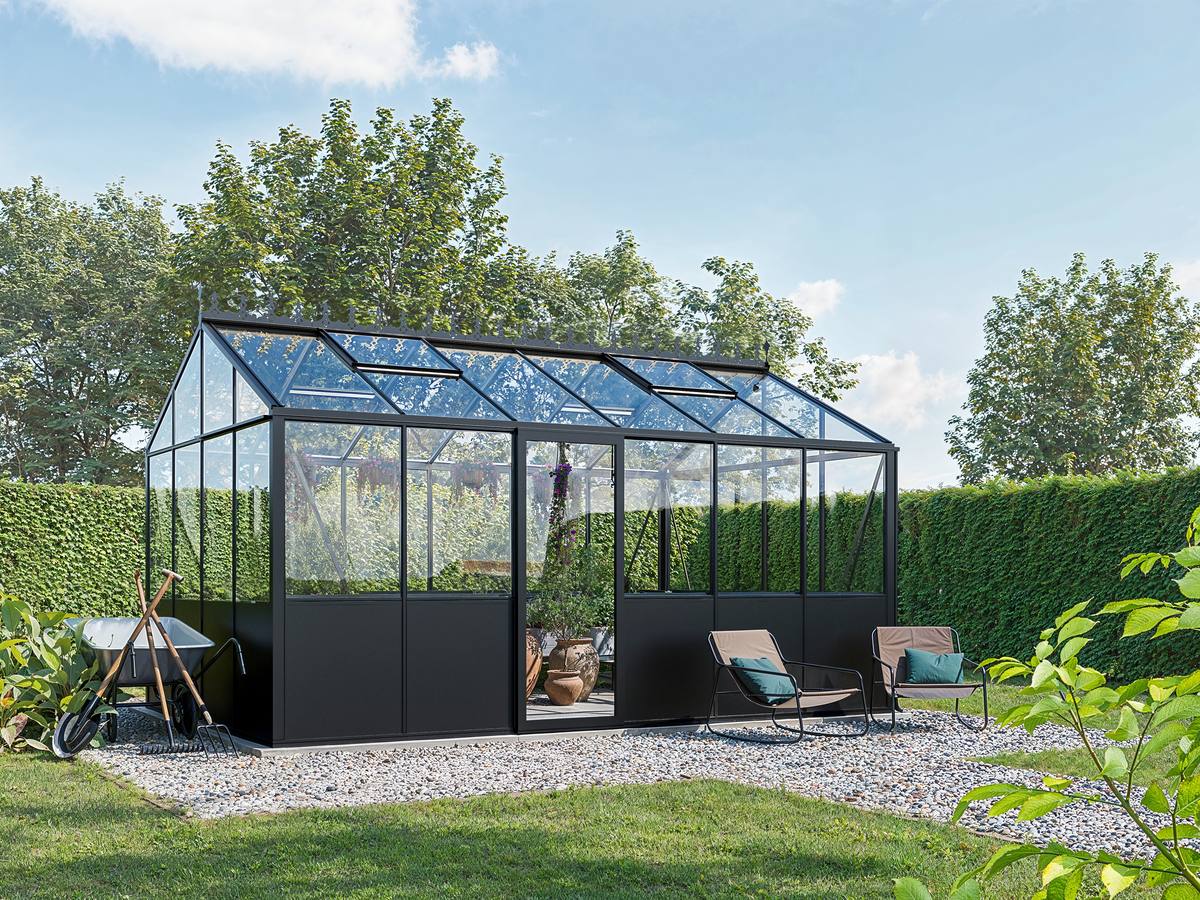
Separate drainage issues from condensation
Greenhouse conditions are not hermetically sealed from the outdoors. Rain needs a controlled route down the exterior, while moist soil, plants and temperature differences produce water vapour inside. Interior droplets alone are not proof that water has penetrated the structure.
Remove leaves, moss and soil from gutters, outlets and junction areas. Ponding beside the base generally calls for an examination of grading and drainage rather than glazing alone. After wind-driven rain, look for runoff being directed toward the greenhouse by adjoining roofs or paved surfaces.
Reduce condensation through balanced ventilation, adequate air movement and measured watering. Find more guidance in greenhouse temperature and humidity.
Solar heating, airflow and changing seasons
Sunlight may raise the interior temperature quickly even when the outdoor air feels mild. Operate doors, roof vents and appropriate shading as parts of one climate-management approach. An opening position used on a calm summer day may be unsafe when gusts develop.
Automatic openers can assist with temperature control, but they still need attention. Inspect their settings, operation and clear range of movement in accordance with their documentation, and prevent plants from obstructing the mechanism.
Bright winter days do not ensure that the interior will remain above freezing after sunset. When growing lettuce in a greenhouse, match ventilation and crop care to the frost exposure at the property. Active heating should be designed as a separate project with appropriate professional input.
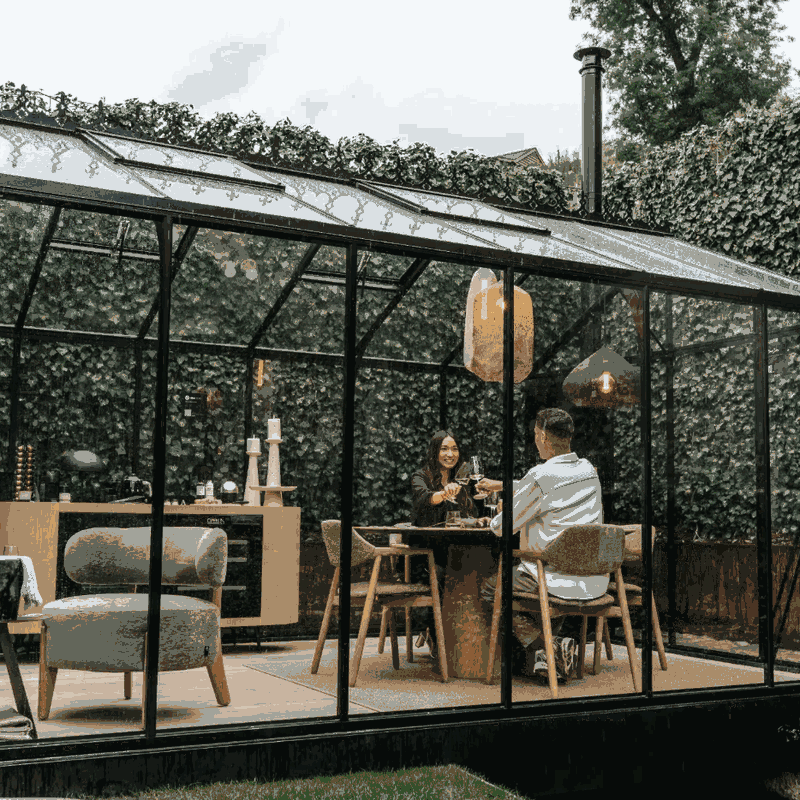
A practical inspection and upkeep schedule
| When | Check | Action |
|---|---|---|
| Monthly during the growing season | Doors, vents, catches and visible connection points | Clean, test operation and address visible looseness as directed |
| Before forecast severe weather | Openings, loose objects, drainage and damaged glazing | Close, secure, clear and investigate damage promptly |
| After windstorms or heavy rain | Frame geometry, glass retainers, seals and foundation surroundings | Document changes and stop using the greenhouse if safety is in doubt |
| Before winter | Gutters, roof surfaces, door operation, anchoring and nearby branches | Clean and correct visible issues before frost and snow |
| After the frost season | Settlement, standing water, ice effects and moving parts | Inspect the ground and components again |
Choose cleaning products and techniques that suit the glazing, seals and finishes. Abrasives, harsh chemicals and rigid tools can cause damage. Keeping dated notes and photographs makes slow movement or deterioration easier to recognize.
Records to keep before and after purchase
Store the quotation, order confirmation, component list, assembly manual, foundation information and installation photographs together. Add a record of accessories and any later changes. Ordering steps are available under How to order; the applicable commercial warranty terms are in Warranty.
Approval is specific to the property. Before ordering, ask the municipality whether the proposed greenhouse needs a permit, zoning review, setback check or another consent. Confirm height, lot coverage, drainage, fire separation, services and intended use as relevant. Start with the province or territory and municipality because national model codes do not create one Canadian permit rule. The article Canadian permit planning for greenhouses and pergolas can help organize your questions, but the authority responsible for the property must provide the project-specific direction.
For deliveries in Canada, review the order and delivery terms for your product. Free delivery applies to most products, while specific product terms and kerbside handling may apply. Delivery is available throughout Canada, including territories and islands. More topics are collected in greenhouse delivery information and the useful information collection.
Questions readers often ask
Is four-season outdoor placement appropriate?
It can be when the chosen greenhouse is intended for permanent outdoor placement and the property, foundation, assembly and operation meet its requirements. Outdoor use in every season still calls for maintenance and inspections around exceptional weather.
Does aluminium mean upkeep can be ignored?
No. The frame material resists corrosion, but the greenhouse also includes fasteners, coatings, seals, gutters and moving parts that can collect dirt, loosen or sustain damage. Inspect and clean them with compatible products, and avoid unapproved combinations of materials.
When can an existing patio serve as the base?
Only after its construction, bearing capacity, flatness, drainage and anchoring options have been found suitable for the proposed greenhouse. A surface that merely looks level is not enough. Unknown sub-bases and floating pavers warrant professional assessment.
What should happen to vents when high winds are forecast?
Normally, shut and secure all doors and vents before gusty conditions arrive. An opening can catch the wind and raise pressure inside the structure. Apply the operating directions for the selected greenhouse and opener.
Does all snow need to come off at once?
A light covering does not always demand immediate removal. Consider the model guidance, moisture content, drifting, material sliding from nearby roofs and whether the accumulation is balanced. Continue monitoring and prevent dense or uneven buildup.
Can an unheated greenhouse remain frost-free through winter?
Not reliably. Daytime sunshine may warm the interior, but temperatures can drop sharply overnight. Glazing and building form affect the pattern without assuring a frost-free space. Maintaining a chosen minimum requires coordinated planning for heating, ventilation and safety.
Is moisture on the glazing proof of a leak?
No. Moist interior air forms condensation on colder surfaces. However, water returning to one exterior joint during rainfall should be investigated. Review irrigation, indoor humidity, ventilation and possible penetration as separate causes.
Is every wall suitable for a lean-to greenhouse?
No. Its construction, load capacity, flatness, weatherproofing, overhangs, drainage and existing services all affect suitability. Cladding and insulated wall assemblies need compatible connection details as well. Obtain a professional assessment if the build-up is uncertain.
Can I swap fittings or make new holes?
Only when the product documents allow it or express approval has been obtained. New holes or different fasteners may weaken a profile, redirect water or bring incompatible materials into contact. A shortcut during construction can create problems later.
How should I check the greenhouse after a major storm?
Approach only once the surroundings are safe. Photograph and inspect the glazing, movable elements, frame, joints, anchors and ground around the foundation. If anything is broken or displaced, restrict access and leave the greenhouse out of normal service until the concern is resolved.
Which planning task deserves attention first?
Begin with a thorough review of the location and foundation. Those decisions govern how the structure receives wind, water and other loads and whether its frame can be assembled accurately. Extra torque on the screws cannot correct a poorly prepared base.
These ideas can also inform other outdoor projects, although each product has its own construction and use requirements. When coordinating several structures, consult the pergola size guide, compare a wall-mounted or freestanding pergola , and read about bioclimatic versus classic pergolas . For a wellness area planned as a separate project, options include the Elma S outdoor sauna and HC150 thermowood barrel sauna . Treat each structure as its own project when reviewing foundations, setbacks, utility connections and approvals.
