



PREPARATION
Prepare for DIY Assembly: A Technical Checklist
Good groundwork makes self-assembly safer and less prone to avoidable stops, whether the project is a greenhouse, a pergola or an outdoor sauna. This checklist moves from confirming the product and site through foundation planning, tools, receiving, parts organization and the closing inspection.
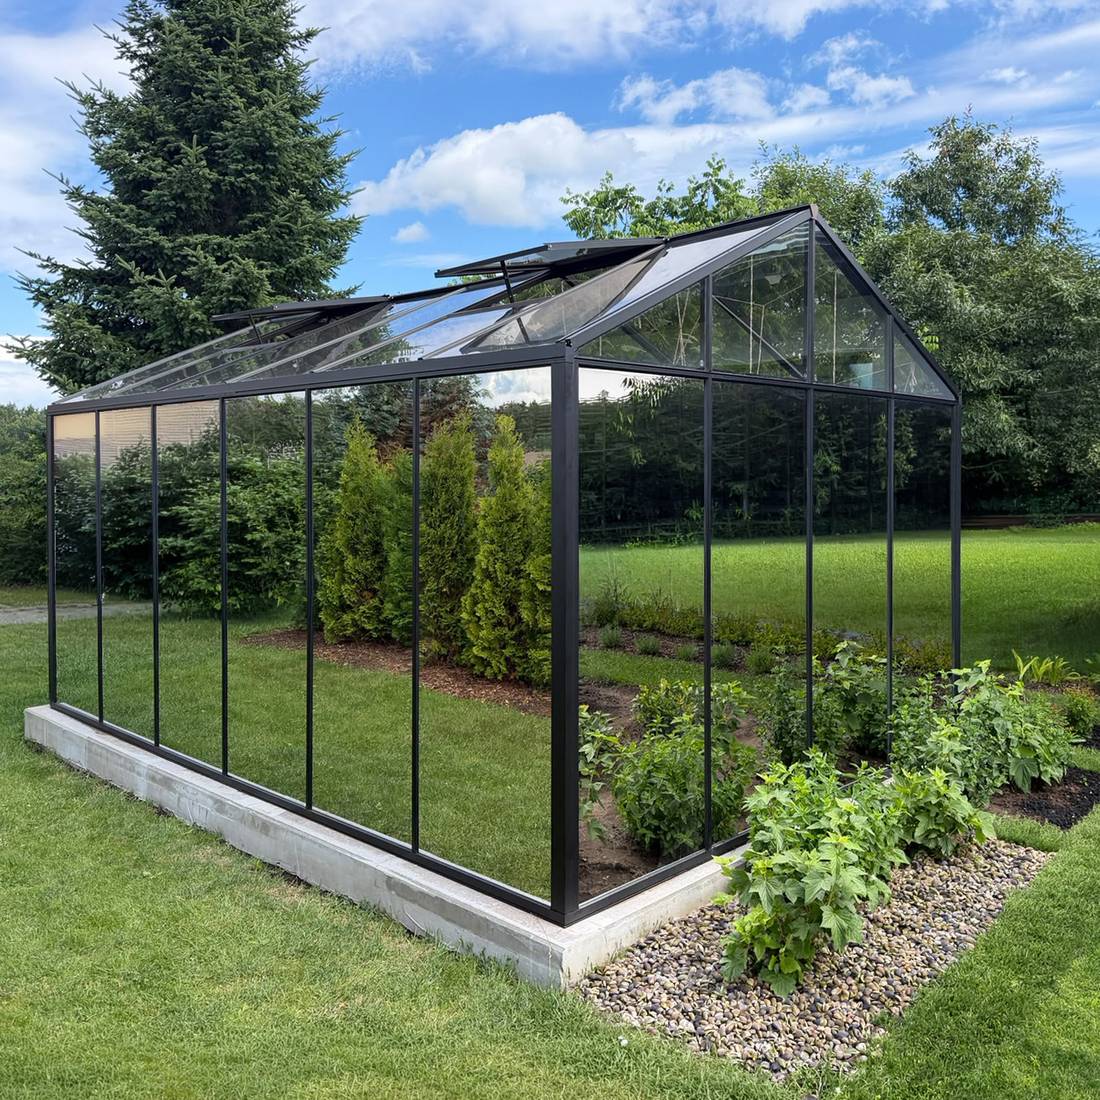
A quick map of the preparation work
The first hands-on task is not fitting a profile; it is verifying the product, paperwork, location and base. Small errors in the supporting surface of an aluminium structure can distort frame alignment, stress the glazing and interfere with smooth door operation.
Treat these steps as a planning framework for greenhouses, pergolas and similar backyard structures. A sauna also calls for attention to service connections, ventilation and the care specified for its timber parts. Instructions issued for the exact delivered model govern the work. This general checklist cannot take the place of that manual or a project-specific review of local rules.
| Stage | Key outcome |
|---|---|
| Before ordering | A suitable model, enough space and workable access |
| Before delivery | A checked site, completed foundation and unloading plan |
| Before assembly | A complete parts check, suitable tools and a reliable work plan |
| During assembly | A controlled sequence, ongoing measurements and safe temporary states |
| Before use | Checked connections, working openings and approved services |
Further guidance on choosing, ordering and delivery is available in Useful Information and under Shopping & Delivery .
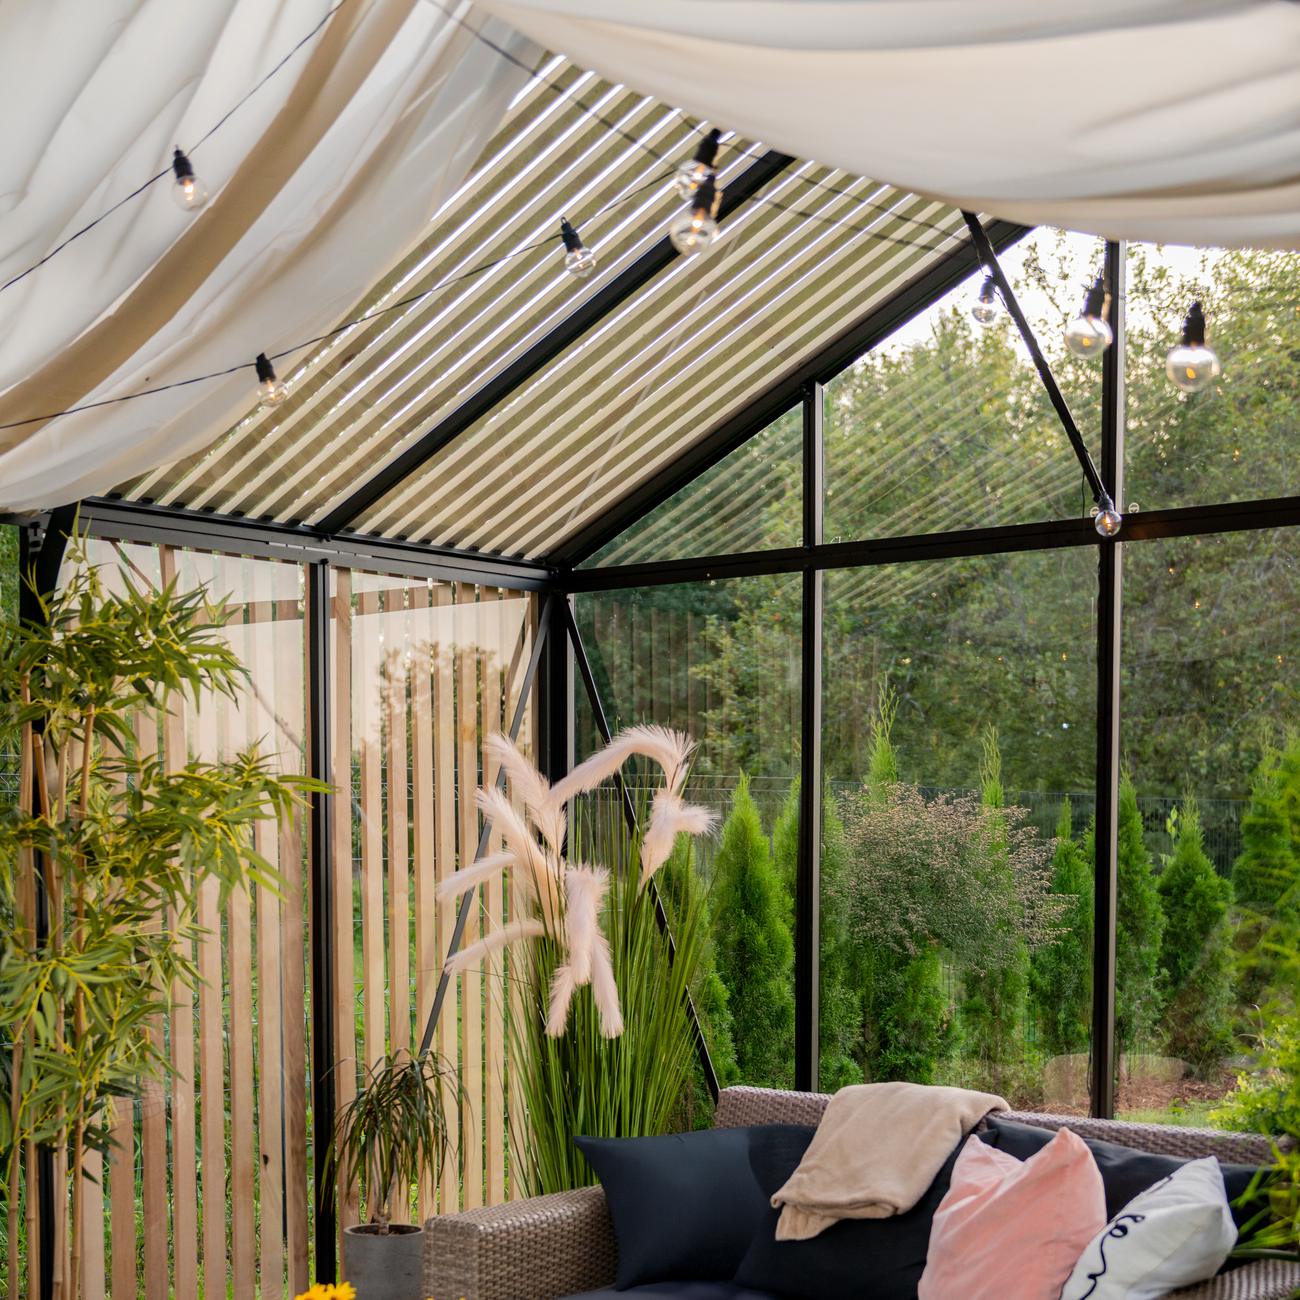
1. Lock down the exact product before planning the build
Write down the precise model, version and ordered configuration. A reference image is not enough to plan from. Doors, roof vents, roof forms, wall connections and optional modules can alter both the space required and the order of work.
Before building a foundation or buying materials, review the approved documents for the selected product. Check external dimensions, fixing points, door swing clearance, intended drainage and required maintenance access. For pergolas, the pergola size guide, along with advice on attached versus freestanding pergolas and a comparison of classic and bioclimatic pergola designs , can clarify the planning choices.
For a sauna, preparation must suit its actual construction. An Elma S outdoor sauna and an HC150 barrel sauna require different structural planning even though their purpose is similar.
2. Gather documents, assign responsibilities and verify local rules
Before work starts, assemble the order confirmation, packing lists, assembly manual, foundation details and any available information for service connections. The ordering guide can help reconcile the order with the product early. File the warranty with invoices and photographs.
Decide who will receive the shipment, inspect the packages, oversee the foundation and assembly, and coordinate any services. For electrical work, ask the provincial or territorial electrical regulator which notifications and inspections apply, use a qualified local contractor, and confirm that connected equipment is acceptable at the destination.
Approval is project-specific. Identify the province or territory and municipality, then ask the permit office about zoning, permits, structural design and services for the property's location, size and intended use before committing to permanent work. Begin with Canadian permit planning for greenhouses and pergolas. If the structure attaches to a wall, also verify that the wall assembly, insulation and waterproofing are compatible with a secure fixing method.
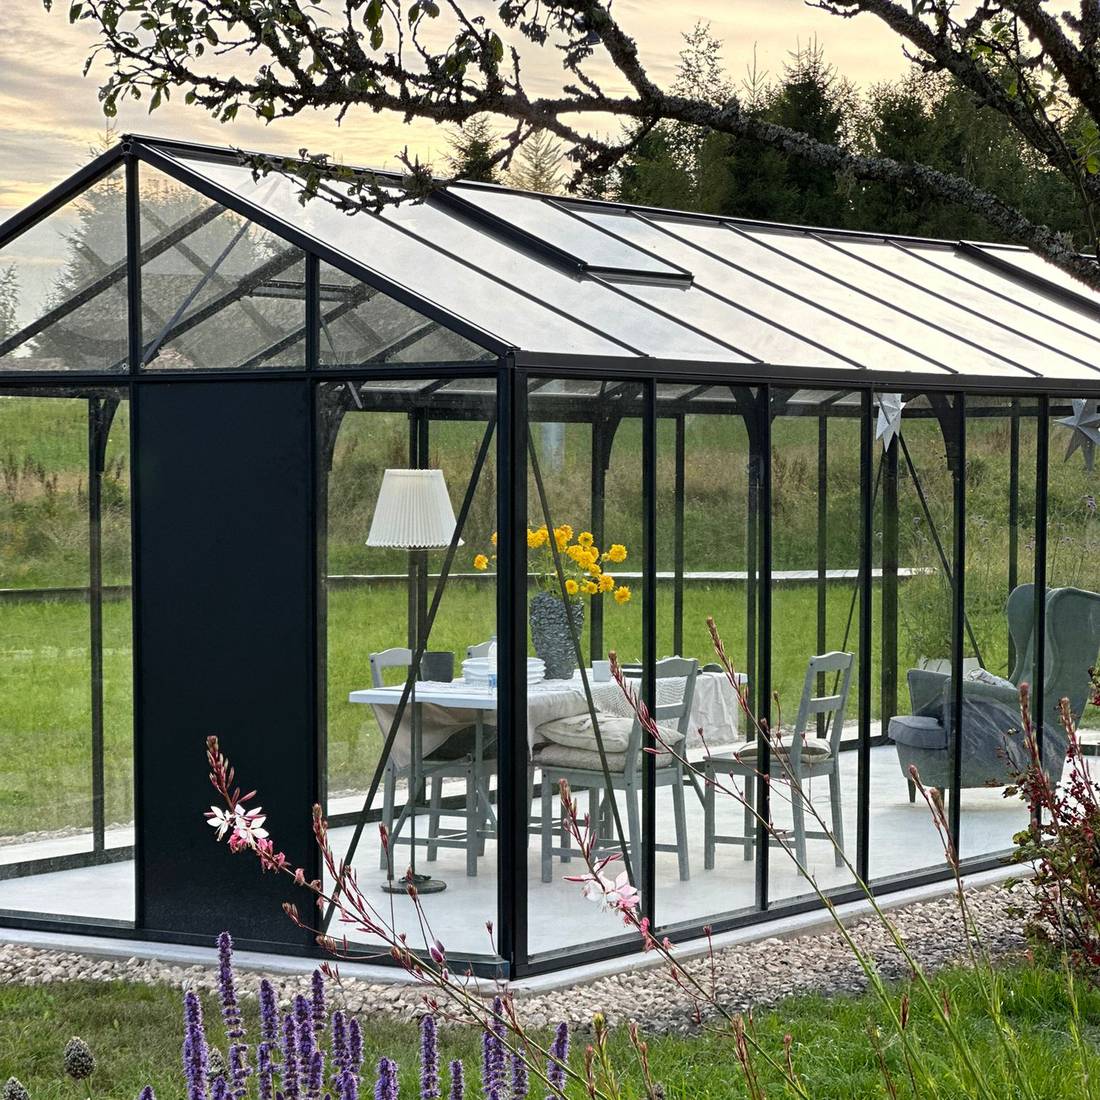
3. Assess the installation site technically
Visual appeal is only one part of choosing a location. Review the footprint, route into the yard, slope, soil, drainage, nearby obstacles and space needed for future care. Give doors, windows, louvres and every other moving element an unobstructed operating arc. Include gutters, roof projections and neighbouring plants in the layout.
Greenhouse siting should balance useful light, shade and reliable ventilation. See managing temperature and humidity inside a greenhouse for operating guidance. For material choices, consult polycarbonate, multiwall construction and insulation .
Questions to answer about the site
- Have you verified the footprint using current documents for the exact product?
- Is there adequate working room now and access later for cleaning, drainage and upkeep?
- Will long or fragile pieces make it from the unloading area to their final location without unsafe turns or obstacles?
- Can the soil and proposed base support the intended structure?
- Does the drainage plan prevent ponding and runoff entering from elsewhere on the lot?
- Will doors, walkways, site entrances and emergency access stay unobstructed?
- Have buried utilities and services inside an adjoining wall been located?
- Have you considered nearby trees, water discharged from roofs, loose objects, and snow or ice sliding from an adjacent roof?
4. Get the base ready and verify its geometry
The base carries loads into the ground and establishes the shape of everything assembled above it. Follow the requirements for the specific product rather than assuming one foundation design works everywhere. Soil, frost, drainage, construction method and site conditions all influence the solution.
Once the base is finished, verify more than its overall length and width. Compare the diagonals, check elevations and inspect every intended bearing area for evenness. Matching diagonals help confirm a square layout, but they are only one part of the inspection. Never hide an error by pulling a profile into place with the fasteners.
For pergolas, the pergola foundation guide adds further points to consider. A finished patio surface is not proof of an adequate structural base. Pavers, screed and other thin finishes reveal little about the support beneath or its ability to accept the proposed anchors.
Go/no-go check: Start building only after the base is complete, able to carry the work, verified against the required dimensions and clear of pooled water. Follow the waiting and curing period appropriate to the materials and foundation method used.
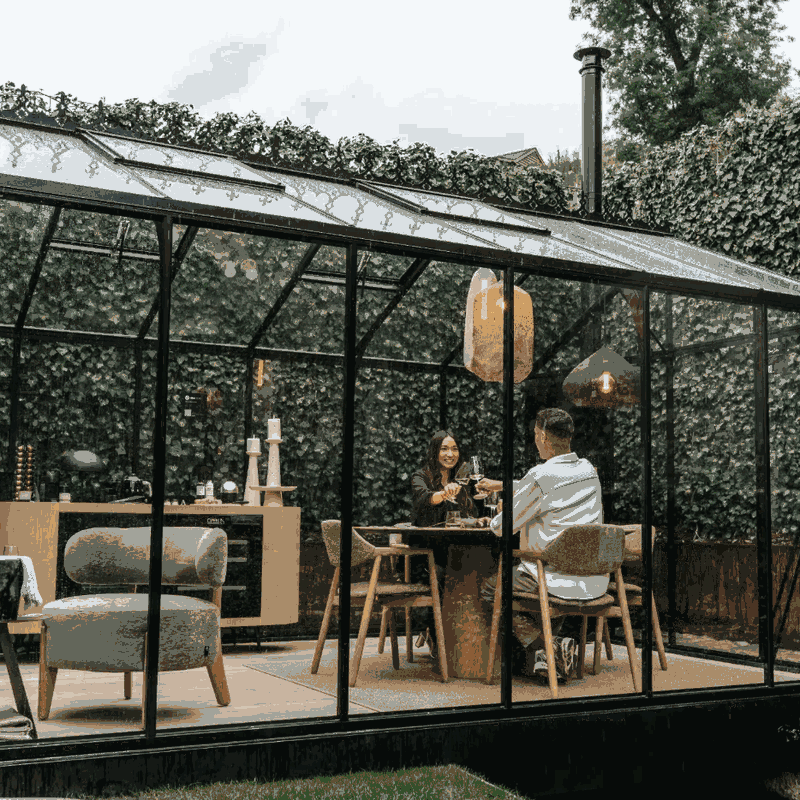
5. Assemble tools, the installation team and protective equipment
Build the tool list from the product-specific assembly manual. Typical requirements include measuring equipment, appropriate fastening tools, a level, marking tools and aids for safe positioning. Do not use unsuitable bits or wrenches: damaged fastener heads make controlled assembly and later maintenance more difficult.
Plan enough helpers for the size, weight and handling of the components. Long profiles, roof frames and glazing elements often cannot be aligned safely by one person. Requirements vary by model and assembly stage. Even when one person can lift a part, a second person may be needed for stabilization and measurement checks.
Basic protection includes suitable gloves, sturdy footwear and, where appropriate, eye and head protection. Ladders and work platforms must suit the working height and ground conditions. Improvised steps, loose garden furniture and ladders resting on packaging are not safe work equipment.
- Check tools in advance for proper operation and charge level.
- Set out small fixings in labelled containers.
- Provide clean, soft resting surfaces for coated or transparent parts.
- Route extension cords safely and protect them from moisture.
- Use only suitable handling equipment for glass or panels.
- Close the work zone to children, pets and anyone not involved in the build.
6. Organize receiving, unloading and weather-protected storage
Ahead of delivery, identify a safe stopping and unloading location for the vehicle, then map how each package will reach the build area. Account for tight driveways, steps, grades, low openings and surfaces that could be damaged. General procedures are listed under Shopping & Delivery; questions about a specific order should be clarified early through Contact .
Set aside a flat, dry, sheltered storage area. Support packages so they cannot sag, topple or sit in pooled water. Follow the individual storage directions for transparent panels, coated profiles and timber. Keep heavy packages separate from vulnerable pieces.
Delivery receiving checklist
- Match the delivery to the correct order and recipient address.
- Compare the number and identification of packages with available documents.
- Inspect packaging on all sides for impacts, tears, moisture or distortion.
- Photograph any concerns before moving the packages.
- Use the specified reporting process for any shortage or shipping damage you identify.
- Store packages systematically and protect them from tipping.
- Keep the wrapping until the inventory is finished because package markings can help match components to the documents.
7. Inventory and organize all components
Unpack methodically while keeping every part reference associated with its component. Reconcile the contents with the packing documents and assembly information. Group profiles by their role in the structure, not merely by length. Similar-looking pieces may differ in holes, end preparation or orientation.
Separate screws, nuts, seals and brackets into clearly marked trays. Keep look-alike fasteners apart: a substitute can have a different purpose even when its appearance is close. If identification is uncertain, stop sorting that item and request confirmation of its reference.
Photograph the sorted layout and anything that looks unusual. Completing the count before work starts lets you resolve a shortage before the frame reaches a vulnerable interim condition. Buyer experiences offer useful background, but product instructions remain controlling. Read the reviews under greenhouse reviews.
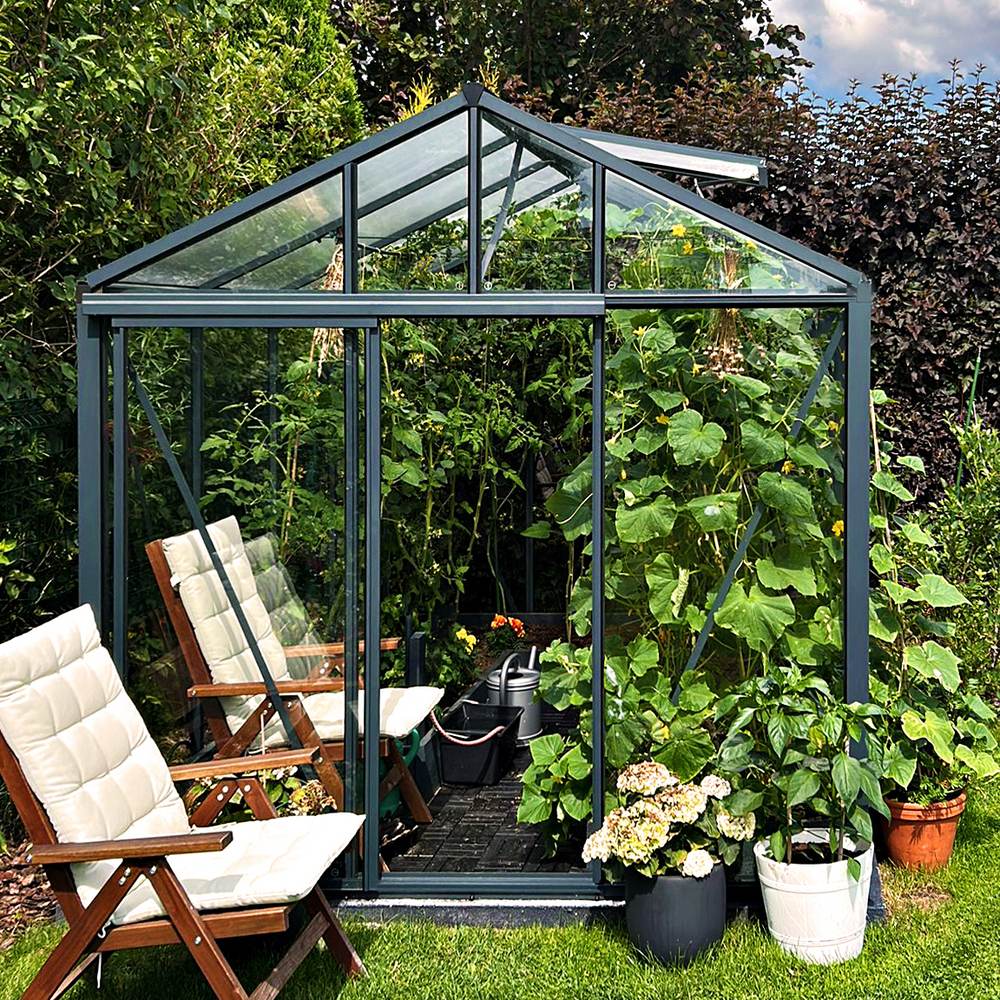
8. Assemble the greenhouse in a controlled sequence
Use only the manual issued for the model you received. Many builds establish the supporting base geometry first, connect the wall and roof frames next, and add glazing, openings and accessories later. That pattern is not universal, so follow the sequence shown for your product.
Recheck dimensions, square, plumb and height throughout the build. An error introduced at the base can carry into several later assemblies. At each stage, tighten hardware only to the extent instructed; complete the final tightening where the manual places it.
Recommended working method
- Read the full assembly stage: Check illustrations, orientation and required parts before lifting.
- Test-fit components: Hold profiles in their intended position without force first.
- Make adjustable connections: Preserve room for alignment whenever the instructions require it.
- Measure geometry: Check diagonals, plumb, alignment and opening dimensions.
- Secure the temporary stage: Never leave the structure unsupported.
- Confirm before proceeding: Move to the next section only after a successful check.
- Complete final tightening: Tighten fasteners at the specified stage without overtightening.
Never force glazing or panels with the wrong tools or push them into openings that are too small. Observe protective notes and the specified face or direction. Later-use ideas such as greenhouse lettuce growing only matter once the build has passed its technical checks. For ongoing inspection, consult care for aluminium greenhouses.
9. Choose suitable assembly conditions
Do not work in strong wind, thunderstorms, icy weather or any condition that prevents firm control of components and stable ladder use. Broad panels and frame sections catch the wind easily. A modest gust can shift an unbraced assembly.
Rain can make markings unreadable, soften packaging, create slippery work surfaces and wet open components. Extreme heat makes warmed metal difficult to handle. Plan adequate daylight and avoid working under time pressure near darkness.
If work has to stop, brace and support the partial build before leaving it. Move loose panels and packaging into sheltered storage. Until every required stage is complete, treat the structure as temporary and potentially unstable.
10. Carry out final checks before use
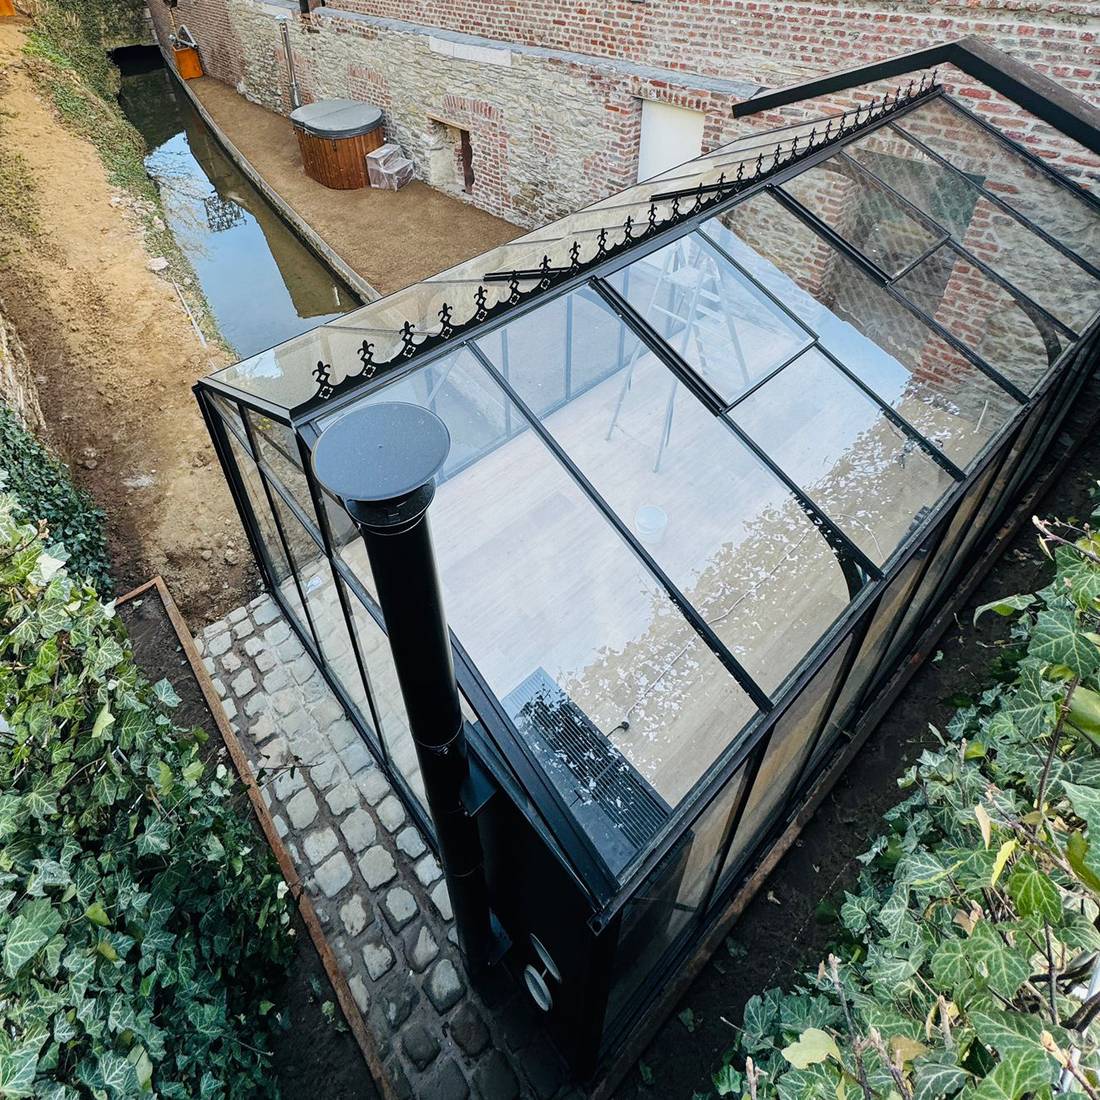
After the last construction step, inspect the result systematically. Work through the manual once more to ensure every connection, seal and cover is present. Operate doors, windows, latches and movable roof parts through their full range.
- Visual inspection of all connections and fixing points
- Check for plumb, alignment and visible distortion
- Confirm that seals are continuous and correctly positioned
- Remove loose drill swarf, packaging remnants and tools
- Test doors, windows, locks and drainage
- Check the intended floor or wall connections
- Document the finished structure with overview and detail photographs
Do not operate an outdoor sauna's technical equipment until a qualified local contractor has completed the necessary connections and confirmed that the equipment and installation are acceptable at the destination. Further model information is available under Saunas. For greenhouse layout ideas, browse greenhouses and conservatories ; broader uses are discussed in the orangery guide .
When the right decision is to stop
A well-timed pause prevents damage and incorrect assembly. Stop and reassess in any of these circumstances:
- The model, component or part number cannot be identified with confidence.
- Foundation dimensions, diagonals or elevations are clearly outside the requirements.
- A profile needs considerable force to make drilled holes align.
- A safety-relevant part is missing or damaged.
- Wind, rain, ice or poor visibility prevent controlled work.
- The structure cannot be supported adequately in its temporary state.
- There is uncertainty about wall construction, services or the fixing substrate.
- The manual and the actual component situation appear to conflict.
Photograph and record the issue, stabilize the work and secure anything loose before asking for clarification. Drilling, shortening or bending a part without approval can turn a simple identification problem into irreversible damage.
Questions people ask before self-assembly
Is it sensible to build the foundation before I order?
Only when the final version of the product and its current foundation documents have been confirmed. Catalogue photographs and approximate measurements cannot establish fixing locations. A different size, door arrangement or configuration may change the base. Plan permanent work from the approved documents for the selected product.
Can I assemble a Bloomcabin structure alone?
The answer changes with the model, part and stage of work. Length, wind exposure and alignment needs can make several helpers necessary even for lightweight profiles. Base the crew size on the manual and handling demands, not simply on the weight of one part.
Do all screws need final tightening immediately?
No, not when the instructions leave a connection adjustable for alignment. Locking it too soon can introduce stress or prevent the frame from being squared. Hardware must still be secure enough to keep the temporary assembly controlled. Use the sequence specified for the model.
How can I distinguish two near-matching profiles?
Compare their references, hole patterns, ends, channels and intended orientation with the detailed drawing. Avoid permanent marks or alterations while the identity is unresolved. Photograph the profiles together with their labels and ask for the difference to be confirmed.
Could an existing concrete patio support a pergola?
It might, but its visible finish does not establish structural capacity. The build-up, thickness, reinforcement, edge clearances, support below and present condition must suit the proposed anchors. Have the actual patio assessed and use the foundation documentation issued for the pergola.
At what stage should I remove film and packing materials?
As late as practical, but early enough for identification and correct installation. Some films indicate installation direction or protect delicate surfaces. Remove them as instructed. Keep packaging with part numbers until the full inventory is complete.
How should I respond if rain starts?
Pause work if stability, visibility, tool operation or safe handling are affected. Secure and support the temporary stage. Store loose panels, fittings and moisture-sensitive parts under protection. Continue only when the ground and conditions are safe again.
Can I modify a part that will not go into place?
Wait for a confirmed diagnosis before changing it. A piece that appears too long or wrongly drilled may be reversed, confused with another part or affected by an earlier assembly error. Recheck references, orientation, base geometry and previous stages first. Cutting or drilling without approval can compromise operation and safety.
When can I furnish or plant the greenhouse?
Wait until construction and the closing inspection are finished and all loose tools and packaging are gone. Verify the doors, windows, glazing and anchoring. Then arrange paths, containers and irrigation without blocking ventilation or maintenance access. For crop tips, consult growing basil under glass.
What project records are worth retaining?
Retain the invoice, order confirmation, manual, packing lists, product labels and relevant messages. Add photographs of the received packages, foundation, concealed fixings and completed structure. Log the date and result of later inspections. A clear project record simplifies maintenance, spare-part matching and future questions.
