



SUPPORT
Requesting the Right Replacement Parts, Glass and Components
A step-by-step reference for matching, requesting, receiving and fitting replacement glass, hardware, seals and other components.
Before a replacement can be matched, the exact structure, model and installed component need to be established. Aluminium greenhouse and pergola parts may look alike while performing different jobs, so dimensions are only part of the evidence. Use this guide to assemble a useful request, check glass measurements safely and reduce avoidable follow-up.
Start with the reason for the request
How the problem arose helps determine what must be checked. Transit damage, for example, calls for different evidence than a window that has gradually become stiff after years of use. Begin with a short account of what happened and when the change was first noticed.
- Transit damage: Document the packaging, label, damaged area and affected position.
- Assembly damage: State at which assembly stage the damage occurred and whether adjacent components are affected.
- Wear: Include the age of the structure, previous maintenance and any observed change in operation.
- Storm damage or external impact: Check not only the visibly damaged item, but also the frame, fixings and connection areas.
- Missing item: Explain which construction stage or package the item is likely to have come from.
- Planned alteration: Make clear that the request concerns a change rather than restoring the original condition.
For an operating fault, note whether it is continuous, linked to temperature, or appears only during wind or loading. Dirt, frame movement, loose connections or an incorrect adjustment can all make a door bind. A new component will not solve the problem if another part of the structure is causing it.
Build an identification record
Complete records make it easier to rule out an item that looks right but is technically unsuitable. Refer to the original order paperwork and the model-specific assembly manual whenever they are available. For the standard purchase process, see How to Order.
Order and structure information
- Order number, invoice number or another available order reference
- Full name of the person or business that placed the order
- Original delivery address and approximate order period
- Product name, model family and configuration
- Colour or finish variation of the aluminium structure
- Structure type, such as freestanding, lean-to or a special layout
- Accessories ordered with the structure or later modifications
Older photos of the fully assembled structure can also help with identification. The greenhouse reviews show a range of completed installations. A whole-structure photograph establishes context, while a close-up supplies the detail that an isolated component image cannot.
Describe the component itself
Choose a fixed viewpoint before describing the location. Words such as “left” and “back” are unreliable without that reference. A clearer example is: “Viewed from outside while facing the door, the 2nd roof pane on the right.” Then provide:
- Number of parts required
- Function of the component
- Visible marking, number or stamp
- Overall dimensions and relevant hole spacing
- Cross-section for profiles or seals
- Type and location of damage
- Photos with a scale, plus overview images of the installed position
A fixing cannot be identified reliably from length and diameter alone. Its head, thread, material, mating piece and installed orientation may all affect compatibility. If a fastener is still supporting the structure, do not remove it merely to obtain a photograph.
Confirm the product family
Bloomcabin components span several product families. First decide whether the request concerns a greenhouse, conservatory, pergola or another structure. Use Greenhouses and Conservatories for a broad overview. Because wall junctions and roof geometry can differ on a lean-to structure, consult the aluminium lean-to greenhouse.
Matching colour or production period does not prove that a component will fit. Position, opening direction and structural role can vary even within a model family, and names cannot be transferred between unrelated categories. For example, the Elma S outdoor sauna is technically unrelated to an aluminium greenhouse. Identifying the family first keeps the assessment focused on the correct structure.
What to record by component type
| Category | Examples | Key identification details |
|---|---|---|
| Glazing | Roof, side, door or gable panes | Model, position, shape, edges, holes, nominal dimensions |
| Aluminium profiles | Posts, rails, rafters, cover profiles and connection profiles | Profile cross-section, length, finish, connection points |
| Seals | Glass, door, window and connection seals | Cross-section, installation direction, groove, material condition |
| Hardware | Hinges, rollers, handles, brackets and connectors | Hole pattern, side, direction of movement, mating component |
| Fixings | Screws, nuts, T-nuts and clamps | Thread, dimensions, head, material, installation location |
| Opening components | Roof-window, door or ventilation components | Model, opening type, lifting direction, fixing points |
| Drainage | Gutter, outlet and end components | Profile shape, outlet side, joint and slope |
Avoid grouping several damaged small items under the vague label “assembly kit”. List and number each item, or mark every one in a photograph. This allows Bloomcabin to determine whether a complete set or only selected components are needed.
Matching greenhouse replacement glass
A pane forms part of the greenhouse assembly, and width and height are not its only defining details. Glass type, thickness, shape, edge treatment, holes, cut-outs and position may also matter. Roof and wall panes of similar apparent size can differ, so use the model, pane location and original documents together.
Glass, multiwall sheet and other glazing materials should not be treated as the same product. For information about plastic-sheet construction and selection, see polycarbonate for greenhouses. Substituting one glazing material for another is a technical alteration, not a routine parts order. Its effects on retention, sealing and load transfer need to be assessed.
Responding to cracked or broken glass
Keep people away from the affected area before doing anything else. Use suitable personal protective equipment, avoid windy conditions and do not place more load on the damaged pane. Any temporary cover or restraint should keep both fragments and loose material from falling or being lifted by the wind.
- Photograph the full structure, then the affected panel.
- Document the crack pattern, edges, fixings and neighbouring profiles.
- Record the exact position from a clearly defined viewpoint.
- Without adding load, check whether profiles, seals or brackets are also damaged.
- Keep any labels and safe, identifiable components.
- Remove hazardous shards safely and dispose of them properly; safety takes priority over retaining evidence.
Do not fit the new pane until any unusual stress has been investigated. Frame distortion, an uneven base, displaced seals or uneven clamping could damage the replacement in the same way.
Use measurements to verify the match
Treat dimensions as a cross-check rather than an automatic substitute for model identification. Measure the pane itself where this can be done safely, not just the visible opening. If it is broken, compare an equivalent position or use original records and surviving edges. Clearly mark any estimated corner instead of presenting it as measured.
- Measure width and height at several points
- State measurements in millimetres
- Prepare a dimensioned sketch for non-rectangular panes
- Record diagonals where the shape is uncertain
- Measure holes from unambiguous reference edges
- Determine glass thickness only using a suitable method
- Link every measurement clearly to a photo or sketch
Some forms of safety glass cannot be cut or drilled after manufacture as ordinary untreated glass can. The final shape and machining details therefore need to be settled before production. Do not order local glass solely from the clear opening in the frame.
Assemble one clear request
Collect the evidence in a single organized message. Separate, unlabelled photo messages are easy to misread or detach from their context. If several items are required, give them matching numbers in the list and images.
- Provide order and contact details.
- State the product model and configuration.
- Briefly describe why you are making the enquiry.
- Number every item and state the quantity.
- Name photos using the same numbering.
- Add measurements and positions.
- State whether the structure can currently be used safely.
Use the Bloomcabin contact options to submit the request. Replace a vague description such as “door seal” with something traceable, for example: “Position 3: lower seal on the moving door leaf, viewed from outside; overview and cross-section shown in photos 3a through 3c.”
Documenting delivery issues and receiving parts
If the original shipment contains a missing or damaged item, record its condition before unnecessarily changing the packaging or goods. Photograph the outside packaging, shipping label, affected area, internal protection and component in context. For the next steps, see Purchasing and Delivery.
For a replacement connected to a cross-border order delivered to Canada, include the original destination, route and order reference. Record the province or territory and any island destination where relevant, then review greenhouse purchasing and delivery information for Canada.
What to check on arrival
- Check shipment and recipient details.
- Photograph the packaging from all sides before opening it.
- Document visible damage.
- Match components to the accompanying documents.
- Check glass and long profiles for visible damage.
- Do not discard small parts with packaging materials.
- Store components dry, protected and clearly labelled.
Do not test-fit a component that is visibly damaged or clearly incorrect. Doing so could harm adjoining parts and make the condition harder to assess later.
Prepare for safe replacement work
Before dismantling anything, determine whether loads must be removed, the structure supported or adjoining sections taken apart. Keep the correct assembly manual nearby and label each removed component. Glass, roof areas and load-bearing connections require suitable tools, secure access and enough people for controlled handling.
Check in advance:
- Is the replacement part clearly assigned to its position?
- Are seals, connectors and fixings complete?
- Is the frame square and free from distortion?
- Can the old part be removed safely?
- Do adjacent components need support?
- Do local rules or trade qualifications need to be confirmed?
A change to the foundation, site or overall form can affect how a project is assessed. Start with the province or territory and municipality, then use the article on whether a greenhouse or pergola may need approval. Ask the local permit office about zoning, building permits and project-specific requirements; federal model codes do not themselves settle the rules at every Canadian address. For base planning, the pergola foundation guide provides a separate construction overview.
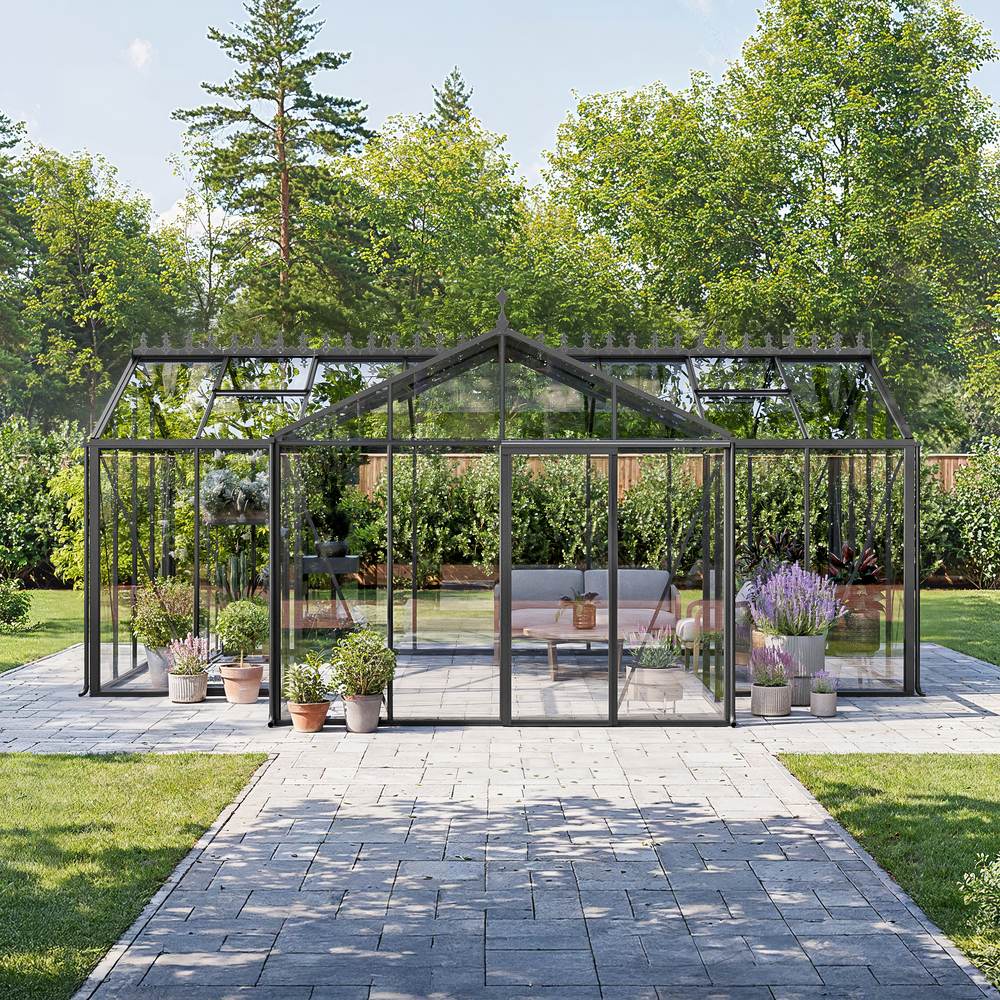
Anna Koku Skola: 1 continuous installation record
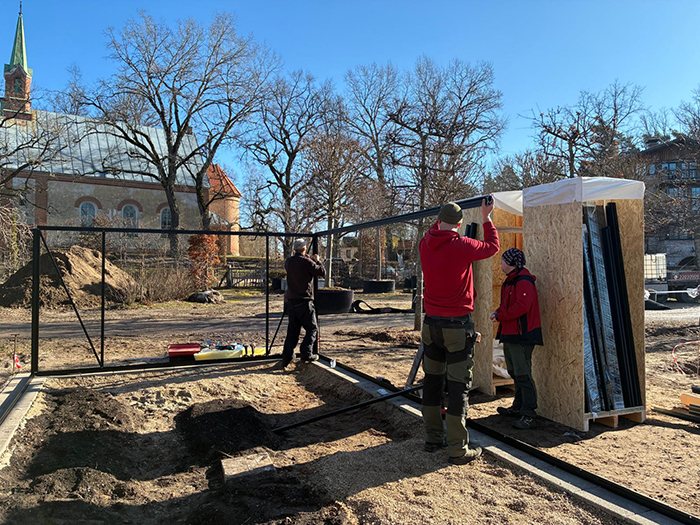
The Anna Koku Skola images follow the same installation from one stage to the next; they are not photographs of unrelated projects. That continuity is useful when identifying parts because early views reveal connections before they are covered, while later views establish the component’s final orientation in the complete structure.
The sequence provides 3 useful layers of evidence: delivery and initial component condition, work-in-progress assembly, and the aligned finished structure. Chronological file names tied to each construction stage make a later profile, connector or pane easier to locate. Photograph concealed junctions before covers or glazing hide them.
Maintenance and practical spare storage
Routine checks can stop a minor defect from affecting nearby parts. For maintenance methods, see Caring for Your Aluminium Greenhouse. Look over moving components, seals, drainage and visible joints, but do not tighten every fixing indiscriminately. Excessive tightening can cause problems just as looseness can.
Temperature and humidity influence condensation, dirt accumulation and the demands placed on ventilation parts. For operating advice, consult greenhouse temperature and humidity. Good irrigation organization can also keep water from collecting where it should not. The water-efficient gardening guide offers related ideas.
A modest stock of frequently used, model-specific wear or assembly items may be worthwhile. Avoid buying unidentified “universal” parts as a precaution. Keep seals relaxed, small hardware dry and glass protected from tipping, impact and edge pressure. Label each package with its model, location, part number and storage date.

Pergola glazing and operating parts
Pergola requests follow the same identification logic, but the structure’s operating method is especially important. Begin by confirming whether it is a bioclimatic or standard pergola and whether the frame is wall-mounted or freestanding . Then use the pergola size guide to interpret the dimensions and bay arrangement.
For glass walls, record the panel position, opening direction, track or guide system, and junctions with the floor and roof. For powered or mechanically linked components, add the drive type, wiring or coupling and a precise fault description. Before electrical work begins, ask a qualified local electrical contractor to confirm the destination-specific requirements and whether the equipment is accepted there.
Before changing a roof or glass-wall system, review Bioclimatic Pergola, Roof and Glass for an explanation of how the functions differ. Never force a jammed louvre, sliding section or drive.
Questions customers often ask
Are width and height enough to order a new pane?
Usually not. Use those dimensions as checks and add the model, installation position, glass type, thickness, shape, edge details and holes where available. A full-panel photograph and dimensioned sketch make an incorrect match less likely.
Can glass be moved from one Bloomcabin model to another?
Compatibility must be checked rather than assumed. Matching outside dimensions do not prove that the edge treatment, fixing method or structural purpose is the same. Roof, side and door glazing may also differ within one structure.
What should the photo set contain?
Include the whole structure, the relevant elevation, the exact installed location and several close details. Show a tape measure or scale, identifying marks and mating components where useful. If movement is the problem, a short sequence at different positions may reveal more than a single image.
Should damaged items be discarded after they are photographed?
Retain safe components, labels and identifiable fragments until the request is documented. Remove and dispose of hazardous glass safely rather than keeping it as evidence. Detailed photographs can preserve the identifying features without creating an ongoing risk.
Is replacement glass suitable for a do-it-yourself installation?
That depends on the pane’s size and position, the available access, the structure and your experience. Large, heavy or overhead glazing can be difficult to control. Follow the assembly manual and use a suitable professional whenever the work cannot be completed safely.
How can I identify a component whose name I do not know?
Mark its location in numbered photographs and describe its job, attachment point and the item it moves or supports. A simple arrow on a sketch is often more reliable than guessing a technical name.
May I source a seal, screw or bracket locally?
Only after its technical suitability and compatibility have been established. Geometry, material, strength, corrosion behaviour and interaction with aluminium or glass can all matter. Visual similarity alone is not enough.
How should I respond to a stiff door or roof vent?
Stop forcing it. Look for dirt, visible distortion, loose joints, guide problems and changes in alignment, and note when the symptom occurs. Check whether the frame or foundation is responsible before replacing an operating part.
Does making a parts request mean the warranty applies?
No. Coverage depends on the product, cause, available records and the relevant terms. Submitting technical evidence begins an assessment; it is not approval of a warranty service. The Warranty section sets out the applicable information.
Can I request components for a greenhouse alteration?
You may enquire, but the availability of one component does not establish that the proposed alteration is technically suitable. A change can affect structural behaviour, glazing, drainage, ventilation and connections. Describe both the current arrangement and the intended result.
What is the safest way to store replacement components?
Use a dry, protected area and label every item clearly. Support long profiles so they cannot bow. Secure glass against tipping and edge impacts, and do not kink, overstretch or leave seals in prolonged heat or direct sunlight.
Where are the purchasing and privacy policies?
Review the Bloomcabin terms and privacy information presented during a purchase or enquiry, and submit only the personal details needed to identify the request. The Useful Information section links to general service and ordering information.
Replacement request checklist
- Reason for the enquiry clearly described
- Order reference and product model provided
- Installed position identified from a clear viewpoint
- Every item numbered and listed with quantity
- Overall, position and detail photos included
- Measurements in millimetres entered as supporting evidence
- Glass shape, holes and edges documented
- Adjacent components checked for damage
- Installation and safety conditions considered
- Delivery address and contact details checked
Good documentation saves time and reduces the chance of an incorrect order. The goal is not to send the largest possible photo set, but to create a clear trail from the product and location to the component, measurement and observed problem.
