



PREPARATION
Preparing an Outdoor Sauna: Location, Foundation, Drainage and Clearances
Before an outdoor sauna arrives, its site should be firm, level and able to shed water over the long term. Use this guide to coordinate the footprint, foundation, drainage, safety clearances, utility routes and delivery path before assembly.
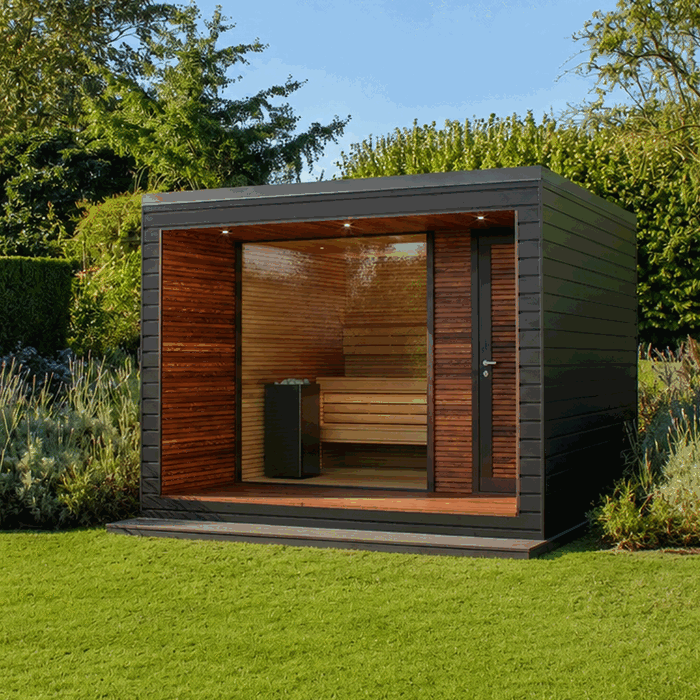
Treat the sauna site as one connected project rather than a pad built in isolation. Soil conditions, runoff, clearances, utility routes and access all affect the result. A pad that fits the visible walls can still leave a door binding, moisture trapped underneath, maintenance areas out of reach or the electrical entry on the wrong side.
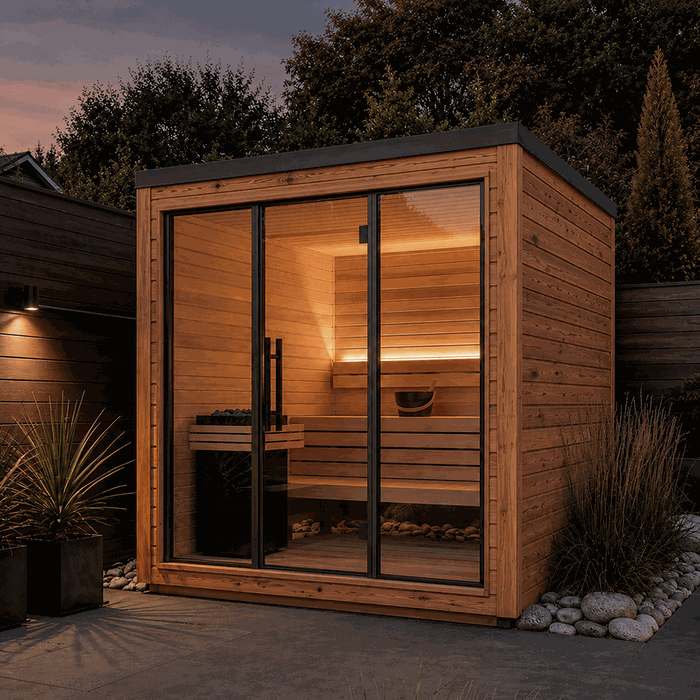
Use the same planning process for a compact barrel sauna or a larger straight-sided garden sauna, while following the documents and assembly manual for the selected model. Requirements applicable to the property must also be confirmed. Browse the available designs in the Saunas section. Further advice on ordering and project preparation is available under Useful Information.
Outdoor sauna site-preparation checklist
Review these points before excavation, foundation work or installing utility routes:
- The exact sauna model and its required support area have been confirmed.
- Space for roof overhangs, the entrance, heater, chimney, assembly and maintenance has been allowed for.
- The ground has adequate bearing capacity and is not simply compacted at the surface.
- The foundation can support the structure evenly for the long term.
- Surface water runs away from the site rather than collecting beneath the sauna.
- Air can circulate beneath and around the structure as intended.
- Manufacturer clearances and locally applicable requirements have been checked.
- Electrical service, lighting, water and, where applicable, drainage have been planned.
- The delivery route has been checked for width, height, bearing capacity, turns and obstacles.
- The assembly team can safely reach every side of the sauna.
If there are questions about the model or required documentation, resolve them before building the foundation. Use the Contact page for assistance.
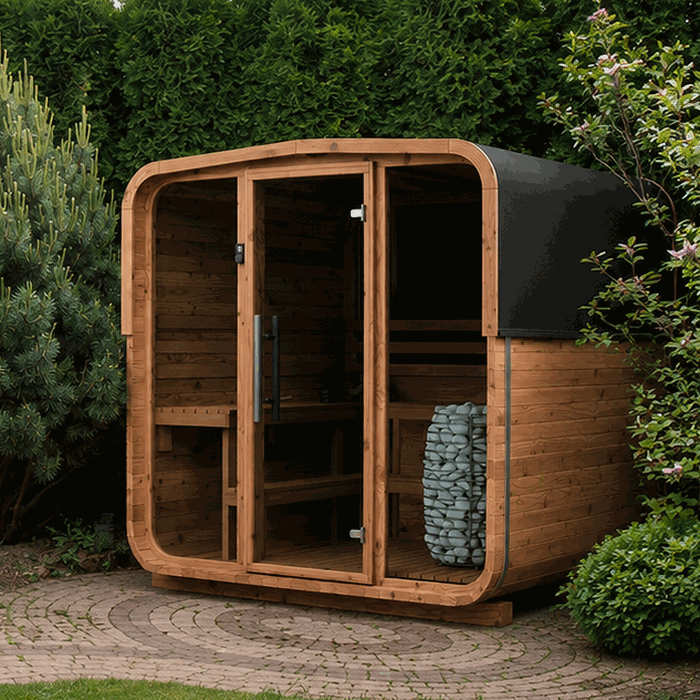
1. Choosing the right location for an outdoor sauna
Start with everyday use
A technically possible location is not automatically convenient to use. Consider the walk from the house in darkness, rain, frost and snow. A short, secure route makes regular sauna use easier. Leave enough privacy without blocking vents or maintenance sides with privacy screens.
Plan the space immediately outside the door as well. It should provide a stable, slip-resistant standing area. The door must open fully, and steps, railings or furniture must not obstruct the exit, transport or maintenance work. For general help choosing between timber, barrel and garden saunas, see How to Choose a Wooden, Barrel or Garden Sauna.
Assess the property as a whole
Record slopes, soil conditions, existing drainage, property lines, buildings, fences, trees and buried utilities. A low spot is usually a poor choice, even when it is sheltered from wind, because rainwater or snowmelt can collect there. Tree roots, fill material and recent earthworks can also affect long-term settlement.
Before settling on the location, identify the government approvals and any private property restrictions that apply. Ask the provincial or territorial authority and municipal permit office about zoning, setbacks, the proposed heater or chimney, and utility routes; the answer can depend on the property and design. The article Building Permits for Garden Structures offers a planning framework, not a decision for your property. Canada’s national model codes do not create one permit rule that applies everywhere. First identify the code adopted in the province or territory, then confirm municipal zoning, permit, structural and service requirements for the project.
Allow for sun, wind and weather exposure
Sun and wind affect timber surfaces, the roof, entrance and seating area. An exposed side needs particularly careful water management and must remain reachable for inspection. Large trees can provide shade, but they also bring leaves, falling branches and concentrated roof loading. Avoid placing the sauna directly below old or damaged limbs.
Observe the property during heavy rain and after prolonged wet weather where possible. This reveals water paths that may be invisible during dry conditions. Find broader garden-planning inspiration in Garden Trends and Planning Ideas.
2. Confirm the footprint before building the foundation
Do not size the foundation from a broad product category. Use only the current documents for the model actually ordered. Overall length and width are not enough: eaves, roof drainage, an entrance platform, heater placement, technical components and assembly access can require additional room.
Different sauna designs must not be treated as having the same dimensions. For example, compare the individual documents for the Elegant Outdoor Sauna Elma S and the Elegant Outdoor Sauna Elma L. The same applies to barrel saunas: the pages for the Barrel Sauna HC150, Barrel Sauna HC 180, Barrel Sauna HCF 225, Barrel Sauna LC 225, Barrel Sauna LCF 260 and Barrel Sauna N 210 must each be reviewed separately.
Before construction begins, mark the outer outline and door swing on the ground. Add the required work zones. This simple test often reveals conflicts with walls, beds, paths or changes in grade early on.
3. Selecting a suitable base for an outdoor sauna
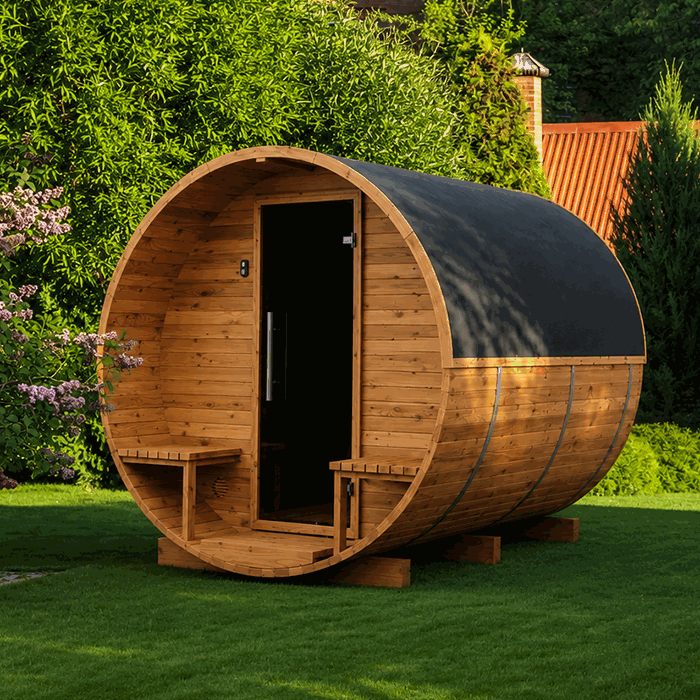
A suitable base spreads loads evenly, remains stable and keeps timber components out of persistently damp areas. The right approach depends on the soil, sauna construction, terrain, drainage and local requirements. Options may include professionally planned concrete surfaces, load-bearing slab systems or other foundations suitable for the specific model. There is no one foundation solution for every property.
| Check | Technical question |
|---|---|
| Bearing capacity | Can the base carry the loads permanently without uneven settlement? |
| Level | Are all specified bearing points fully and evenly supported? |
| Water management | Can water drain away without ponding below the sauna? |
| Durability | Will the base remain stable through frost, precipitation and seasonal ground movement? |
| Geometry | Do the dimensions and bearing points match the current foundation plan for the model? |
Level does not mean poorly drained
The sauna’s bearing points must sit in the plane required by the manufacturer. That does not mean the whole surrounding area should be flat and prone to holding water. Plan the foundation level and site drainage separately: the structure needs correct supports, while adjacent surfaces should direct water away in a controlled manner.
Prepare more than the visible finish
Pavers or slabs can hide a weak support layer. Remove organic soil, loose fill and other unsuitable material to the depth the site requires. Have the sub-base, compaction and freeze-thaw conditions assessed for the location. Soft ground, slopes, fill or uncertain bearing capacity warrant professional design advice.
4. Drainage and moisture management
An outdoor sauna is exposed to rain, splash water, ground moisture and changing temperatures. Effective drainage means more than adding a channel. Roof runoff, surface water, internal water and ventilation must work as one system.
Control roof runoff
Check where water leaves the roof and where it goes afterwards. It should not soak persistently at the base, in front of the entrance or beneath load-bearing areas. Any planned roof drainage needs an appropriate route for discharge or infiltration that suits the ground conditions and local requirements.
Shape the surrounding ground
Nearby surfaces should guide precipitation away from the structure. Avoid low pockets between the foundation and garden path. Added soil, gravel or planting beds must not be high enough to bring moisture against timber parts or close ventilation gaps. Comparable moisture-control principles are explained in the article on Temperature and Humidity in Garden Structures .
Plan for water inside
Whether a floor drain is necessary or provided for the selected model cannot be answered generally. Construction, use, cleaning methods and manufacturer documentation determine the answer. If a drain is planned, settle its position, slope, frost protection, trap and permitted discharge before foundation work. A misplaced drain can be difficult to correct later.
Maintain ventilation beneath the structure
Airflow below the sauna helps it dry. Do not close construction gaps with soil, edging stones or tight cladding. At the same time, do not create a void that becomes a trap for leaves and standing water. Access for inspection matters more than a visually sealed plinth.
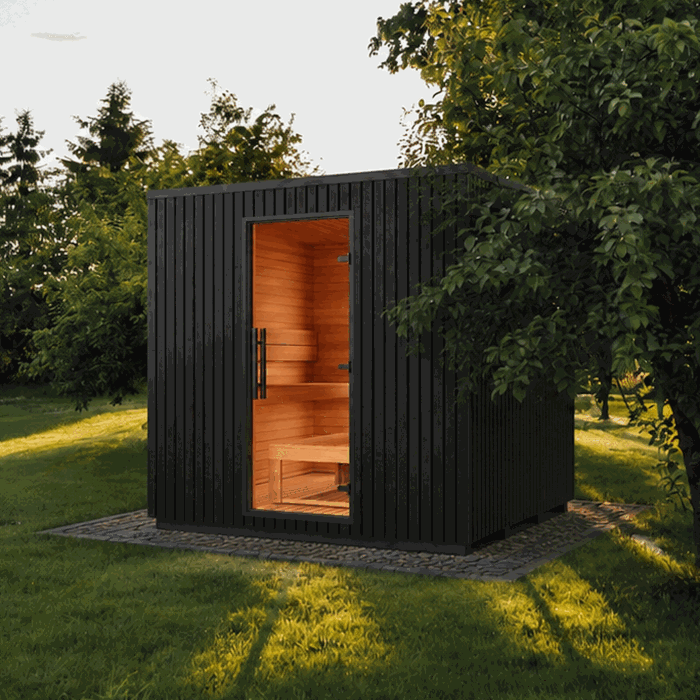
5. Clearances around the sauna
Manufacturer and heater clearances
The sauna structure, heater, protective components and, where applicable, chimney each have their own clearance requirements. Use the current manufacturer documents. A wood-burning installation also brings location-specific requirements. Consult the responsible local authorities and qualified professionals before finalizing the site.
Assembly and maintenance space
A gap that works on paper between a sauna and fence can be unusable in practice. Leave working room around the structure for assembly, surface care, roof inspection, cleaning and replacement of technical components. Consider tool movement and the transport of long parts. A side that cannot be reached after installation cannot be inspected reliably.
Overhead clearance
Check branches, eaves, utility lines, lights and other components above the sauna. A chimney arrangement has additional requirements that must be determined professionally. Also consider the assembly process: a part may need more height while being raised than it does once installed.
6. Planning the heater and utility routes
Electric sauna heaters
Electrical planning begins once the exact heater is selected, not after assembly. Required capacity, cable routing, protective measures, controls and their permitted positions depend on the equipment and local conditions. Planning, connection and verification should be assigned to a qualified local electrical contractor. In Ontario, almost all electrical work requires notification to the Electrical Safety Authority before work begins. When electrical work is hired out there, it must be done by a Licensed Electrical Contractor, who arranges the required notification and inspection process.
Do not commit to a cable route based on an assumed heater position. Check the assembly documents and cable entry first. Keep the route accessible and protected, and photograph or map buried services before closing the trench. Ask the local electrical contractor or authority what product approval or certification the selected heater needs at the destination, and follow the heater instructions.
Wood-burning sauna heaters
A wood-fired heater requires coordinated planning for the appliance, combustion air, protective clearances, floor and wall areas, and flue routing. Local requirements and qualified professionals must also be involved. Do not buy or build the foundation and roof penetration before these points are resolved. Check municipal permits, chimney or flue rules, clearances, smoke considerations and current fire restrictions for the site.
Water, lighting and other connections
Outdoor lighting improves safe access but must not create glare or interfere with the door swing. Plan outdoor water lines for their intended use and winter conditions. Consider network, control or sensor cables early where needed. For help with the order of selection and purchasing, see How to Order.
7. Delivery and assembly access
Check the whole route from public access to the foundation. Consider gates, tight turns, steps, slopes, soft ground, carports, gutters, branches and parked vehicles. The final stretch across grass may not bear loads when wet. Do not assume crane or lifting equipment will be available; confirm the actual delivery and assembly method beforehand.
Remove garden furniture and loose obstacles. Protect delicate paths only with a suitable solution, and keep the work area clear. Confirm the applicable delivery details under Purchasing and Delivery .
8. Recommended preparation sequence
- Choose the model: Decide on the design, heater type and required options.
- Review the documents: Record external dimensions, bearing points, door side, utility connections and assembly requirements.
- Survey the site: Document slopes, water routes, boundaries, utilities, trees and access.
- Clarify local requirements: Involve the relevant authorities and qualified trades early.
- Plan the foundation and drainage: Assess bearing capacity, level support and controlled water runoff together.
- Set utility routes: Coordinate electrical service, lighting, water, drainage and, where applicable, the flue.
- Build the base: Construct it to plan and allow it to cure or be completed fully.
- Carry out a verification measurement: Check dimensions, diagonals, levels, support points and access.
- Clear the delivery route: Remove obstacles and inspect access again.
9. Common site-preparation mistakes
- Building the foundation before choosing the model: The eventual sauna may not match the supports or connections.
- Considering only external dimensions: The roof, door, maintenance and assembly need extra space.
- Trusting the appearance of an existing patio: A level-looking surface does not prove sufficient bearing capacity.
- Directing water toward the foundation: Slopes, downspouts or beds can create ongoing moisture.
- Closing ventilation gaps: Later cladding can hinder drying and inspection.
- Leaving electrical planning until after assembly: Incorrect entry points and visible detours can result.
- Checking the delivery route only on foot: Components, transport equipment and assembly tools need more room.
- Delaying local checks: Setback, wood-heater or permit questions can force a change of location.
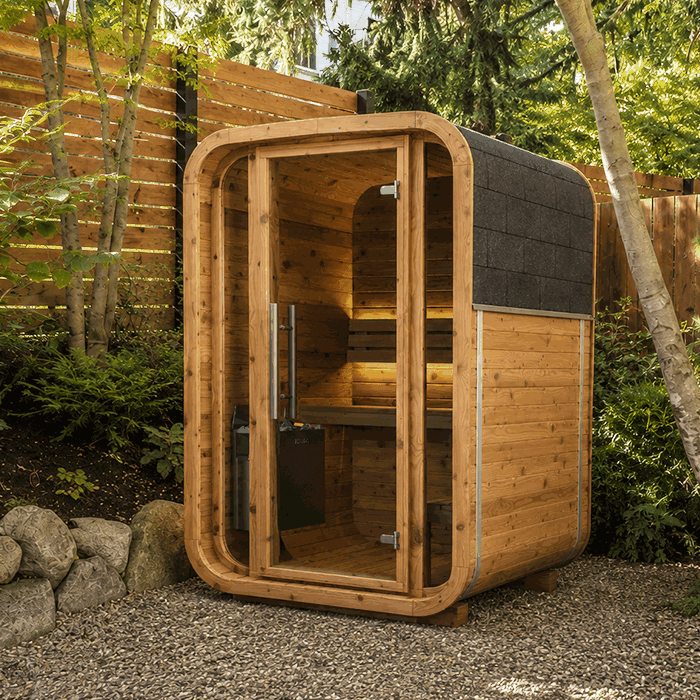
Learn more about barrel saunas as an outdoor wellness option in Barrel Saunas for Outdoor Wellness.
10. What other garden structures can teach us
Greenhouses, garden houses and pergolas share some useful planning principles: choose the intended use and structure first, then plan the foundation, water management and access. The Greenhouses and Conservatories and Garden Houses sections show how widely layouts and access needs can differ. The article Bioclimatic Pergola or Glass Roof also shows why drainage, exposure and connection to existing garden areas should be considered together from the start.
Outdoor sauna location FAQ
Can an outdoor sauna stand directly on grass?
Grass is generally not a suitable permanent bearing surface. Vegetation and topsoil can retain moisture, settle and yield unevenly. Use a load-bearing base suited to the model and ground conditions.
Must the foundation be perfectly level?
The bearing points must meet the manufacturer’s requirements for level and tolerance. The surrounding area must still shed water. Do not create an arbitrary slope within the support zone; keep structural level and site drainage separate.
Can the sauna stand on an existing concrete patio?
Possibly, if its dimensions, bearing capacity, condition, level, drainage and support layout are suitable. Cracks, settlement and ponding should be assessed beforehand. An existing surface is not automatically an appropriate foundation.
How much space should be left around the sauna?
There is no universal distance. The model, heater, chimney, assembly method, maintenance needs and local requirements all matter. The clearance must satisfy all of these conditions, rather than being treated as a narrow leftover strip.
Should the foundation be larger than the sauna?
That depends on the foundation plan and structural solution. An oversized level concrete area can collect water around the structure, while an undersized surface may not support the bearing points. Use the current foundation plan and model documents rather than assuming either size is safer.
Does every outdoor sauna need a floor drain?
No. This cannot be decided generally. Construction, cleaning practice and use determine whether a drain is included or required. If one is planned, confirm its position and discharge route before building the foundation.
Can a sauna be installed under trees?
A location near trees may be possible. Check branches, roots, leaf fall, sap, shade-related moisture and future canopy growth. The roof and exterior surfaces must remain accessible for cleaning and inspection.
When should electrical planning begin?
Start as soon as the model, heater and location are set. Before foundation or paving work, coordinate the cable route and entry point with a qualified electrical contractor. The connection itself must follow applicable requirements and manufacturer documents.
Can the sauna stand directly beside a fence or house wall?
Only if all manufacturer clearances, local requirements and assembly, ventilation and maintenance needs are met. A wall can also alter wind flow and moisture behaviour. Avoid inaccessible gaps.
What should be checked immediately before delivery?
Check foundation dimensions, level, cleanliness, curing or completion, drainage, utility positions and clear work areas. Inspect the delivery route again, including recently parked vehicles, branches and soft ground.
Final readiness check
The area is ready for assembly only when the sauna model, foundation, drainage, safety clearances, utility routes and delivery access have been reviewed together against the current documents.
- The current model and assembly documents are on hand.
- The foundation and bearing points match the plan.
- Water can run away from the structure.
- All sides and the area above the sauna are adequately accessible.
- Heater and utility planning have been professionally coordinated.
- The delivery and assembly route is clear and load-bearing.
- Site-specific requirements have been checked with the relevant authorities.
Keep photographs, measurements and utility plans with the order documentation. See Warranty for applicable warranty terms and About Us for company information.
