



PREPARATION
Site Photos, Measurements and Sketches for a Quote Request
A quote can be reviewed more effectively when the proposed location is documented clearly. Use this guide to assemble the photographs, checked dimensions, sketches and project notes needed for an informed first look at a greenhouse, pergola or outdoor sauna project.
Useful site information matters more than the number of attachments. Name the product category and intended use, photograph the location in a logical sequence, verify the key dimensions and draw a straightforward site plan. Include the slope, drainage, existing base or foundation, delivery route and access for possible installation work.
This package is a starting point, not a technical site inspection or a substitute for plans prepared by qualified professionals. Its purpose is to expose likely conflicts sooner, focus follow-up questions and support a fair comparison of options, whether you are considering greenhouses and conservatories, pergolas and saunas.
At-a-glance submission checklist
Before you send the request, check that the package covers each of these points:
- the product type you want and its intended use;
- the address, or at least the postal code and community where the project is planned;
- overview photos taken from several directions;
- detail photos of walls, ground, drainage, obstacles and access routes;
- available length and width, plus relevant heights;
- distances to buildings, walls, trees, paths and property lines;
- details of slope and the planned base or foundation;
- a labelled plan view with dimension lines and north direction;
- information about vehicle access, the unloading point and the carrying route;
- notes on utilities, inspection chambers, roof drainage and other technical features;
- clearly identified preferences, assumptions and outstanding questions.
If something has not been verified, do not disguise an estimate as a precise dimension. Labels such as “to be checked” or “approximate location” show the reviewer exactly where uncertainty remains.
1. Begin with the structure and its purpose
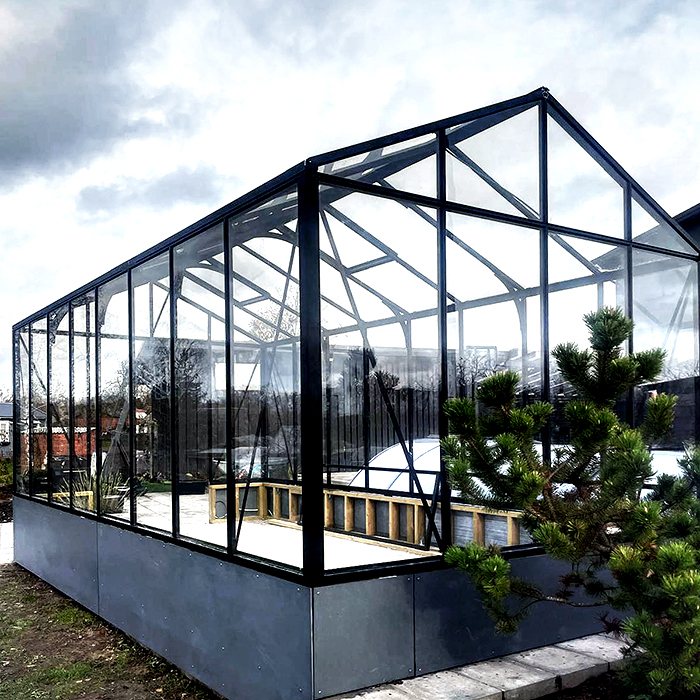
First, identify the form you want assessed: freestanding or lean-to greenhouse, orangery, wall-mounted or freestanding pergola, rectangular outdoor sauna or barrel sauna. If several options remain in contention, list them rather than implying that the choice is final. Use the full product range to scan the available categories.
The intended use determines which site details deserve attention. Greenhouse planning may involve growing beds, circulation space, ventilation and access to water. If you are still shaping the overall garden concept, useful background is available in the article about polytunnels, the guide to Victorian greenhouses and the introduction to the orangery as a greenhouse concept.
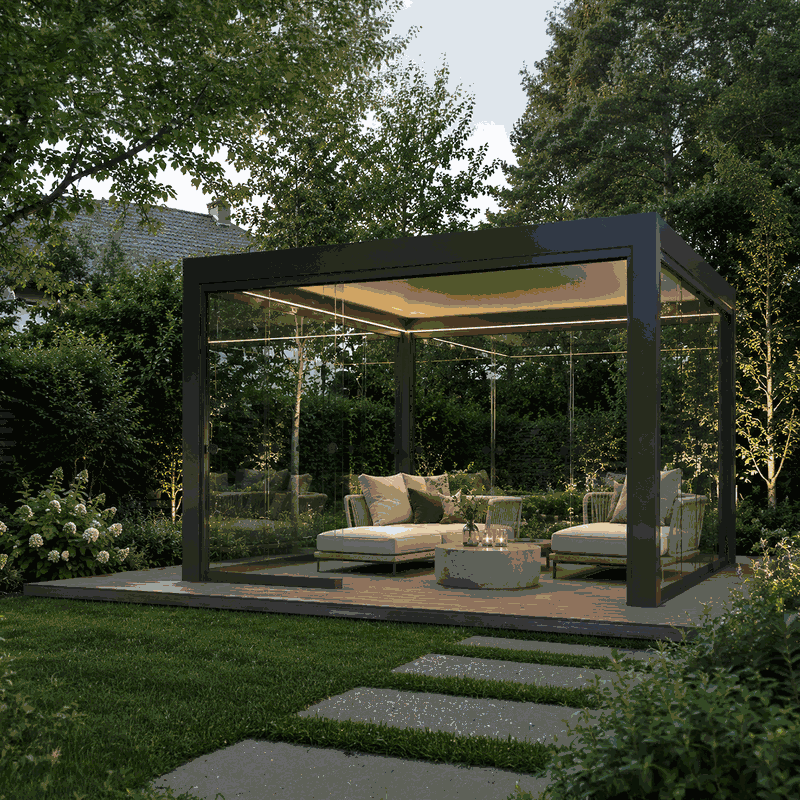
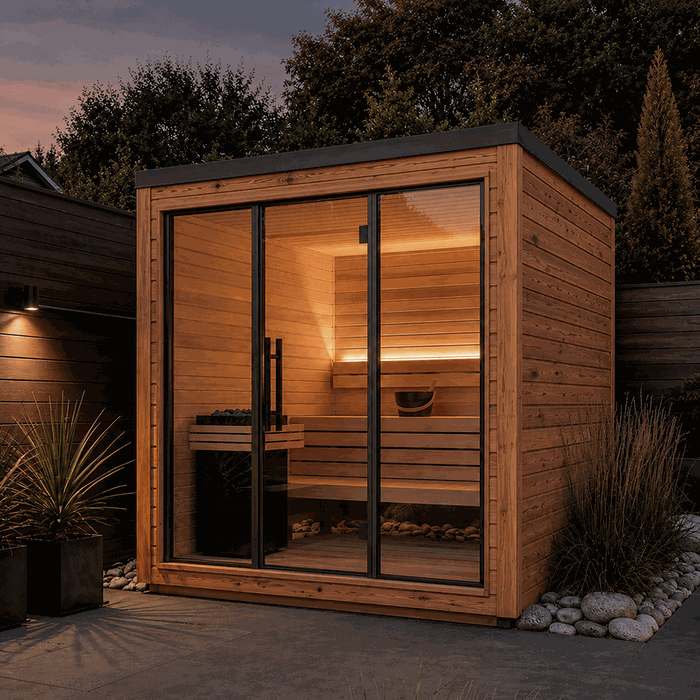
For a pergola, describe whether your priority is seating, shade, shelter or a visual and practical link between the home and garden. If the format is still undecided, compare bioclimatic and classic pergolas as well as wall-mounted and freestanding pergolas. For a sauna, record the expected number of users, preferred shape and proposed technical equipment. Reference products such as the Elma S outdoor sauna, the Elma L outdoor sauna or the HC150 barrel sauna make it easier to communicate the general form you have in mind.
2. Photograph the whole setting before the details
An image of the empty footprint is not enough. Begin with wide views that place the site in relation to the house, garden, paths and boundaries. Then move closer to capture connections, changes in level, drainage features and obstacles.
A practical order for the photos
- Property access: Photograph the route from the public road to the possible unloading point.
- Carrying route: Show gates, passages, stairs, tight turns, walls, overhead covers and delicate surfaces.
- Overall view: Take views of the proposed location from the four principal directions, leaving enough distance to include its surroundings.
- Ground area: Photograph paving, soil, existing foundations, edges, chambers and visible slopes.
- Adjacent features: Document façades, roof overhangs, downspouts, windows, doors, plinths, steps and walls.
- Obstacles: Show trees, hedges, fences, lights, cables, outdoor equipment and permanently installed garden features.
- Measurement photos: Add images showing a ruler or tape measure clearly placed at a relevant point.
A ruler or tape in the frame provides context only. Written dimensions are still necessary because camera angle, wide-angle distortion and differences in elevation can make distances look misleading.
Sources that are not enough on their own
- a single panoramic image;
- real-estate photos or older garden images;
- photos where the ground is concealed;
- handwritten measurements with unclear reference points;
- map screenshots without a scale;
- a mark in the lawn with no labelled dimensions.
Where plants or stored materials conceal an edge, add a side view if possible. Explain what will be removed before the project and what is intended to stay.
3. Record the space that can actually be used
Measure the usable site rather than starting with the footprint you hope to buy. Show the full amount of available space and the clearance around fixed features. It helps to provide two sets of dimensions: the overall planning area and the individual distances to obstacles.
| Measurement | Why it is needed | Useful detail |
|---|---|---|
| Overall length and width | Defines the available planning area | State clear endpoints and the unit |
| Diagonals | Help show whether a rectangular area has right-angled corners | Measure both diagonals |
| Clearances to obstacles | Help assess access, use and possible conflicts | Measure from a clearly identified edge |
| Differences in height | Record slopes and steps | Number the measurement points on the sketch |
| Openings and routes | Relevant to delivery and future use | State clear width and, where relevant, clear height |
Choose either mm or cm and use that unit consistently throughout a drawing. Put the unit beside every value, and identify whether the endpoints are finished surfaces, unfinished edges or approximately marked positions.
A rectangular-looking area does not necessarily have right-angled corners. Measure both diagonals. Unequal readings reveal a discrepancy without identifying its cause. For initial product selection, the pergola size guide may also help. Keep the product footprint distinct from the working and construction space required around it.
4. Add a wall elevation for attached designs
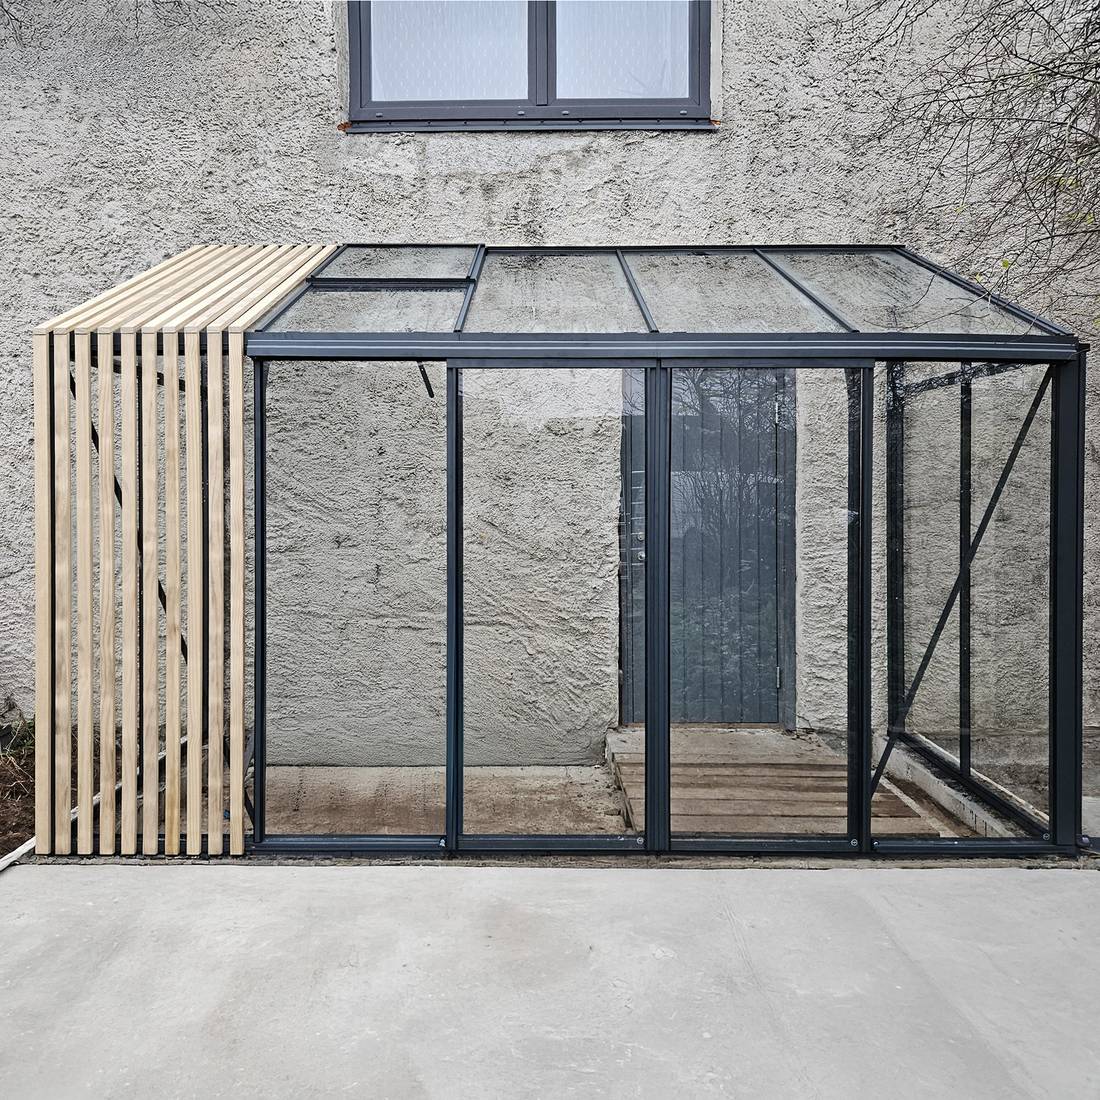
The building façade becomes part of the project when planning a lean-to greenhouse or wall-mounted pergola. A note such as “the wall is about six metres long” leaves too many questions unanswered. Draw a straight-on elevation and add these dimensions:
- usable wall width between fixed limits;
- height from the proposed finished ground level to the eaves or roof overhang;
- position, width and height of windows and doors;
- distance from every opening to a clearly defined reference corner;
- projections from sills, plinths, mouldings and downspouts;
- location of exterior lights, vents, outdoor taps and technical equipment;
- wall construction where known, including external insulation or cladding;
- roof drainage and the direction of water flow.
Take one full, nearly square-on image of the wall and add views from each end. Photographs alone cannot establish a fixing method. The substrate, load-bearing construction and appropriate fasteners must be assessed for the individual project, with a suitably qualified professional involved where the wall build-up is uncertain.
5. Map the grade, drainage and proposed base
A patio can look flat while still being built with a drainage fall. Lawns may contain hollows, filled sections or soft margins. Replace vague descriptions such as “level” or “sloped” with measured differences between clearly identified points.
A useful sketch marks the four corners and the centre of the proposed area. Choose one point as the reference height and show every other reading relative to it. If suitable equipment is unavailable, label the grade as unchecked rather than assigning false precision.
Show the present path of surface water and roof runoff as well. Note drains, channels, gutters, downspouts, window wells, basement entrances and lower neighbouring areas. The project-specific plan should address any risk of trapping water or redirecting it towards a problem area.
Describe the existing surface, whether it is concrete, paving, a strip foundation or undisturbed ground. For pergola preparation, the pergola foundation guide provides useful background, but it cannot replace a foundation plan based on the selected product, soil and actual site.
6. Draw a clear site plan
A CAD drawing is seldom necessary for the first quote request. A readable hand sketch can work well when every feature is labelled and the dimensions agree with the accompanying notes. Use graph paper or basic drawing software. Start with a plan view and add a wall elevation for any attached design.
What to show on the plan view
- outline of the available area;
- desired position and orientation of the product;
- house, garage, walls, paths and patio edges;
- property lines, where their route is reliably known;
- trees, larger shrubs and other obstacles;
- doors and their intended opening directions;
- unloading point and carrying route;
- chambers, utilities, drains and technical connection points;
- dimension lines, diagonals and numbered height points;
- a north arrow and the directions from which photos were taken.
Assign a number to every image and mark its camera direction on the plan. A label such as “Photo 07, looking south towards the house wall” then has a clear meaning. If you want to assess two locations, prepare two separate versions instead of drawing overlapping footprints.
Satellite imagery can provide broad context, but it cannot verify current vegetation, elevation changes or the legal position of property lines.
7. Trace the delivery and installation route
A large installation area may still be reached by a difficult route. Follow the path from the possible delivery vehicle to the final location and document the narrowest clear width, overhead restrictions, steps and abrupt turns.
- Can a suitable vehicle stop nearby?
- Are there access restrictions, gates or narrow road sections?
- How far is the unloading point from the site?
- Does the route cross lawn, gravel, stairs or delicate surfaces?
- Will components need to pass through a building?
- Could parked vehicles, snowbanks or locked access points block the route at certain times?
Separate observed conditions from assumptions. An outline of the general process is available under purchasing and delivery. Bring site-specific access questions to the Bloomcabin contact team early in the planning process.
8. Identify the local approval route early
Approval is not governed by one Canada-wide size rule. The National Model Codes are models, and the rules that apply depend on provincial or territorial adoption, municipal requirements, the property and the proposed work. A neighbour’s similar structure is not proof that your project follows the same route. Our guide, Do You Need a Permit for a Greenhouse or Pergola?, is a starting point; confirm zoning, permits, setbacks and any other approvals with the authorities responsible for your property.
Record any known property lines, easements, utility corridors or protected areas that could affect the proposal. Garden photographs cannot establish a boundary for Bloomcabin. Use reliable property records and obtain a professional survey where the position remains uncertain.
An outdoor-sauna request should also map the proposed power supply, cable route, ventilation, drainage and safe access. Treat electrical approval separately from the structure itself. Ask the local electrical authority which contractor, notification and inspection steps apply. In Ontario, ESA states that a building permit does not replace its electrical notification process and that hired electrical work must be arranged through a Licensed Electrical Contractor. Note whether each connection exists, is planned or is still undecided.
Choices about materials and operation can shape the site discussion too. Background information on greenhouse polycarbonate, on bioclimatic pergolas and roof options or on automatic window openers can help you sort out equipment preferences before submitting the request.
9. Keep preferences separate from measured facts
Design wishes belong in the request, but not in the measurement record. For example, write “preferred width about four metres; measured available width 4.65 metres” instead of simply stating “four metres wide.” Treat colour, door location, glazing, roof design and accessories as preferences as well.
When priorities conflict, rank them. You might place maximum usable area first, an unobstructed view second and the preferred door position third. This gives the reviewer room to suggest an alternative without mistaking a preference for a fixed site constraint.
10. Make the files easy to follow
Use a consistent naming system such as “01_Access,” “02_Carrying_Route,” “03_Site_North” and “Plan_View_V2.” Send the original photographs rather than compressing everything into hard-to-read screenshots; the originals preserve more detail and can be enlarged.
Add a short index stating what is attached, when the measurements were taken and which questions remain open. A revised drawing needs a distinct filename, date or version number so there is no doubt about which copy is current.
11. Match every document to the selected product
Once the choice has narrowed, consult the relevant product drawing and assembly material. Transfer only confirmed external dimensions and connection details from the correct document. Similar appearance is not evidence that another model uses the same values, so verify the model and version each time.
Background reading is collected under useful information. Keep later-use topics, such as caring for an aluminium greenhouse, separate from the site dimensions. Published information about the warranty does not change the need for an accurate record of the proposed location.
12. Cross-check the package before sending it
Compare the sketch, photographs and written notes one last time. Check that the dimensions agree, every value has a unit, each image can be identified and passage widths are not confused with heights. Make it obvious which features already exist and which are proposed.
A useful test is to ask whether someone who has never visited the property could reconstruct the site and access route from the package alone.
Call out every unresolved item. An honest gap is safer than a guess that later becomes the basis for a decision. If a value changes, issue a complete corrected version and identify the revision clearly.
Questions customers often ask
Are professional drawings necessary at the quote stage?
Usually not. A readable hand sketch with dimensions can support the first review. Complex attachments, uncertain boundaries, challenging foundations or substantial changes in level may later require professional measurement or design work, depending on the site.
Is the desired greenhouse size enough information?
No. The product dimensions do not reveal the room available for assembly, doors, cleaning, drainage or access. Include the full usable area and measured clearances from nearby features.
How many site photos are enough?
There is no set total. Aim for complete coverage: the property entrance, carrying route, four site directions, ground surface, adjacent construction and all relevant details. A simple open location may require fewer images than a confined wall-mounted project.
Can I use photos instead of measured dimensions?
No. Images explain spatial relationships, but lenses and perspective can alter apparent proportions. Every important dimension still needs defined endpoints and a stated unit.
Are satellite images worth including?
They can add useful context, but they are not evidence of precise distances, elevations or boundaries. Current ground-level photos, direct measurements and dependable property records serve different purposes.
How should I document an uneven site?
Take readings at several marked points and show the fall direction, steps and drainage path. The appropriate base or foundation solution must be determined for the selected product, soil and local site conditions.
What is needed for a lean-to or wall-mounted greenhouse?
Send a straight-on photo of the entire wall, views from both sides, a dimensioned wall elevation, ground dimensions and the positions of windows, doors, roof overhangs, plinths and downspouts. Include the known wall construction, but have fixing suitability assessed separately.
Do utility services belong on the drawing?
Yes, when their known location could affect construction, fastening or operation. Mark water, electricity, drainage, chambers and underground service corridors. Clearly label any position that is assumed rather than confirmed.
Can Bloomcabin determine my property line from photos?
No. A fence, hedge or paving edge may not follow the surveyed or legal boundary. Refer to appropriate records and obtain professional help where the location is uncertain.
Does receiving a quote mean the site is installation-ready?
No. The quote relies on the information submitted; it is not a site assessment, foundation design, permit or professional plan. Establish the required preparation separately for the actual project.
Should maintenance questions be part of the request?
Mention requirements that could influence placement, such as space needed for cleaning. List general care questions separately from the dimensions and site record so the technical package remains unambiguous.
What should I do if a measurement changes?
Tell Bloomcabin before relying on the earlier information. Send a new, fully labelled drawing and identify every revised value. Retire ambiguously named versions so an obsolete dimension is not used accidentally.
For help organizing the package, use our contact page . For greenhouse delivery anywhere in Canada, including territories and islands, see our guide to buying a greenhouse with delivery across Canada, then check the selected product’s delivery terms.
