



PREPARATION
How to Store Products Safely Before Installation
Proper temporary storage protects glass, aluminum, wood, seals and hardware from moisture, distortion and loss. This guide covers preparing the storage area, receiving the delivery and handing packages over to the installation team in an orderly way.
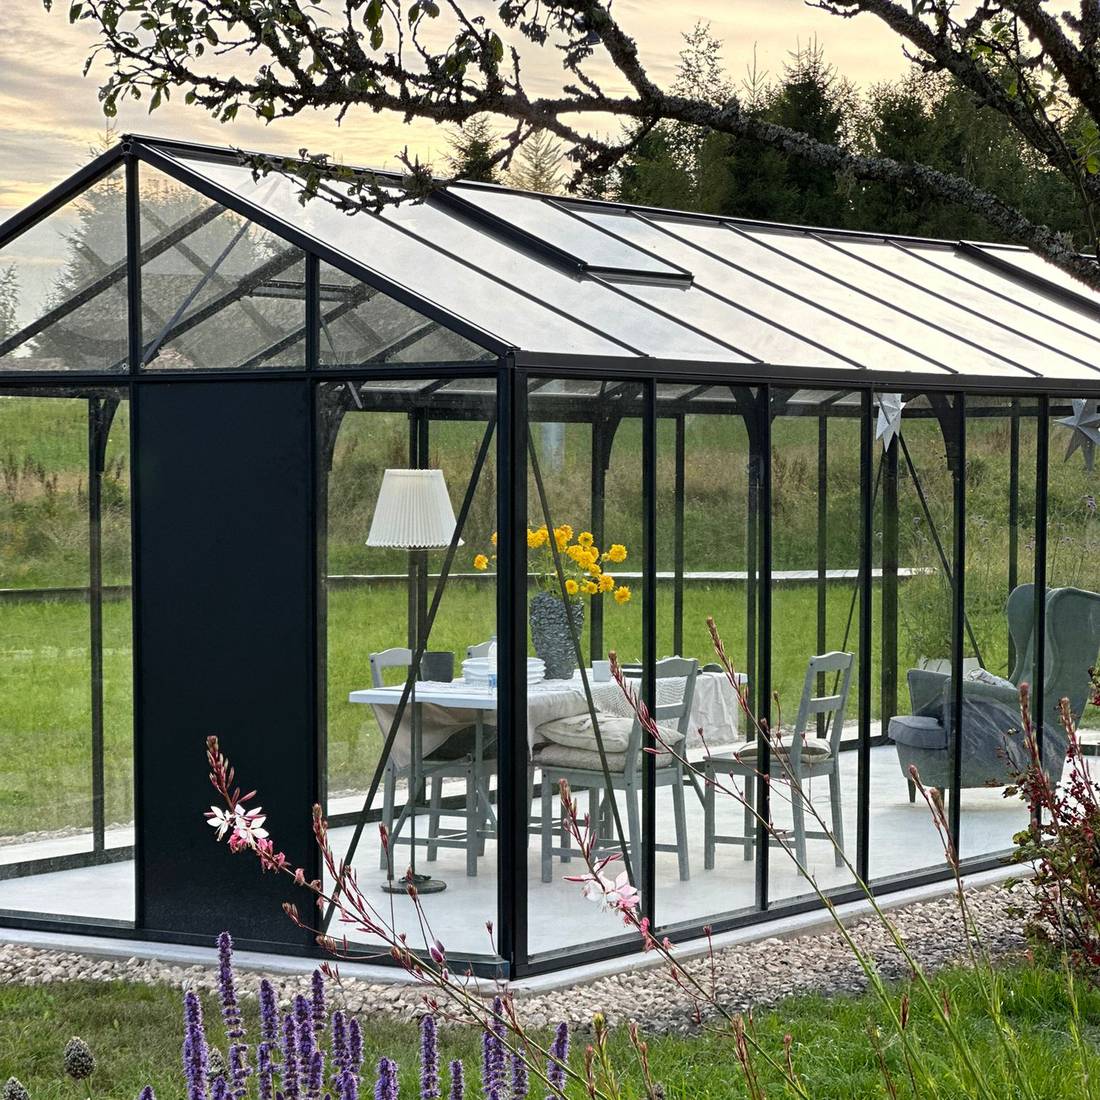
Days—or a longer project-dependent period—may pass between delivery and installation. During that time, greenhouse, pergola or outdoor-sauna components do not yet have the protection of their finished structure. Treat packages as project materials, not ordinary stock, and do not scatter them around the worksite.
Good temporary storage starts before the truck arrives. Choose a level, load-bearing space; protect packages from precipitation and ground moisture; maintain a clear package order; and inspect the shipment promptly. Directions on packaging, delivery documents and assembly manuals always take precedence over general advice. For questions about ordering or delivery, see Purchasing & Delivery, How to Order and Contact Bloomcabin .
Pre-installation storage checklist
- Keep the assembly manual and delivery information ready before unloading.
- Set aside a clean, level storage area with enough room.
- Keep components off bare ground, standing water and splash zones.
- Keep the access route, unloading path and manoeuvring space clear.
- Do not place weight on fragile packages unless the stacking instructions expressly allow it.
- Check the delivery contents, package numbers and visible condition on arrival.
- Photograph and record damage or irregularities in writing.
- Leave labels, protective film and orientation markings in place.
- Store glass, wood, aluminum and small parts according to their material needs.
- Allow ventilation without leaving the shipment exposed to weather.
- Keep foundation-building materials separate from product packages.
- Limit access to informed people and document the handoff.
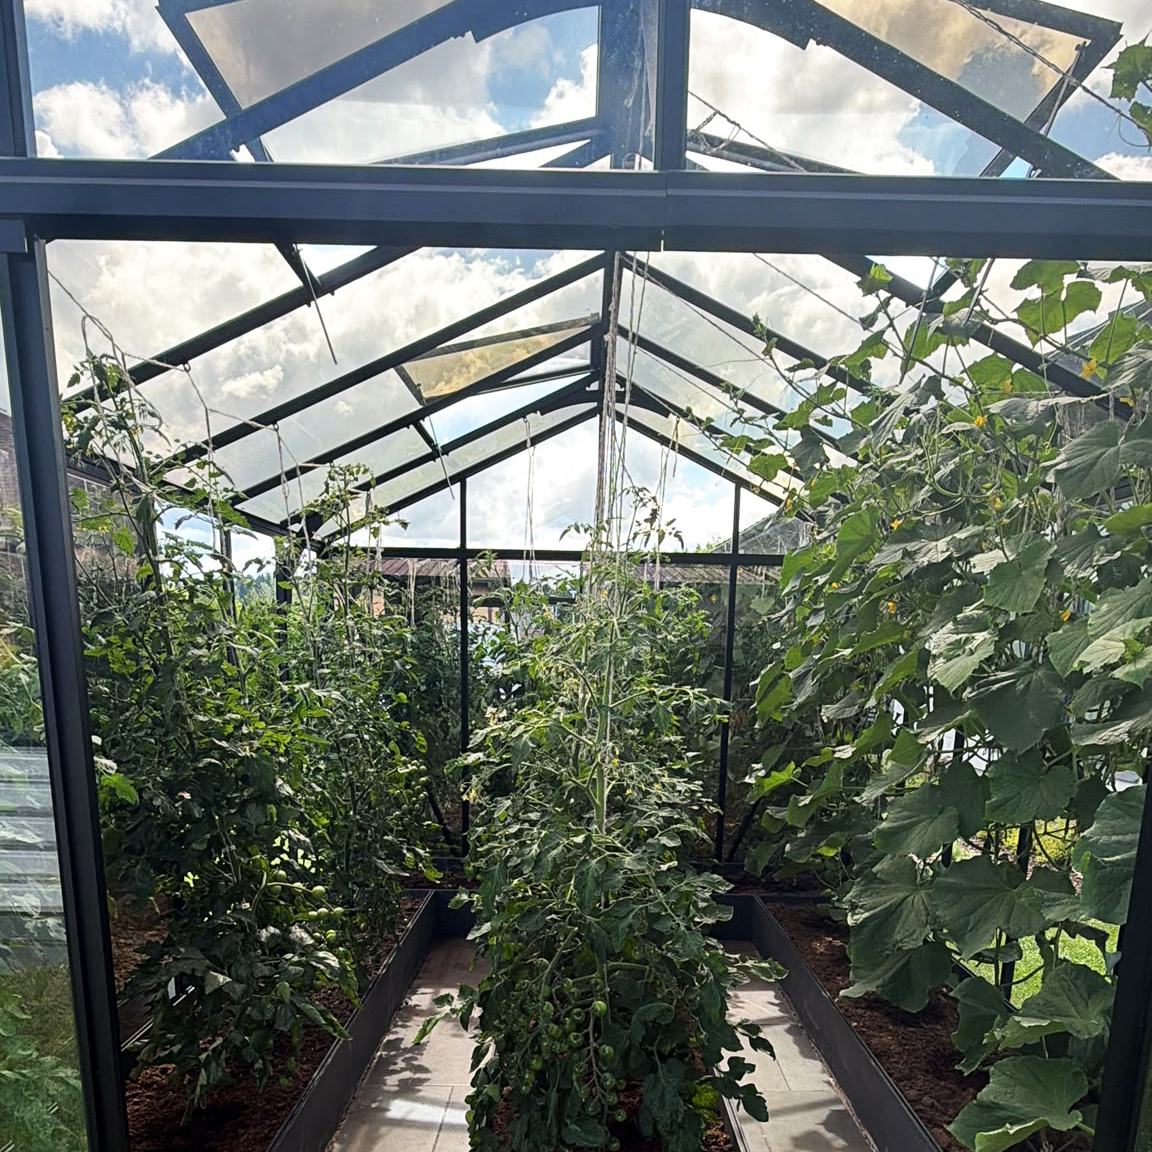
1. Prepare the storage area before delivery
Decide on the storage location before the delivery vehicle is on site. Check how packages will travel from the unloading point to storage. Narrow passages, steps, soft ground, low clearances or parked vehicles can force unnecessary handling. Every extra move raises the risk of impacts, scratches and mix-ups.
The storage area must fully support long packages and allow glass or glazing units to stand in the orientation shown on their markings. Leave a safe working aisle as well. Packages should not be packed so tightly that labels can only be read by shifting heavy units.
Storage-area requirements
| Criterion | Practical arrangement |
|---|---|
| Surface | Level, load-bearing, clean and free of sharp construction debris |
| Clearance from the ground | Use stable, suitable supports and prevent sagging |
| Weather protection | Protect from rain, snow, prolonged wetness and strong wind |
| Ventilation | Allow airflow; do not seal packages inside wet plastic sheeting |
| Access | For authorized people only, not as a general worksite passage |
| Organization | Keep package numbers visible and mark areas by installation stage |
An enclosed indoor space is often helpful, but it is not automatically suitable. Unventilated basements, damp unfinished buildings or rooms where plastering and floor work are underway can have high humidity. An open area beneath a loosely draped tarp is not a safe substitute: wind may lift the cover, sideways rain can reach the packages, and repeated rubbing can mark coated surfaces.
2. Receive and inspect the delivery promptly
Arrange delivery acceptance so that one responsible person can inspect the shipment immediately. Compare the packages received with the delivery papers without prematurely dismantling packaging. Record visible transport damage, crushed corners, torn wrapping, soaked cartons, shifted glazing units or missing packages at once.
A signature is not a condition record. First photograph the entire shipment at the unloading point, then photograph each concern from several angles. Make sure at least one photo shows package numbers and labels. Follow the procedure provided for reporting transport damage, and also review the information about warranty and claims handling.
Information to document
- Delivery date and approximate time
- Name of the person who accepted the shipment
- Number and identification of packages received
- Overall view of the shipment before it is moved
- Condition of cartons, wrapping, crates, pallets and edge protection
- Location and type of visible damage
- Unusual moisture or evidence of shifting
- Differences between delivery papers and packages present
- Immediate actions taken, such as moving items to a dry location
Keep damaged packaging until you know whether it is needed for assessment. Alter the documented condition only as much as necessary to prevent further damage or address an immediate hazard.
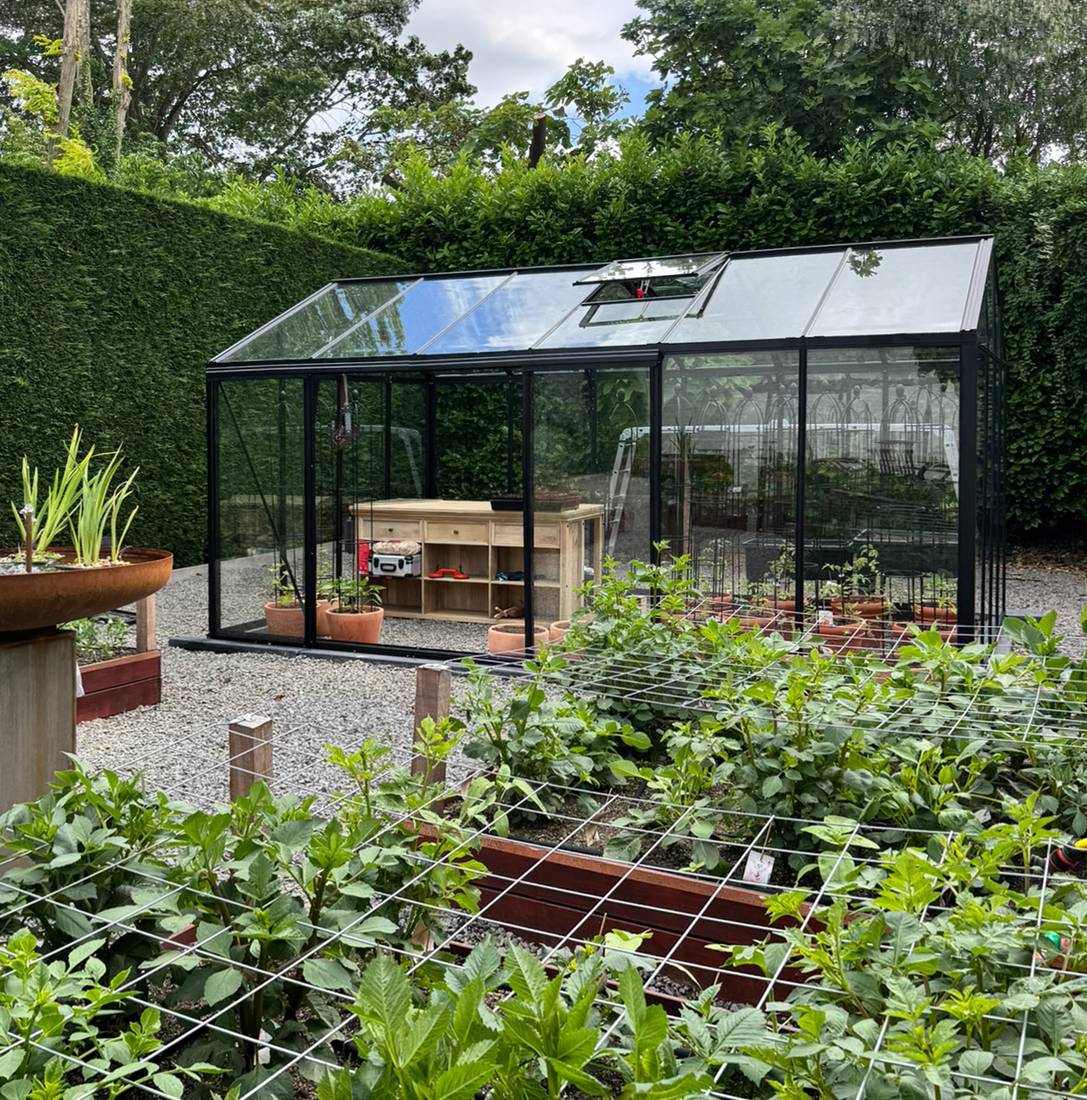
3. Preserve labels, orientation and packaging condition
Arrows, package numbers, centre-of-gravity marks and notices such as this side up, fragile or do not stack are part of the storage system. Do not turn packages merely to save room. Removed labels or cut-open bundles make later identification harder and can cause parts to be opened out of sequence.
Open only what is needed for the required incoming inspection. If a package must be opened, photograph its condition first and retain every marking. Close it again so its protection and ventilation remain as close as possible to the original purpose. Do not apply tape directly to painted, powder-coated, glazed or visible wood surfaces.
4. Protect glass, aluminum, wood, seals and hardware
Materials in a delivery respond differently to moisture, point loads, temperature changes and unsuitable supports. One storage method is therefore not suitable for every package.
Glass and glazing packages
Glass is especially vulnerable to point impacts at its edges. Store and move glazing units only as shown on package markings and in the assembly documents. If upright storage is specified, secure the package against tipping and support it on a suitable base. Do not lean unpackaged panes loosely against walls or other components.
Do not lay glazing packages flat simply to save floor space. Do not place profiles, toolboxes or building materials on them either. Keep the area free of grinding work, sparks, mortar, metal filings and busy walkways. For glazing options, the article on polycarbonate and multiwall panels for greenhouses also explains different glazing considerations.
Aluminum profiles and finished surfaces
Long aluminum profiles need even support. Widely spaced support points can encourage unwanted bending. Do not put heavy items on profile packages or drag components across rough ground. Sand, drilling swarf and small stones act like abrasives.
Keep protective film in place until the assembly step identified in the manual. However, do not leave it exposed to intense sunlight longer than the product instructions permit. Follow the directions for the specific product. For guidance after assembly, see the guide to maintaining an aluminum greenhouse .
Wood components
Store wood dry, ventilated and protected from direct weather. Avoid contact with soil, damp concrete or wet walls. Support longer pieces so they cannot sag on one side. An airtight cover can trap moisture already present, while fully open storage can expose wood to repeated wetting and drying.
For outdoor saunas, a clear package order is particularly important because shell, roof, interior-finish and accessory parts may belong to different installation stages. Always check the documents for the exact model, such as the Elma S outdoor sauna, the Elma L outdoor sauna, the HC150 barrel sauna or the HC 180 barrel sauna.
Seals, fixings and small parts
Keep screws, connectors, caps, seals and assembly aids in their labelled bags or cartons whenever possible. Store small components dry and protected from unauthorized access. Do not combine different screws in one container: similar diameters or heads do not mean the parts are interchangeable.
Do not crush seals beneath heavy packages or stretch them unnecessarily. Keep them away from sharp items, contamination and unsuitable chemicals. If small parts are removed for an inventory check, count them on a clean surface and immediately repack them with their position identification.
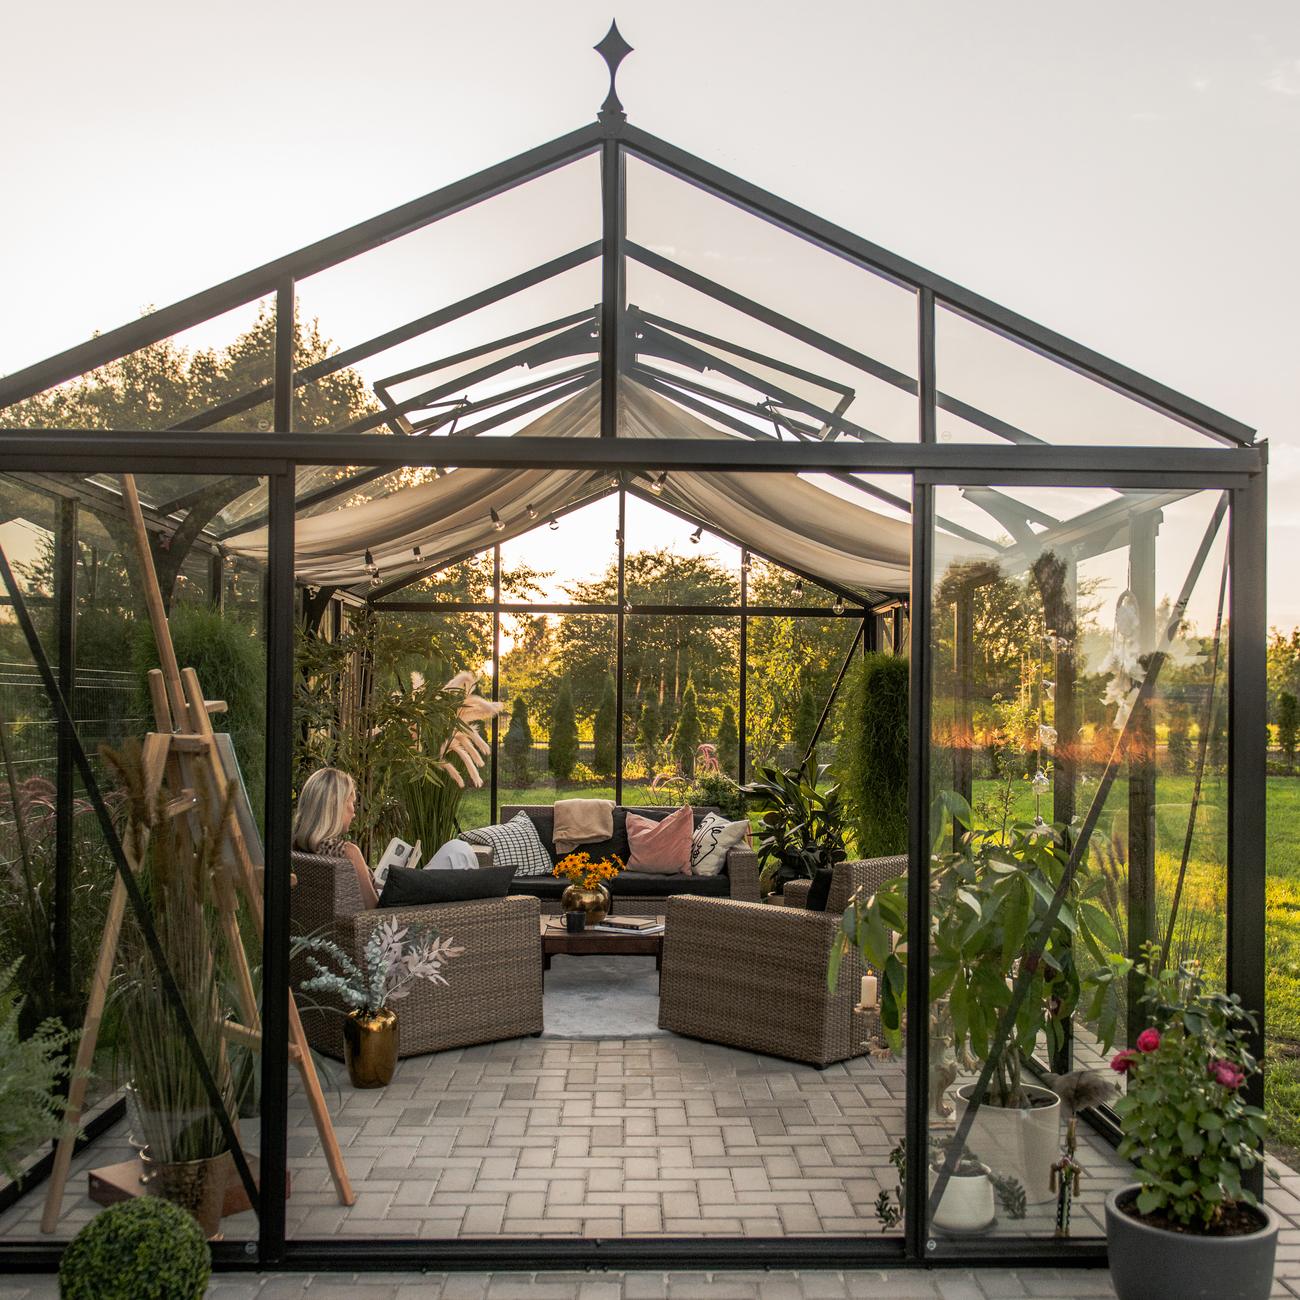
5. Manage moisture without trapping condensation
Moisture reaches a shipment in more ways than direct rain. Condensation can form when cold components enter warmer, humid air or when temperatures change sharply inside temporarily covered packages. What appears to be a waterproof tarp may keep rain out while trapping existing moisture inside.
Check the storage area regularly for dripping water, damp floors, damaged covers and condensation. Provide airflow without opening packages to wind and driving rain. Do not place heaters directly against components or try to dry wet wood, seal or glazing packages with strong local heat. If a package becomes wet: document it, move it to a protected area, have its condition properly assessed and obtain product-specific instructions.
Managing humidity in the completed greenhouse is a separate subject. See the guide to greenhouse temperature and humidity.
6. Match the storage plan to the product and project
A compact greenhouse, a large orangery, a wall-mounted pergola and a wood sauna do not have identical access, package-sequence or temporary-storage requirements. First establish the product type, intended location, installation date and installation team. Information about greenhouses and conservatories, saunas and other useful information can support project preparation.
For pergolas, the design and placement affect which packages must be accessible first. Compare the guidance on bioclimatic versus classic pergolas, wall-mounted versus freestanding pergolas and the pergola size guide. The article on bioclimatic pergolas also helps define the project concept early.
For larger greenhouse projects, leave enough manoeuvring room in the storage plan for long profiles and glazing. The articles on Victorian greenhouses and planning an orangery offer inspiration and background, but neither replaces the delivery documents or assembly manual for the product ordered.
7. Separate foundation work from stored components
Foundation work creates dust, splash water, cement slurry, metal filings and site traffic. Do not store product packages beside mixing areas, excavation, formwork or cutting work. Fresh concrete is not a general-purpose storage surface either. Keep routes clear so wheelbarrows, machinery and materials do not have to squeeze past glazing and profile packages.
Dimensions, heights, levelness, drainage and fixing arrangements must suit the specific product before installation starts. Use the pergola foundation guide for preparation. Approval requirements can vary by province or territory, municipality and project details. Confirm zoning, permits, structural design and services with the appropriate local authorities; the article on greenhouse and pergola approval checks sets out a practical starting point.

8. Organize packages by assembly sequence
Space-efficient storage is not necessarily installation-ready. If the first frame package is behind glazing or roof components, the shipment must be moved repeatedly. Create a simple zone plan:
- Zone A: foundation, base or frame components needed first
- Zone B: load-bearing profiles and main structure
- Zone C: roof, wall or cladding elements
- Zone D: doors, windows, louvres or fit-out parts
- Zone E: labelled small parts, seals and accessories
The actual sequence comes exclusively from the assembly manual. Do not write directly on visible surfaces. Use separate, securely fixed markers and maintain a package list. Record removed parts immediately or hand them to the responsible installer.
9. Handoff checklist for the installation team
- The assembly manual, package list and order documents are complete and available.
- The responsible contact person and access to the storage area are confirmed.
- Documented concerns have been passed on before work starts.
- Packages are clearly labelled and accessible in assembly order.
- Glass and long-item packages remain secure and unchanged in their designated place.
- Small parts are dry, closed and clearly assigned.
- The foundation and installation area have been checked separately and kept clear.
- Transport routes are free of debris, plants, vehicles and trip hazards.
- Required local approvals or coordination have been completed before installation.
- Packaging is discarded only after parts have been checked against their identification.

Common temporary-storage mistakes
- Storing directly on the ground: Ground moisture and minor unevenness can affect packaging and components.
- Using a fully sealed tarp: It can trap condensation and become a mechanical load in wind.
- Stacking without confirmation: Lower packages may be damaged even when the upper layer seems light.
- Laying glass flat: Changing the specified orientation without approval is not a safe space-saving measure.
- Removing protective film too early: Visible surfaces then lose protection during handling and installation.
- Mixing hardware: Similar-looking fasteners may later be assigned incorrectly.
- Storing within site traffic: Impacts, splashes and unauthorized handling often go unnoticed.
- Delaying inspection: After packages have been moved several times, the original delivery condition is difficult to establish.
- Improvised repairs: Tape, cleaning products or local heat can cause additional damage.
Frequently asked questions
Can I store my Bloomcabin product outdoors before installation?
Only if the product-specific documents allow it and suitable prepared weather protection is in place. A tarp on a lawn is not enough. You need a level, load-bearing surface, clearance from ground moisture, protection from precipitation and wind, and sufficient ventilation. Protect sensitive glazing, wood and small-parts packages especially well. If in doubt, a dry space that can be monitored is the better choice.
Should I open every package on arrival?
No, not automatically. First check the number, identification and external condition of packages. Open them only in line with delivery and inspection instructions or when a documented concern needs clarification. Unnecessarily opening a package completely can disrupt its organized identification and reduce its transport protection. If it is opened, document its contents and resealing clearly.
How long may packages remain in temporary storage?
There is no universal maximum period. It depends on the product, packaging, material, storage climate and manufacturer instructions. Keep the storage period as short as possible and inspect the shipment regularly. If installation is substantially delayed, ask for product-specific direction rather than assuming shipping packaging is designed for unlimited long-term storage.
Can I stack greenhouse or pergola packages?
Only when the marking or documentation expressly permits it. A package's shape and apparent strength do not reliably indicate whether it can be stacked. Long profiles, glazing and packages containing finished surfaces can be damaged by pressure or point support. When in doubt, store units separately with full support.
What should I do if packaging gets wet?
Photograph the condition, identify the affected package and move it to a protected area without making a risky change of orientation. Do not trap the moisture under additional sealed plastic. Do not open or dry the package with direct heat before the right procedure has been clarified. Contact Bloomcabin promptly if there is visible damage or soaked contents.
Can glass packages be laid flat to save space?
Not without explicit instruction to do so. Keep the marked transport and storage orientation. Glass needs suitable support and protection against tipping, edge impacts and loads placed on it. Unapproved flat storage can introduce stresses for which the package and panes were not designed.
May protective film be removed before installation?
Remove protective film only at the assembly stage stated in the manual. Taking it off too early exposes surfaces to scratches, dust, mortar splashes and tool contact. At the same time, film should not remain in intense sun longer than product-specific instructions allow. The governing rule is the manual for the actual product, not a blanket instruction.
Where should screws and hardware be stored?
In a dry, closed and clearly marked area. Keep parts in their original labelled bags or cartons where possible. A dedicated small-parts cabinet or protected box is helpful as long as the original assignment is retained. Do not store accessories loose in profile packages or on an open worksite.
What if the foundation is not ready when delivery arrives?
The delivery then needs its own storage area that does not conflict with foundation work. Do not keep moving product packages between excavation, formwork and concrete work. Also check whether the planned storage period and later access remain suitable. Installation should begin only after the foundation and local project requirements have been checked.
Who should have access to the stored delivery?
Only named people who understand the sensitive packages, safe routes and package order. Children, unrelated tradespeople, visitors and pets should not have access. Decide who may remove parts, open packaging or move the delivery. This keeps a record of when and why a package condition changed.
Which documents should stay with the delivery?
Keep the order confirmation, delivery papers, package list, assembly manual, delivery-receipt photographs, damage notes and relevant communication together. Digital copies help prevent loss on site. General company and service information is available under About Us; for project-specific questions, contact Bloomcabin directly.
Final readiness check
Before the installation date, the shipment should be dry, secure, fully documented and accessible in a sensible order. Recheck packaging, labels, glass orientation, profile supports, wood packages and small parts. Check the foundation, work area and transport routes separately from product storage.
Do not start assembly if essential packages are missing, damage remains unresolved or other work still affects the installation area. A short, systematic final check prevents improvised restacking and protects components during the period before the finished structure secures them.
