



PREPARATION
Pre-order Site Survey for Greenhouses, Pergolas and Outdoor Saunas
Good measurements describe the whole site, not merely its length and width. Use this checklist to capture property constraints, foundations, elevations, wall interfaces, doors, service routes, drainage and installation access.
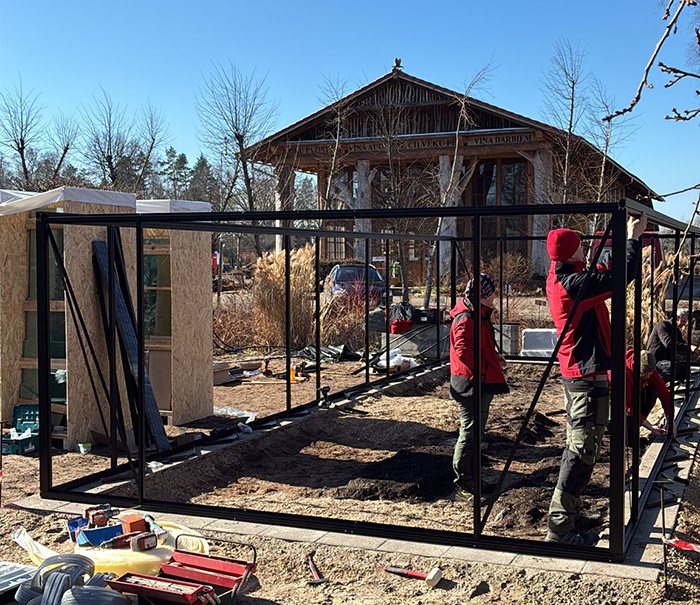
A dependable order begins with a dependable site record. Taking only 2 approximate side measurements is not enough for an outdoor sauna, pergola or greenhouse. Elevations, diagonals, grade changes, foundations, roof projections, circulation space, service routes and access to the work area all affect the plan.
Homeowners, designers and installation crews can use this guide to document a site consistently. It cannot stand in for the selected model's drawings or a local approval review. Canada's National Model Codes are models rather than one set of rules automatically in force everywhere, so identify the requirements adopted by the province or territory and municipality where the structure will stand.
Survey the available space before settling on a model
Start with the usable part of the property rather than trying to squeeze in a preferred nominal size. Once the real limits are mapped, you can assess which structure, orientation and scale are workable.
Plot property lines, buildings, retaining or garden walls, paths, trees, beds, utility chambers and known services. Before fixing the layout, identify the province or territory and municipality, then ask the local permit office which zoning, permit, setback, structural or service questions apply. The article Greenhouse and pergola permit planning will help you prepare those questions; the appropriate local office must determine what applies to the specific property and proposal.
Map the operating space as well as the frame. Door arcs, roof edges, water management, maintenance access and assembly work all extend beyond a simple footprint. A structure can fit on paper and still fail in daily use if a door is blocked or an exterior panel becomes unreachable.
4 checks to build into every survey
- Measure more than once: Take each important dimension at least 2 times. For a long span, use a 2-person check where practical.
- Do not assume square corners: Patios, walls and existing foundations are often not perfectly square. Measure both diagonals.
- Record levels separately: A plan view hides changes in grade. Capture the elevation difference at each corner and at any intermediate high or low point.
- Separate existing measurements from planned dimensions: Use separate columns for measured values, intended positions and product dimensions. This prevents assumptions from being treated as site measurements.
Avoid rounding a site dimension simply because the result is easier to compare. Rounded figures may be useful while shortlisting products, but confirm the exact product and connection dimensions before approving the order or starting foundation work.
Prepare tools and information
- sturdy tape measure and suitable distance meter;
- spirit level, straightedge or suitable levelling equipment;
- string, stakes, chalk or removable marking tape;
- square, plumb line and, where needed, a ladder for safely accessible height measurements;
- notepad, site-plan sketch and camera for documentation;
- product drawing, foundation plan and assembly manual for the intended model;
- information about underground services, drainage and existing foundations.
Browse more product and planning resources in Useful information, explore Greenhouses and conservatories , or visit Saunas. For product-specific site questions, contact us through Contact before foundation work to confirm which documents apply to the selected model.
Build the site plan around fixed references
Sketch the proposed location from above. It does not have to be drawn to scale, but its orientation must be unambiguous. Show north, every boundary and at least 1 permanent reference, such as the corner of a building.
Locate the proposed structure from at least 2 permanent reference lines. Add the side dimensions, diagonal readings, door operating zones and maintenance routes. If the structure meets a building, prepare a dimensioned view of that wall too.
| Plan item | What to record |
|---|---|
| Property and existing features | Boundaries, buildings, walls, paths, vegetation, inspection chambers |
| Planned structure | External outline, orientation, doors, roof edges |
| Levels | Corner heights, slope, steps, thresholds and wall connections |
| Services | Service routes, outlets and drainage direction |
| Logistics | Vehicle access, transport route, narrow points and assembly area |
Core dimensions to collect for any structure
For every product type, include these items in the site record:
- total available length and width;
- a corner-to-corner diagonal reading in each direction across the marked area;
- levels at every corner;
- distances to boundaries, walls and obstacles;
- the narrowest clear width on the transport route;
- available height below branches, roof edges or services;
- width and opening direction of nearby doors and gates;
- locations of chambers, pipes and cables;
- space for assembly, ladder placement and later maintenance.
Add intermediate readings wherever the site is irregular. A wall that looks straight may bow, a patio may taper, and a curb may project into a proposed post position.
Resolve the structure type before locking in the footprint
The chosen format changes both site and foundation planning. A wall-mounted pergola needs an appropriate host wall, whereas a freestanding design needs defined bearing locations around the structure. The article Choosing between a wall-mounted and freestanding pergola sets out the main points behind that choice.
Roof function also affects drainage, clear height and adjoining façades. Read Bioclimatic or classic pergola and the background article An introduction to bioclimatic pergolas.
For saunas, rectangular cabins and barrel forms differ in how they occupy space, where people enter and how the surrounding area can be used. Compare Elma S, Elma L and the HC150 barrel sauna against the documentation issued for each product, rather than relying on garden photographs.
Measurement checklist for a greenhouse
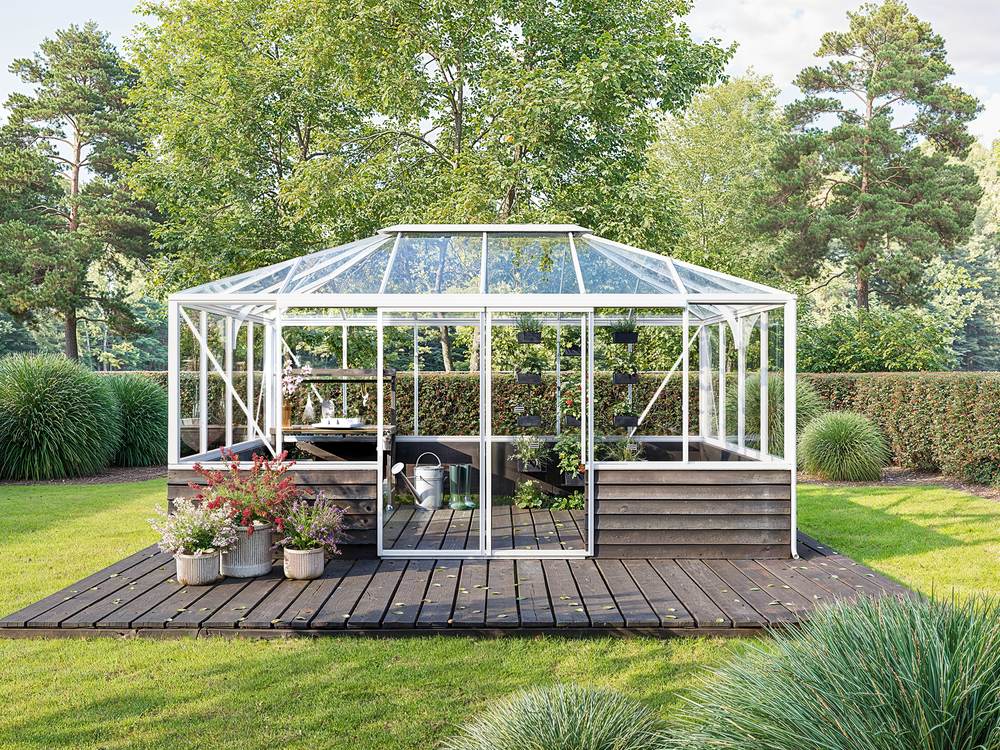
- Record the sun path, sources of shade and orientation of the greenhouse's long axis.
- Check the footprint, including the foundation or plinth area.
- Allow for the door side, opening route and step-free access.
- Check the eaves and ridge area for branches, services and roof projections.
- Keep space clear for window openers, ventilation elements and cleaning.
- Plan access to water, the rainwater route and a practical way to bring planting soil into the greenhouse.
- For wall-mounted models, record window sills, downpipes, plinths and façade projections.
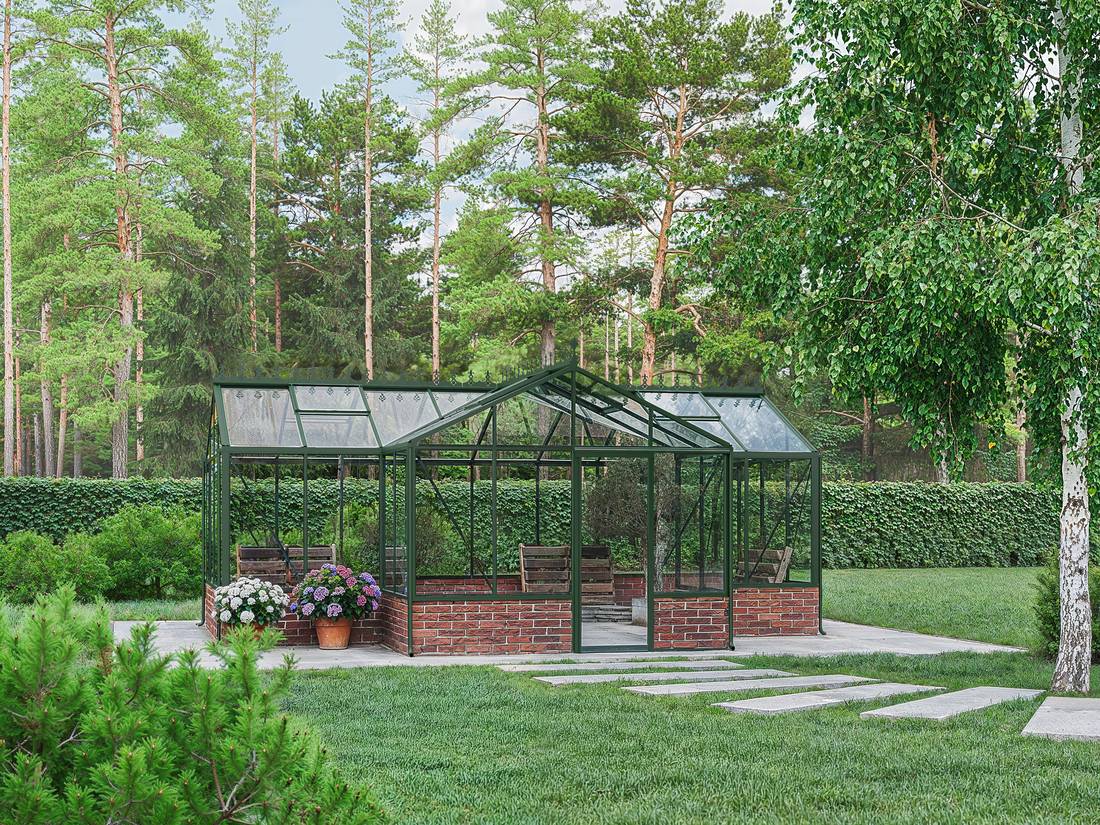
Historically inspired or geometrically divided structures may have extra axes and connection details. The article on Victorian greenhouses shows design relationships, but for measurement purposes only the drawings for the selected model are authoritative.
Measurement checklist for a pergola
- Sample the patio's width and depth in several places.
- Check every planned post position on a load-bearing base.
- Allow for roof projections and any integrated drainage routes.
- Check clear height against doors, windows and shutters.
- Allow operating and circulation space for louvres, shading or glazing.
- Record runoff from the existing patio and possible splash zones.
- Document exposed sides and surrounding conditions for site-specific planning.
For size selection, the Pergola size guide is useful. Material and use concepts are discussed in Aluminium or timber . If side walls are planned, measure sliding paths, stops and floor levels too; see Pergola with glass walls.
Measurement checklist for an outdoor sauna
- Measure the complete installation zone, including entry and maintenance access.
- Mark the door position, opening direction and safe approach area.
- Check foundation points or continuous bearing surfaces against the product documentation.
- Record routes for the intended technical equipment.
- Clarify drainage and cleaning options for the particular site.
- Check distances to vegetation, buildings and other facilities.
- Review the transport path for minimum width and height, difficult corners and the capacity of its surfaces.
Different models must not be planned from one standard layout. Check the documents for HC 180, HC 225, HCF 225, HCF 300 and LC 225 separately. The article Choosing a timber sauna or barrel sauna provides a general introduction.
Measure the foundation and patio
A finished patio or paved area should not be assumed to provide an adequate base. Document its construction, edge clearances, joints, grade, visible deterioration and whatever is known about the layers below. The proposed structure needs a project-specific assessment of support, frost performance, anchoring and drainage.
For pergolas, the Pergola foundation guide summarizes key planning questions. Transfer drilling or bearing points only from the approved product drawing. Never estimate distances from a product photograph.
How to check a marked rectangle
- Mark the outer edges with string.
- Measure both long sides and both short sides individually.
- Measure the two diagonals.
- If the diagonals differ, adjust the corners and measure again.
- Level every corner.
- Secure the positions against a fixed reference point.
Equal diagonal readings are a useful cross-check, but they do not prove that every side is correct. With a complex plan, check each rectangular portion on its own.
What to document where the structure meets a wall
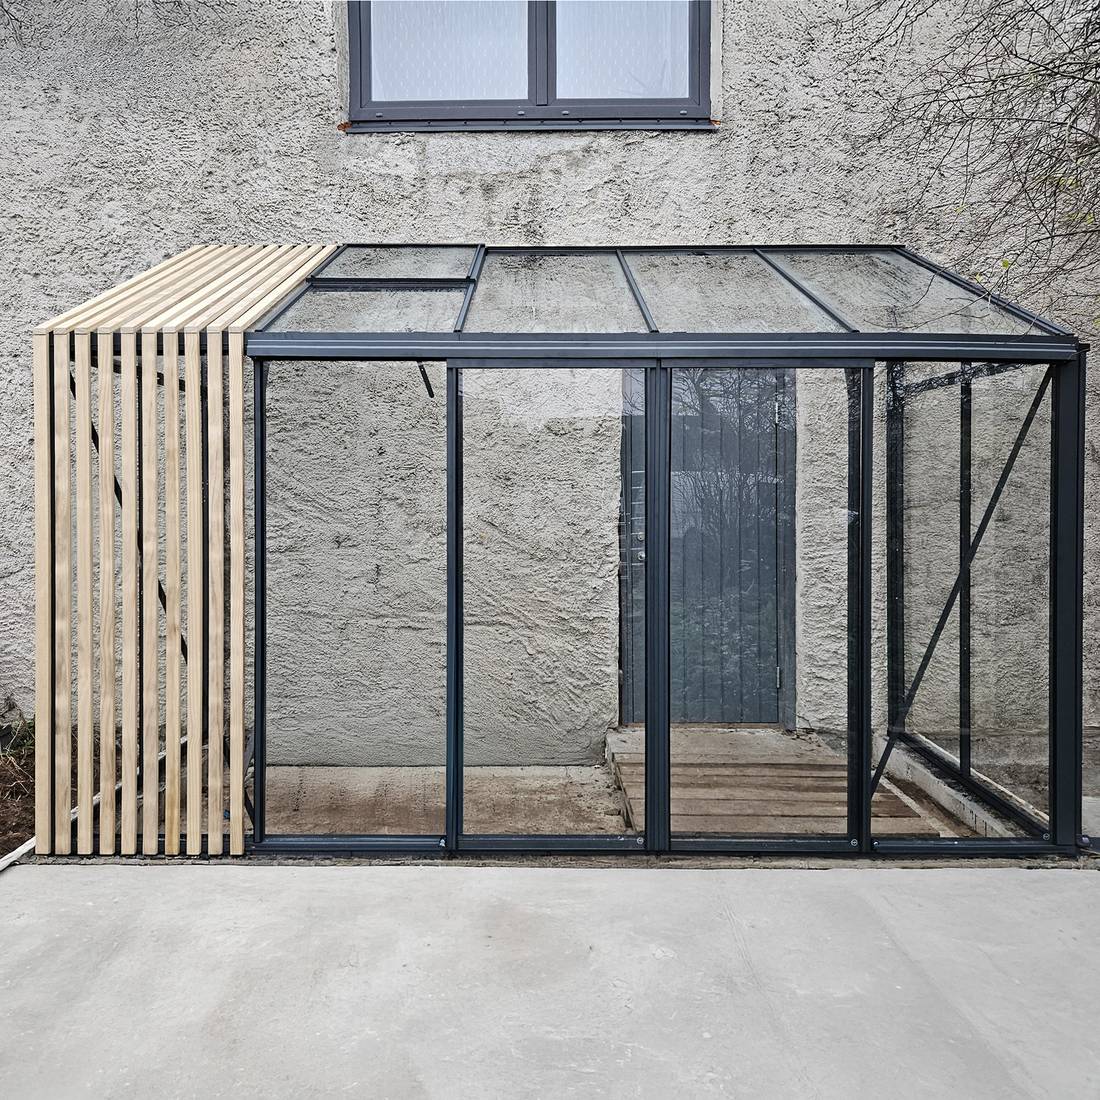
Draw the wall face and add dimensions for its width, usable attachment height, windows, doors, roller-shutter boxes, lights, downpipes, vents, outdoor taps, projections and plinth offsets. Inspect both the lower wall and the full line where the connection profile would sit.
Wall construction and fixing suitability need a project-specific review. Do not guess what lies behind insulation, cladding or an uncertain finish; bring in an appropriately qualified professional early if the assembly is unclear.
Test door operation, travel paths and the intended layout
Outline every door in the fully open position. Look for collisions with paths, furniture, raised beds and doors in nearby buildings. Posts, benches and equipment should not pinch the principal route through the space.
Sketch the intended interior before choosing the final orientation. A greenhouse needs room for staging and wheelbarrow movement; pergola circulation depends on tables, seating, a barbecue or an outdoor kitchen. At a sauna, account for entry, changing and a secure walking route back to the building. For layout inspiration, see Pergola layouts for patios and gardens.
Services, drainage and surrounding conditions
Show existing and proposed services on the plan, including electricity, water and drainage. Coordinate every connection with the selected product documentation and the rules at the destination. For electrical service, have a qualified local electrical contractor confirm the applicable approval, equipment and installation route before work starts.
Inspect the location during rainfall if possible. Mark flowing water, ponding and runoff arriving from buildings, then note shade, falling leaves, wind exposure and cold-season conditions. For seasonal operating considerations, consult Winter use of a pergola. Winter exposure varies widely across Canada. Record drifting snow, freeze–thaw conditions and exposed approaches without treating general product data as a site assessment; have a local designer evaluate foundations and site-specific snow and wind requirements.
Walk and measure the full delivery path
Begin at the proposed unloading location and follow every component's path to the foundation. Record minimum clear width and height, corners that restrict turning, steps, grade changes, soft surfaces, gates and low branches. Confirm that long pieces can negotiate the route and that the destination has room for staging and assembly.
Include restrictions on shared property and narrow driveways in the record. A gate may provide adequate straight-line clearance while another part of the route prevents a long component from passing.
Anna Koku Skola: a field sequence for measuring
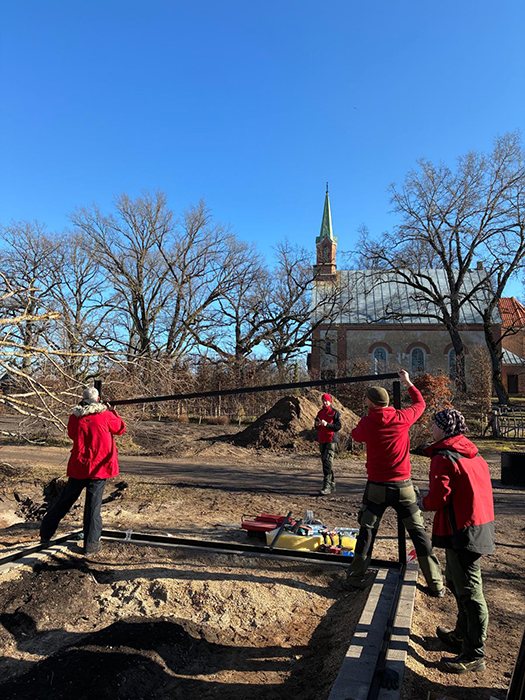
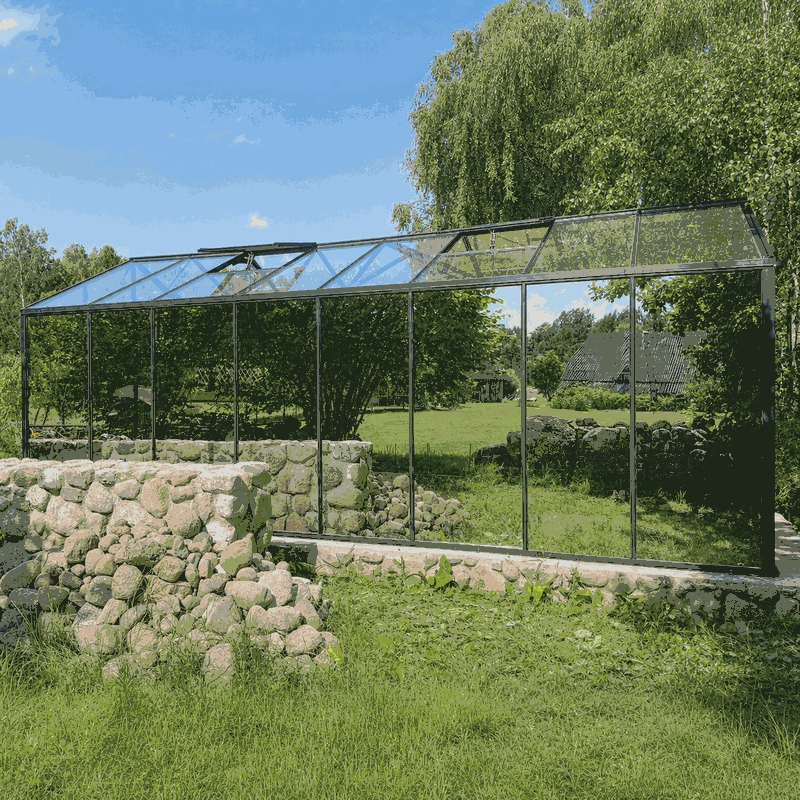
Read the Anna Koku Skola photographs as stages of the same installation. They illustrate a practical order of work: document the wider site, stake the proposed outline, verify foundation and connection areas, and clear the working space before assembly.
- Record the site: Note fixed reference points and obstacles on a sketch.
- Transfer the outline: Use string to make the proposed footprint visible.
- Check the geometry: Measure sides, diagonals and levels independently.
- Check connections: Compare wall, ground and drainage areas with the documentation.
- Simulate use: Open doors, walk the routes and mark interior areas.
- Confirm logistics: Make a final check of the delivery route and assembly area.
The photographs are not separate projects. Each one records another phase or viewpoint within the same installation.
Pre-order site-measurement worksheet
| Check point | Measured value or result | Status |
|---|---|---|
| Available length and width | Enter value | Open/checked |
| Diagonal A and B | Enter value | Open/checked |
| Levels at all corners | Enter value | Open/checked |
| Distances to boundaries and existing features | Enter value | Open/checked |
| Door and circulation routes | Describe | Open/checked |
| Foundation condition | Describe | Open/checked |
| Services and drainage | Mark | Open/checked |
| Transport route | Enter narrowest point | Open/checked |
| Product drawing checked | Record document version | Open/checked |
Order-approval review
- The selected model and its configuration are identified without ambiguity.
- All measurements come from the actual site.
- The footprint, projections and opening zones have been distinguished.
- Diagonals and levels have been checked.
- The foundation and anchoring have not been assessed from the visible surface alone.
- Wall connections and façade obstacles are fully documented.
- Accessories and planned extensions are included in the space requirement.
- The delivery and installation route is feasible.
- The applicable province or territory and municipality have been identified, and project questions have been taken to the appropriate offices.
- Open technical questions are resolved before approval.
Company information is available under About us . For complementary garden structures that may matter in an overall plan, see Garden house.
Reconcile the final order documents with the site
When the order-specific documents arrive, compare them with the survey again. Verify the model designation, orientation, exterior dimensions, foundation locations, door positions and connections. Do not start foundations or service work from an older sketch, a related model or an unverified image on a screen.
Give the foundation contractor and installation team the same current document version. Any changes to the site must be added to the documentation and checked again.
Keep maintenance access in the measurement plan
A structure may be straightforward to assemble but awkward to look after. Preserve access for cleaning, caring for hardware, inspecting drainage and replacing reachable components. Keep vigorous shrubs away from parts that need regular attention.
Make room for safe ladder positioning, glass cleaning and access to roof edges. The necessary working area changes with the model, setting and maintenance task, so do not adopt a generic clearance as though it were a fixed requirement.
Questions from the measuring stage
Is the area listed on the product page enough for placing an order?
Not by itself. Establish what the published area or dimension represents, then account for roof projections, fixing zones and operating space where relevant. Use the current documentation for the particular model and configuration.
How do I verify square corners in a rectangular set-out?
Compare the diagonal reading between each pair of opposite corners. A correctly set-out rectangle has equal diagonals, matching opposite sides and corners checked on the intended elevation plane.
Is an existing concrete patio automatically suitable?
No. Its appearance reveals little about the construction below. Check condition, grade, edge clearances, load capacity, frost behaviour and anchoring options against the project; professional review may be needed.
What clearance is needed beside the structure?
No single distance works for every site. Determine the usable margin from door operation, roof projections, cleaning, assembly, drainage, property constraints, local requirements and the selected model's documents.
Which extra details matter for a lean-to greenhouse or pergola attached to a wall?
Prepare both the footprint and a measured wall view. Include attachment height, usable wall width, plinths, openings, services, downpipes, projections and the known wall construction.
Why is a property survey still needed when Bloomcabin supplies drawings?
Bloomcabin's drawing defines the structure; your measurements describe the property. Comparing the 2 records is what establishes whether the proposed location can accommodate assembly, operation and normal use.
At what stage should I speak with an installer?
Seek input before foundation or service work, particularly where the site slopes, access is constrained, the product attaches to a wall or the existing construction is uncertain. Early review leaves time to correct assumptions.
How should a sloped yard be recorded?
Capture the elevation at each corner and at meaningful points between them rather than relying on an average grade. Select the foundation and any terrain adjustment only after considering the particular site and structure.
Do accessories belong on the survey plan?
Yes. Side enclosures, shading, gutters, equipment, steps, furnishings and future additions may alter clearances, service locations or foundation work.
Which survey omission causes the most trouble?
Recording only nominal length and width leaves out diagonals, elevation changes, door travel, projections and assembly access. A properly annotated plan keeps those constraints visible during product selection and site preparation.
