



PREPARATION
Preparing Properly for DIY Assembly: Technical Checklist
A well-organised start helps the self-assembly of a greenhouse, pergola or outdoor sauna run safely, without preventable stoppages. Use this checklist to review the product, location, base, equipment, delivery, component sorting and closing inspection.
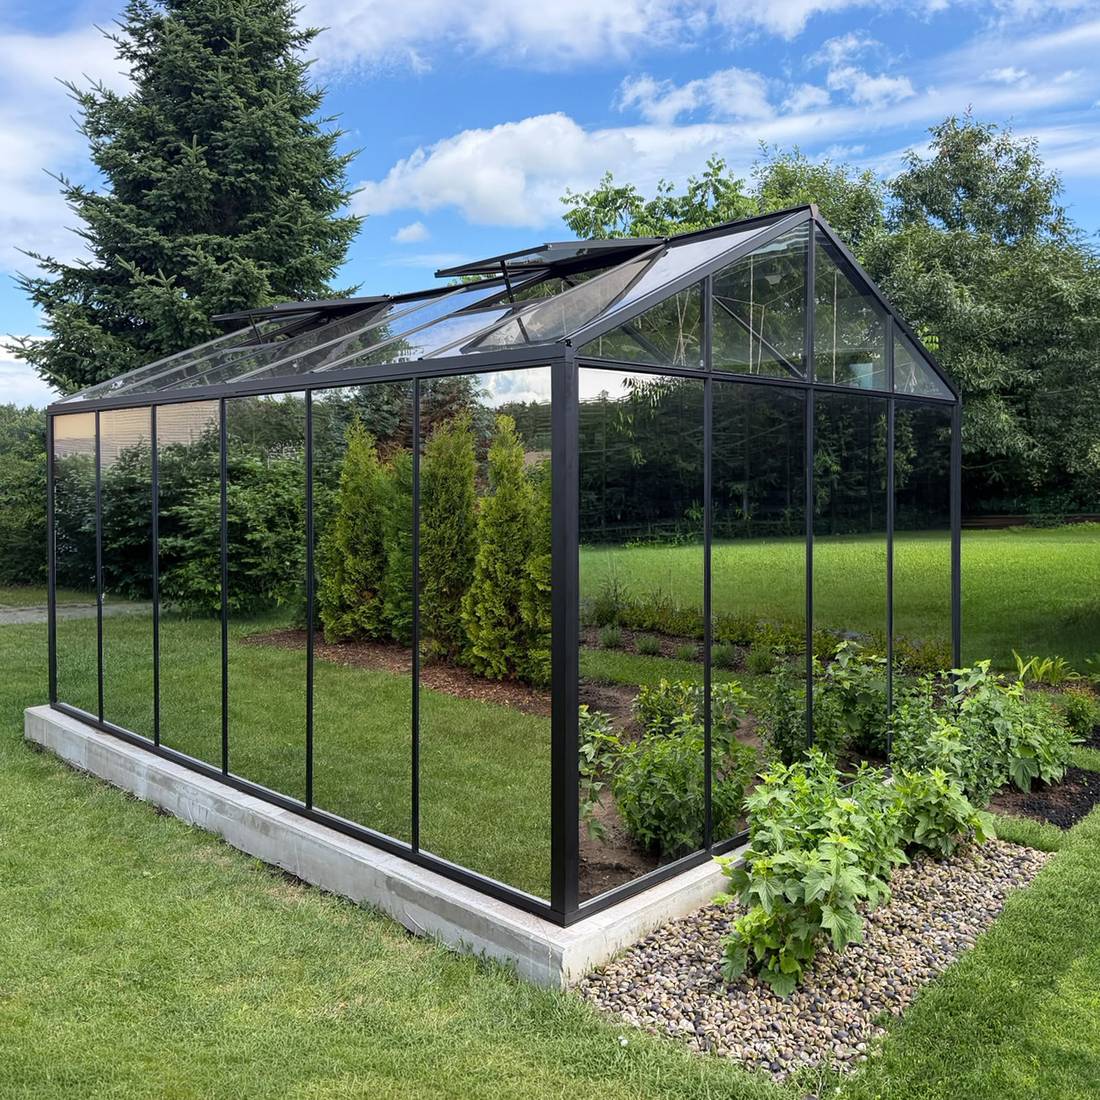
The preparation process in brief
Assembly starts by checking the ordered product, documents, site and foundation, not by fitting the first profile. Small errors beneath aluminium structures can later leave frames out of square, place glazing under stress or prevent doors from closing cleanly.
This sequence is a working guide for greenhouses, pergolas and similar garden structures. Outdoor saunas additionally require attention to services, ventilation and model-specific timber treatment. The documents for the delivered model always govern; general guidance replaces neither its assembly manual nor local checks.
| Planning stage | Required outcome |
|---|---|
| Ahead of ordering | The right model, enough room and workable access |
| Ahead of delivery | Site verified, base ready and unloading arranged |
| Ahead of construction | Parts accounted for, proper equipment ready and work planned |
| While building | Methodical sequencing, repeated measurements and stable temporary stages |
| Before first use | Fixings inspected, openings operating and services cleared for use |
Advice about product choice, ordering and deliveries can also be found in Useful Information , together with the Shopping & Delivery section.
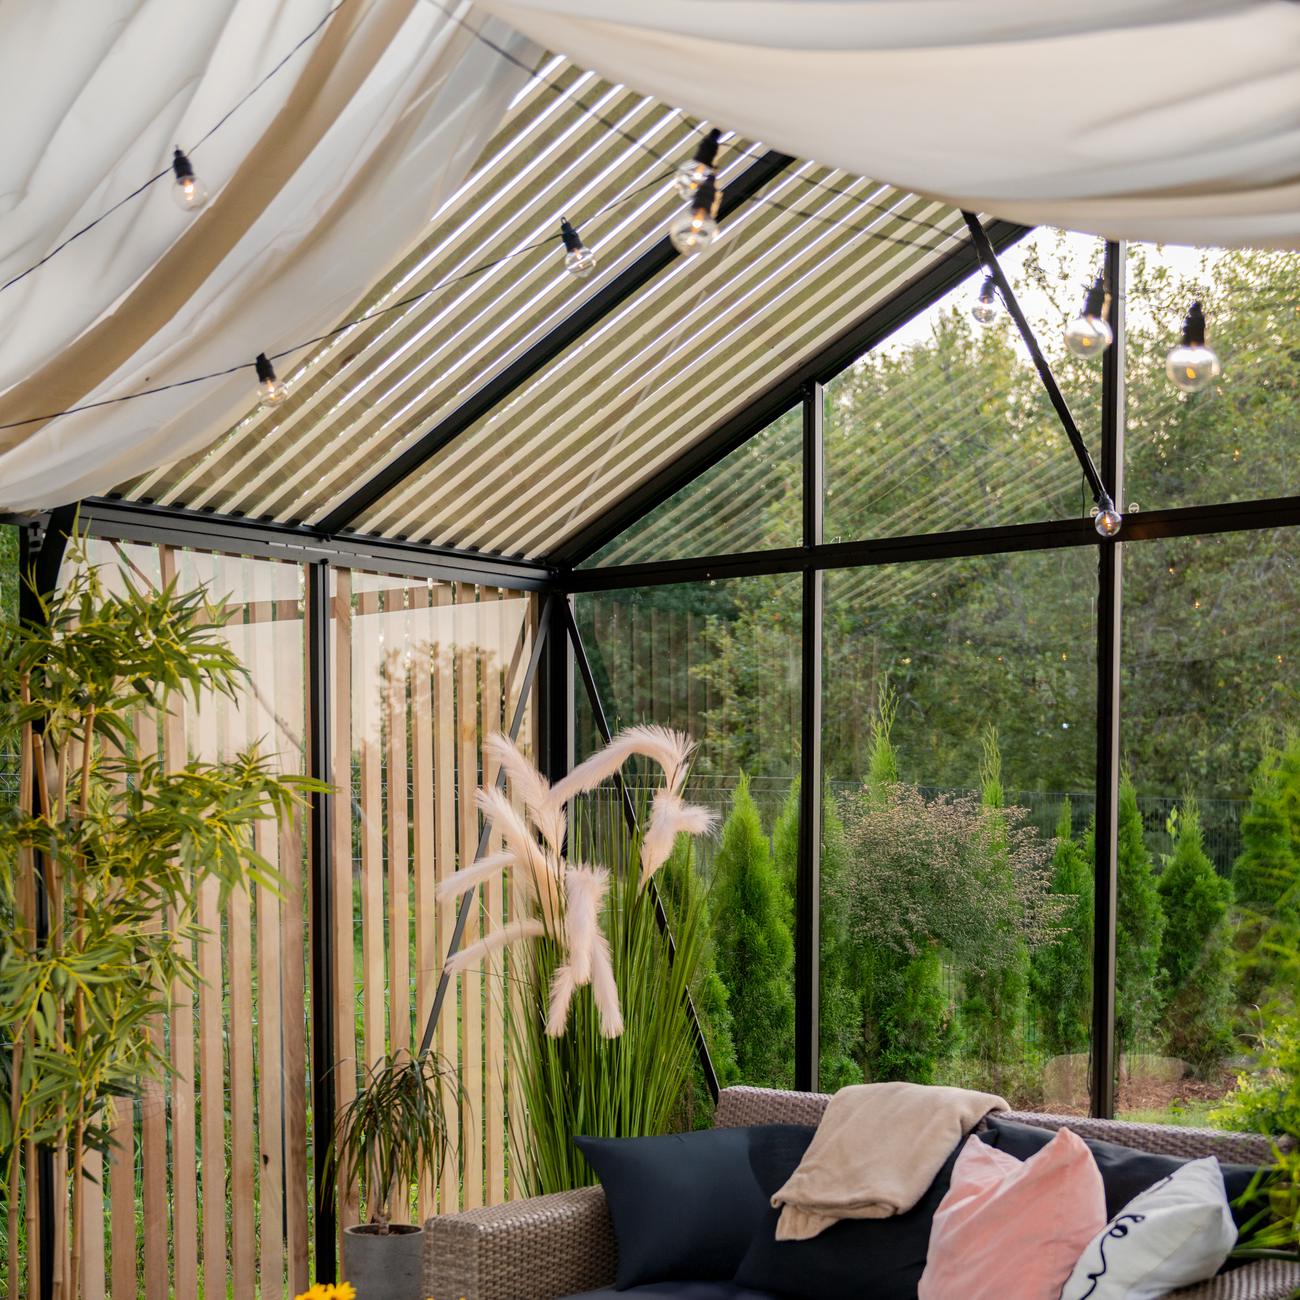
1. Identify the exact product before planning the work
Write down the precise model, finish and configuration ordered. A reference image alone is not a sound basis for planning. Doors, ventilation windows, roof forms, wall junctions and optional modules may alter both the required footprint and the order of construction.
Review the approved information for the chosen product before purchasing foundation materials or starting permanent work. Note the outer dimensions, attachment locations, operating clearance for doors, intended water discharge and space required for maintenance. Pergola decisions may be clarified by the guide to pergola sizes, the advice on attached or freestanding pergolas , and the comparison between classic and bioclimatic pergolas .
Sauna preparations must reflect the construction of the selected design. The Elma S outdoor sauna and the HC150 barrel sauna serve a similar purpose, but that does not make their structural requirements interchangeable.
2. Review paperwork, roles and requirements for the site
Compile the project file before work starts. It should contain the order confirmation, packing records, assembly instructions, foundation details and any documents available for service connections. The page explaining how ordering works can help reconcile the order with the product at an early stage. File the warranty details with invoices and photographs as well.
Assign responsibilities before work starts: who receives the delivery, checks packages and coordinates the foundation, assembly and technical connections? For fixed electrical work in Ireland, ask a Safe Electric Registered Electrical Contractor whether it is Restricted Electrical Works and which completion certificate is required.
Whether planning permission, notification or another consent is required depends on the property, structure, location, dimensions and use. Consult the relevant Irish planning authority before irreversible work and ask about its formal declaration route if uncertain. See our guide to Irish planning for greenhouses and pergolas. For anything fixed to a wall, also confirm that the wall build-up, insulation and weatherproofing can accept the proposed attachment safely.
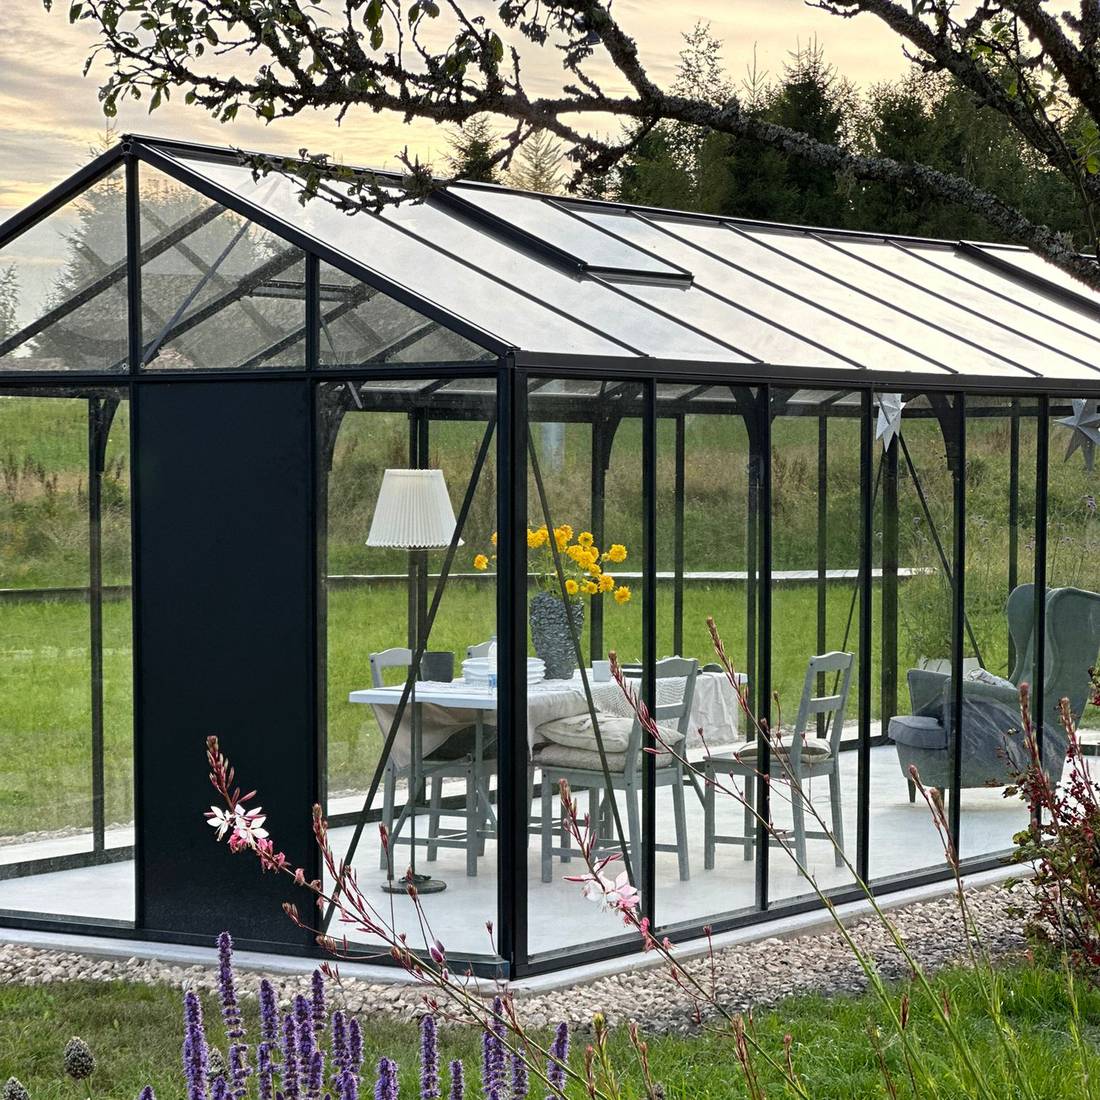
3. Examine the proposed position as a working site
Appearance is only one consideration. Assess the footprint, approach route, gradient, soil, water movement, surrounding obstacles and space for later upkeep. Allow every door, window, louvre and moving feature to travel freely. Include gutters, projecting roof edges and nearby planting in the layout.
A greenhouse location should provide useful light while allowing shading and dependable ventilation to be managed. For guidance on the finished growing environment, read about managing temperature and humidity in a greenhouse. When comparing materials, our information about polycarbonate, multiwall panels and thermal performance may assist.
Questions for the site survey
- Was the footprint verified from the latest documents for this product?
- Is sufficient room available for building, cleaning, water management and upkeep?
- Can lengthy or delicate pieces be moved along the entire access route safely?
- Can the ground carry the proposed construction and foundation?
- Does the drainage arrangement prevent pooling and incoming runoff?
- Will entrances, paths, doors and emergency routes remain unobstructed?
- Have buried services and utilities within any adjoining wall been identified?
- Were nearby trees, roof discharge, wind-blown items and slipping snow or ice considered?
4. Build and verify the foundation
The foundation transfers loads to the ground and sets the geometry of the entire structure. Design it to the product-specific information; no single solution suits every project. Soil, frost, drainage, construction method and local conditions all affect the design.
After completion, check more than length and width: measure both diagonals, levels and the evenness of every bearing point. Equal diagonals indicate squareness but do not replace a full inspection. Never conceal errors by forcing profiles into position with the fasteners.
Pergola projects can also use the foundation planning guide for pergolas for additional points. Never presume that an existing terrace provides adequate structural support. Paving, screed and other shallow finishes reveal neither the construction below nor whether it can take the planned anchors.
Ready-to-build check: Proceed only after the foundation is finished, capable of taking the intended load, checked against the required geometry and clear of pooled water. Observe whatever setting or curing period is appropriate to the materials and method actually used.
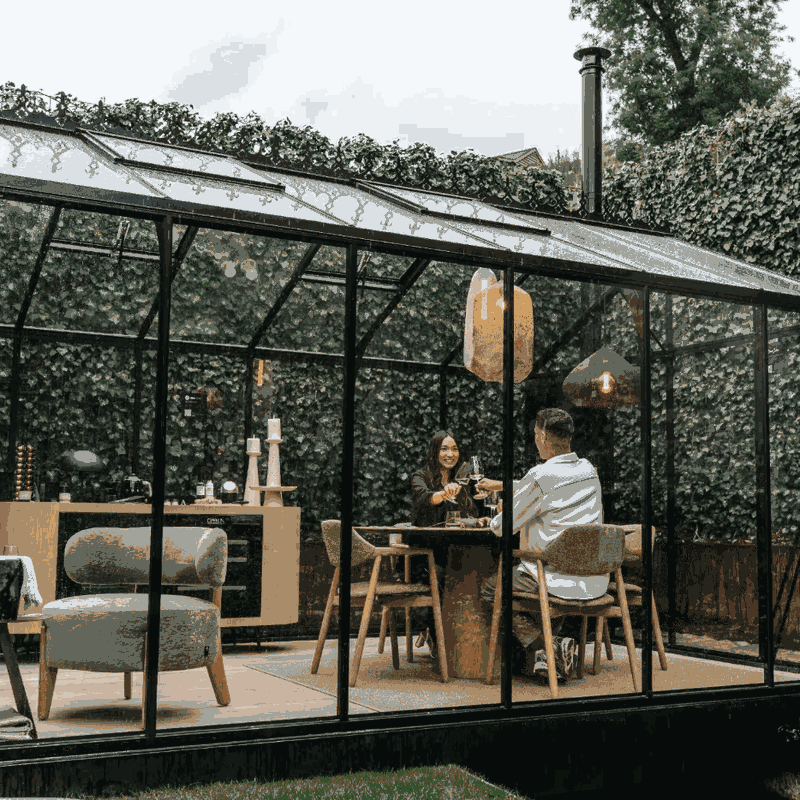
5. Prepare equipment, helpers and personal protection
Build the tool list from the model-specific manual. Typical items include measuring tools, suitable drivers, a level, marking equipment and safe positioning aids. Avoid ill-fitting bits or spanners: damaged screw heads hinder controlled assembly and future maintenance.
Plan enough helpers for the size, weight and handling demands of each component. One person often cannot safely align long profiles, roof frames or glazing. Needs vary by model and stage; even where one person can lift a part, another may be required to steady it and check measurements.
Wear suitable gloves and robust footwear, adding eye or head protection where the task calls for it. Access platforms and ladders must be appropriate to both the height and supporting surface. Do not improvise with garden furniture, unstable steps or ladders propped on packaging.
- Test equipment beforehand and charge battery-powered tools.
- Arrange minor connectors in clearly named trays.
- Set aside clean, cushioned supports for finished and transparent pieces.
- Keep extension cables away from water and route them without trip hazards.
- Handle panels and glass only with aids intended for that purpose.
- Exclude children, animals and bystanders from the working zone.
6. Organise arrival, unloading and sheltered storage
Before the shipment is due, choose a safe place for the vehicle and map the route from there to the work area. Consider tight entrances, stairs, slopes, restricted gate heights and surfaces vulnerable to damage. The general arrangements are described in Shopping & Delivery; for an individual order, send questions through Contact well before arrival.
Reserve a flat, dry place protected from weather and accidental damage. Support packages so they cannot bow, fall or remain in pooled water. Observe the supplied storage directions for glazing, coated profiles and wood. Heavy bundles must not bear on fragile pieces.
Checks when the shipment arrives
- Verify the recipient, address and order associated with the consignment.
- Reconcile the package count and identifiers with the accompanying records.
- Look around every package for dents, splits, dampness and altered shape.
- Take photographs of concerns before anything is repositioned.
- Use the stated reporting route for shortages and damage in transit.
- Arrange packages methodically and secure them from falling.
- Retain labelled wrapping until each component has been identified.
7. Count, identify and arrange every component
Open packages methodically so each part number remains with its component. Check contents against the packing list and instructions, then group profiles by assembly rather than length. Near-identical items may have different holes, end finishes or installation directions.
Divide bolts, nuts, seals and supports among marked containers. Similar-looking connectors should remain separate because appearance does not establish function. When a reference cannot be identified confidently, set the item aside and obtain confirmation before continuing.
Photograph the sorted layout and any unusual components. A complete inventory before assembly prevents a shortage emerging when the structure is already vulnerable. Other buyers' experiences can support general preparation, but never replace the manual; find them under reviews of our greenhouses.
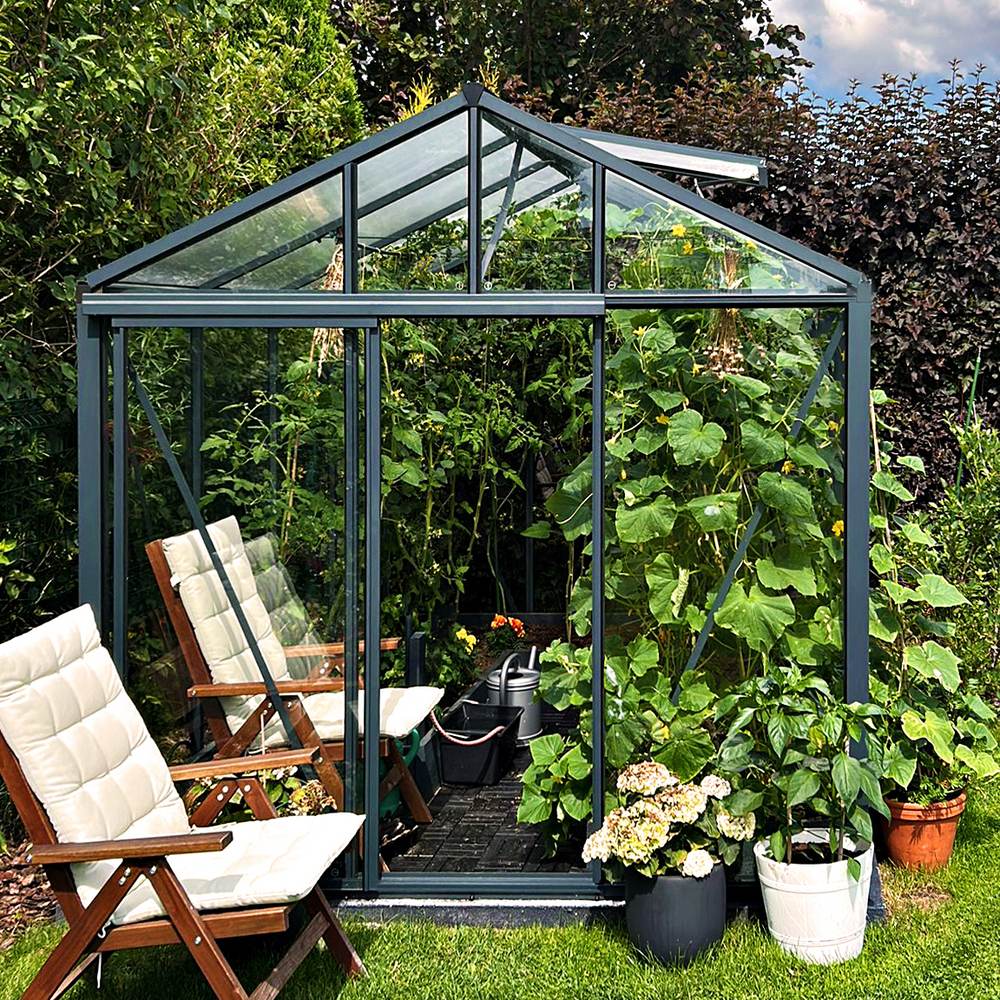
8. Follow a measured greenhouse construction sequence
Follow only the manual for the delivered model. A common sequence establishes the supporting geometry, then joins frame and roof before fitting glazing, doors, windows and accessories. The actual product instructions may prescribe a different order.
Check dimensions, squareness, plumb and height throughout the build rather than at the end. A small error in the base frame can spread through later assemblies. Tighten each fixing only as directed for that stage, reserving final tightening for the specified point.
A disciplined way to proceed
- Study the entire step: review its diagram, component references and direction before lifting anything.
- Offer pieces into place: verify their location gently before applying pressure.
- Preserve necessary adjustment: leave movement available wherever the instructions require alignment later.
- Survey the frame: compare diagonals, verticals, straight lines and clear opening sizes.
- Stabilise unfinished work: provide support throughout every temporary condition.
- Approve each stage: advance only when its checks give a satisfactory result.
- Finish the fastening sequence: apply the final tightening when directed, without excessive torque.
Never distort glazing or sheeting with unsuitable equipment or press it into an undersized space. Observe its handling warnings, designated face and fitting direction. Growing ideas, including raising lettuce under glass, become relevant after the technical work is signed off. For continuing care, consult our advice on looking after an aluminium greenhouse.
9. Pick safe weather and working conditions
Postpone construction during high winds, thunderstorms, ice or whenever parts cannot be controlled and access equipment kept stable. Wide sheets and frame sections can behave like sails. A partly braced element may shift even in a seemingly modest gust.
Wet weather can erase markings, weaken wrapping, soak exposed parts and make the ground slippery. Very warm metal may also be uncomfortable or unsafe to handle. Schedule sufficient daylight and avoid beginning a critical task as darkness approaches.
When work pauses, brace the unfinished frame and leave it in a secure condition. Move unattached panels and loose packaging into a sheltered place. Do not treat a partially completed structure as permanently stable.
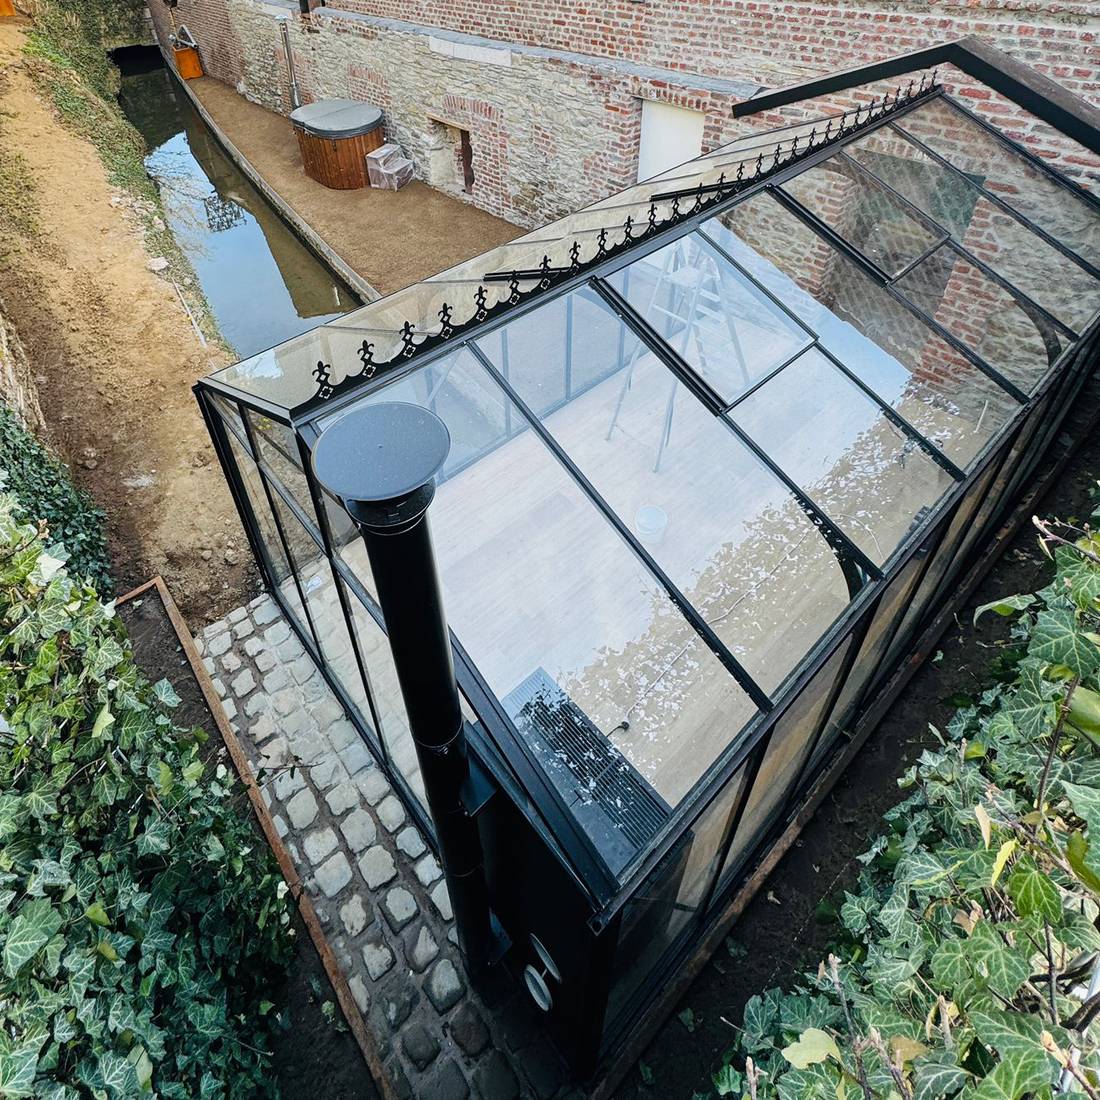
10. Inspect the finished work before using it
The final construction step should be followed by a structured review. Revisit the instructions and make sure every connector, gasket and cover is present. Operate doors, windows, catches and movable roof features across their complete range.
- Inspect each fixing location and joint visually
- Look for misalignment, loss of plumb and obvious deformation
- Verify that every seal follows its intended path and sits properly
- Clear away drilling debris, discarded wrapping and equipment
- Operate all openings and locks, then verify water discharge
- Review the specified attachments at walls or ground level
- Photograph both the overall result and important details
Do not use an outdoor sauna's technical equipment until every required connection has been competently completed and checked. For Restricted Electrical Works in Ireland, use a Safe Electric Registered Electrical Contractor and obtain the applicable completion certificate. Product details appear under Saunas. For ideas on greenhouse formats, visit greenhouses and conservatories ; broader ways of using a larger structure appear in our guide to orangeries too.
When pausing is the correct decision
Stopping at the right moment prevents avoidable damage and incorrect construction. Suspend the job in any of the following circumstances:
- You cannot establish the exact model, reference or identity of a piece.
- Measured foundation widths, heights or diagonals fall outside the stated requirements.
- Drilled openings will meet only if a profile is distorted with considerable force.
- A component affecting safe construction is absent or damaged.
- Weather or inadequate light no longer allows precise, controlled handling.
- The unfinished frame cannot be braced securely.
- The supporting wall, concealed services or anchoring material is uncertain.
- What you see on site seems inconsistent with the supplied instructions.
Photograph the issue, steady the unfinished work and secure unattached pieces while clarification is sought. Cutting, bending or adding holes without approval can convert a simple identification mistake into lasting damage.
Questions about getting ready for self-assembly
Is it sensible to construct the foundation before ordering?
Only when the final product version and its valid foundation information are confirmed. Pictures and approximate catalogue dimensions are insufficient because size, door position or configuration can change fixing points. Plan the foundation from approved documents for the selected product.
Is solo assembly possible for a Bloomcabin structure?
It depends on the model, component and assembly stage. Even light profiles may require several people because of their length, wind exposure and alignment needs. Choose the team from the manual and the handling task, not only the weight of one part.
Do screws need to be fully tightened as soon as they are fitted?
Not when the documented sequence keeps a joint adjustable for setting out. Locking it prematurely can introduce stress and prevent accurate alignment. It must nevertheless be tight enough to keep the temporary structure controlled. Follow the order specified in the instructions.
How do I tell apart two very similar profiles?
Compare the references, drilled openings, ends, channels and intended orientation with the detailed drawing. Do not make permanent marks or alterations while identification remains unresolved. Place the pieces together, photograph their distinguishing features and ask for confirmation.
Might a concrete terrace support a pergola?
Perhaps, although the visible finish cannot demonstrate structural capacity. The underlying construction, thickness, reinforcement, edge clearance, support and condition must all suit the chosen attachments. Arrange an assessment of the actual terrace and use the foundation information issued for the product.
At what point should films and packing be taken off?
Keep them in place while they remain useful, but remove them in time to identify and install parts correctly. Some protective films indicate orientation as well as guarding a surface. Follow the manual, and retain packaging bearing references until the inventory is complete.
How should I react if rain begins during the work?
Pause whenever the rain compromises footing, vision, tool use or controlled handling. Brace and secure the unfinished stage, then shelter panels, hardware and materials vulnerable to moisture. Resume only after the working surface and surrounding conditions are safe.
Can I alter a piece that appears not to fit?
Do not alter it until the cause is confirmed. A part that seems too long or wrongly drilled may be swapped, reversed or affected by an earlier error. Recheck its number, orientation, foundation geometry and preceding steps; unauthorised changes may compromise operation and safety.
When is the greenhouse ready for plants or furnishings?
Wait until construction, inspection and cleanup are finished. Confirm the anchoring, glazing and operation of doors and windows, then plan containers, irrigation and paths without obstructing airflow or access for upkeep. Crop guidance is available in our article on growing basil in a greenhouse.
What paperwork and records are worth keeping?
Keep the invoice, order confirmation, manual, packing lists, product labels and relevant correspondence. Add photographs of the delivery, foundation, hidden fixings and completed structure, plus dates and results of later inspections. These records support maintenance, parts identification and clear enquiries.
