



SITE PLANNING
Outdoor Sauna Preparation: Position, Foundation, Water and Clear Space
An outdoor sauna requires level, load-bearing support in a reliably dry position. Before assembly, review the required area, base, rainwater disposal, safety spacing, utility routes and delivery access.
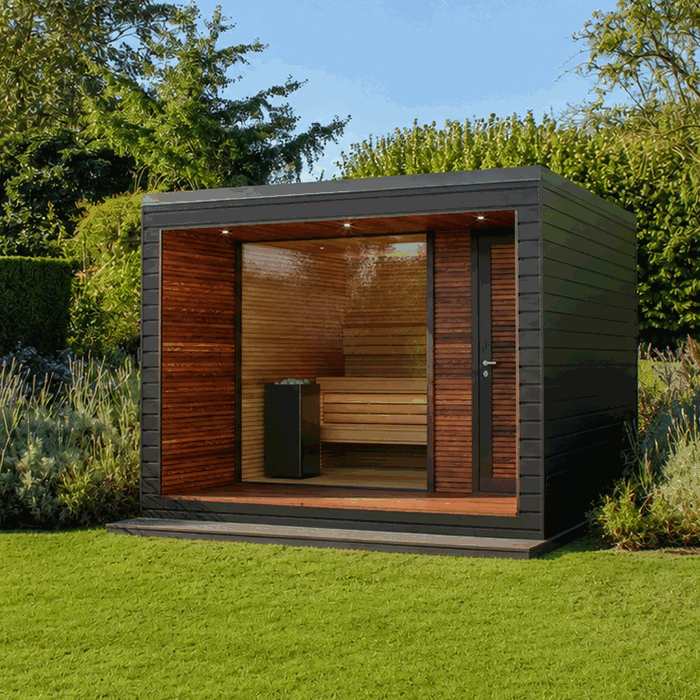
Preparation starts with a sound location decision, not construction. Ground conditions, drainage, clearances, service routes and access must work together. Looking only at the visible footprint can lead to sticking doors, trapped moisture, unreachable maintenance areas or a supply cable appearing on the wrong side.
The same method works for a small barrel design and a more spacious, straight-walled garden sauna. Final decisions must follow the selected model’s drawings, assembly manual and any conditions affecting the property. Explore the available formats in Saunas section. For help with ordering and advance project checks, see Useful Information.
Checks to complete before preparing the sauna plot
Confirm each item below before digging, casting a foundation or routing services:
- The sauna model and its specified installation footprint are confirmed.
- Allow for eaves, entry, heater, chimney, assembly work and future maintenance.
- The ground is load-bearing below the surface, not merely firm on top.
- The base can support the sauna evenly over time.
- Rainwater leaves the plot and does not pool below the building.
- Designed airflow remains open under the floor and around its outer faces.
- Manufacturer clearances and relevant Irish site requirements have been checked.
- Power, lighting, water and any drain are planned in advance.
- The delivery route has sufficient width, height, strength and turning room.
- Safe installer access is available along all exterior faces.
Questions about a model or the drawings it needs should be settled ahead of foundation construction. Use the Contact page to ask.
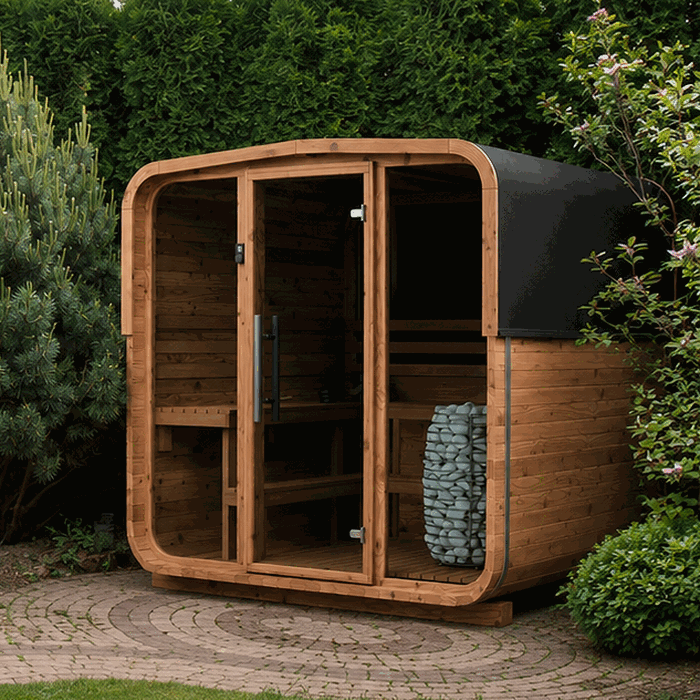
1. Decide where the outdoor sauna should go
Plan around everyday use
A location may work technically yet prove awkward in practice. Test the walk from the house after dark and in wet, icy or snowy conditions. Keeping it short and sure-footed encourages frequent visits. Create privacy without covering vents or blocking elevations requiring upkeep.
Include the landing outside the doorway in your layout. It should be firm and resist slipping. Allow the door its full travel, with no step, railing or furniture hindering escape, handling of components or future work. Broader guidance is available in Comparing Timber, Barrel and Garden Saunas.
Read the garden as one site
Record slopes, soil type, existing drainage, boundaries, buildings, fences, trees and underground services. Even a sheltered dip is risky if rain or meltwater gathers there. Roots, made ground and recently disturbed soil may affect future settlement.
Settle both public-law and private-property questions before choosing the spot. In the Republic of Ireland, planning exemptions carry conditions and do not remove separate building-control obligations. Discuss the proposed classification, past permissions, boundaries and protected features with the local planning authority. Our Irish Planning Guide for Garden Buildings explains how to make those checks but cannot determine an individual site.
Consider sun, wind and Atlantic weather
Sun, prevailing winds and driven rain all affect timber cladding, roofing, the entrance and any sitting space. Give weather-facing elevations careful drainage and preserve a route for routine checks. Trees can shelter the sauna, yet foliage, falling limbs and localised impact remain concerns. Reject positions beneath suspect branches.
Inspect the garden during intense rain and again after the ground has remained wet, if practical. Flow paths hidden in dry spells then become clear. For broader layout guidance, visit Garden Layout and Seasonal Ideas for Ireland.
2. Confirm the footprint before foundation work
A generic sauna type is not enough for foundation sizing. Work from the latest information issued for the particular ordered model. Length and width alone omit possible space for overhanging roof elements, water disposal, the entry platform, heater arrangement, service components and fitting operations.
Different shapes require separate measurement checks. Within the Elma line, compare the information for the Elma S Elegant Outdoor Sauna against that supplied for the Elma L Elegant Outdoor Sauna. Apply that individual review to every barrel design: HC150 barrel sauna, barrel model HC 180, HCF 225 barrel sauna, LC 225 barrel sauna, barrel model LCF 260 and N 210 barrel sauna individually.
Before work starts, set out the perimeter and trace the door’s full opening arc. Mark construction zones too. This rehearsal exposes early clashes with walls, planting, paths or breaks in slope.
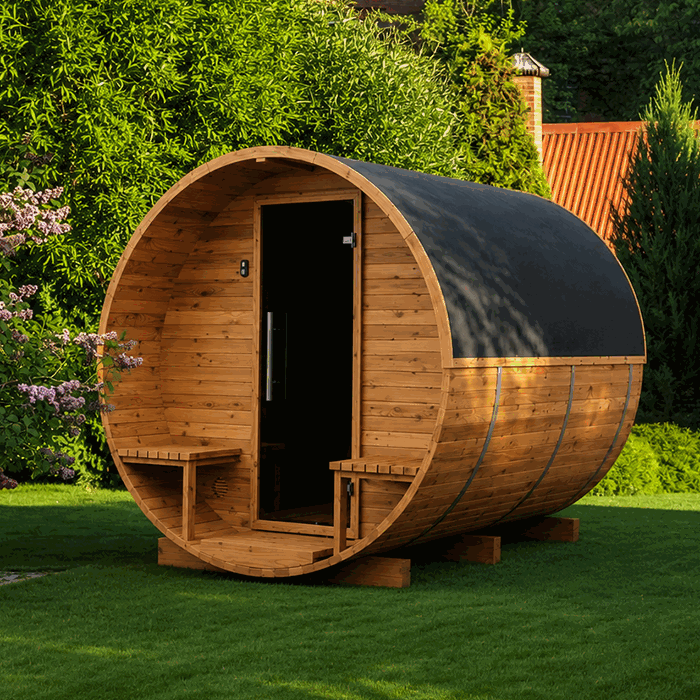
3. Choose a suitable outdoor sauna base
An effective base distributes weight, keeps its shape and separates timber from persistently wet ground. Its design must respond to the soil, sauna construction, slope, drainage and site conditions. A professionally designed concrete area, a structural slab arrangement or another model-compatible foundation may be appropriate. No one detail is right for every Irish garden.
| Criterion | Technical question |
|---|---|
| Capacity | Can it carry the loads permanently without uneven settlement? |
| Level | Does every specified support make complete, even contact? |
| Drainage | Can water escape without collecting beneath the sauna? |
| Durability | Will it remain stable through rain, frost and seasonal movement? |
| Geometry | Do dimensions and supports match the binding foundation plan? |
Level support with free drainage
The bearing locations must share the plane specified by the manufacturer. This does not require a flat, water-holding surround. Treat structural level and land drainage separately: support the sauna correctly while grading nearby surfaces to carry water away.
Investigate what lies below the finish
Attractive slabs or paving can hide poor ground. Excavate organic matter and any loose or weak material to the necessary depth. Have formation layers, compaction and frost behaviour considered for this particular site. Soft soil, slopes, placed fill or doubtful capacity warrant professional assessment.
4. Manage drainage and moisture
Rain, splashback, ground moisture and temperature swings affect an outdoor sauna. A channel alone is not a drainage strategy. Roof discharge, surface flow, indoor water and ventilation must be designed together.
Follow rainfall from the roof
Note where rain leaves the roof, then establish its onward path. Do not let it soak the plinth, entrance or load-bearing areas. If roof drainage is provided, connect it to suitable conveyance or infiltration compatible with the soil and applicable site conditions.
Shape surrounding ground
Shape nearby surfaces so precipitation travels beyond the building. Do not leave a hollow between a path and the foundation. Soil, stone or planting added later must never bridge damp onto the timber or cover an air opening. Related principles are discussed in Controlling Heat and Moisture in Garden Structures .
Plan internal water
Whether the sauna needs or includes a floor outlet depends on construction, use, cleaning and technical literature. If one is planned, resolve its position, gradients, freeze protection, water trap and lawful disposal ahead of foundation works. Later alteration can be disruptive.
Retain underfloor ventilation
Ventilation below the floor helps moisture evaporate. Keep designed voids free of soil, edging blocks and close-fitted panels. Avoid pockets where leaves or water gather. A plinth that can be examined and cleared is preferable to one closed solely for appearance.
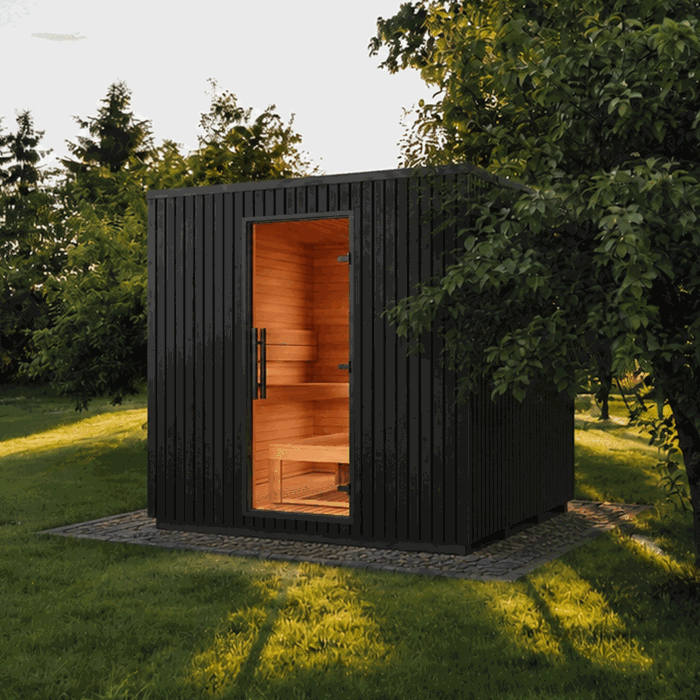
5. Leave space around the sauna
Sauna and heater clearances
Clearances for the cabin, heater, guards and flue must come from current technical information. A solid-fuel unit adds installation-specific design and Irish regulatory questions. Seek guidance from the proper authority and competent specialists while the position can still change.
Working room for fitting and upkeep
A narrow strip beside a fence can appear sufficient on a drawing but prevent practical work. Leave room to assemble components, maintain finishes, inspect the roof, clean and replace equipment. Allow for tools and long parts. Any side left unreachable after construction cannot be checked reliably.
Overhead clearance
Check for branches, eaves, wires, lights and structures above the sauna. A flue requires additional clearances determined by a competent specialist. Consider assembly too: raising a panel or other component can demand much more height than the completed building.
6. Coordinate heating equipment and services
Electric heaters
Electrical design follows the final heater selection. Required load, conductor routing, protective measures, controls and acceptable equipment locations vary with both the system and site. Ask a Registered Electrical Contractor whether the proposal is Restricted Electrical Works; where it is, an REC alone may carry out and certify it.
Never install cable from a guessed heater location. Verify the fitting instructions and cable-entry detail first. Provide a sheltered, reachable route, and photograph or map underground services while excavation remains open.
Wood-fired heaters
A wood-fired system needs coordinated design of the appliance, combustion air, clearances, adjacent floors and walls, and flue. A competent designer or installer should follow the manufacturer’s instructions, applicable fire measures and Irish Part J guidance. Settle this before forming the foundation detail or roof opening.
Lighting, water and optional connections
Exterior lights can make the approach safer, but their position should avoid glare and leave the door unobstructed. Design outdoor pipework for its purpose and winter exposure. If controls, data or sensors are intended, reserve suitable routes early. For the order in which product choices are confirmed, consult How to Order.
7. Delivery and assembly access
Measure the handling path from the roadside entrance to the finished base. Check gates, tight bends, steps, slopes, soft surfaces, carports, gutters, branches and vehicles. Wet lawn may not carry repeated traffic or equipment. Agree how delivery and erection will be undertaken; lifting gear is not automatic.
Remove outdoor furniture and loose items. Protect delicate paths appropriately, and reserve an uncluttered working zone. Check those practical arrangements against Purchasing and Delivery before delivery.
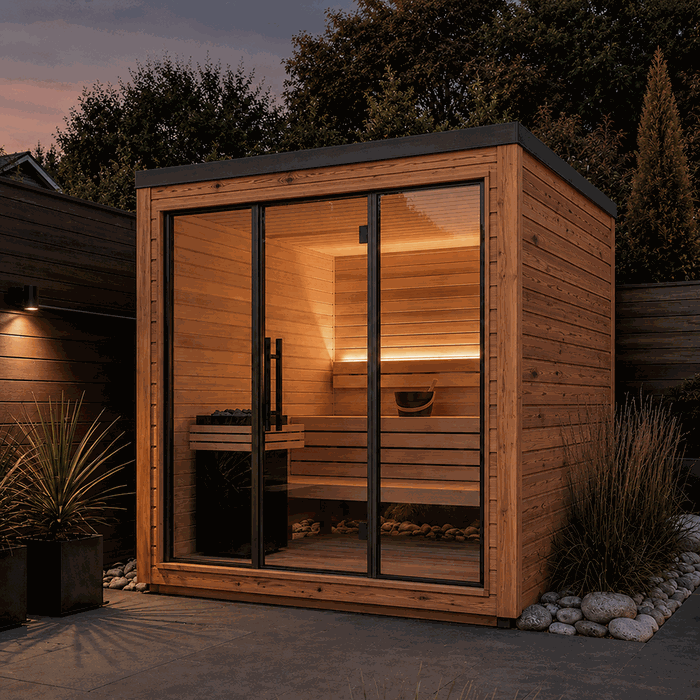
8. A practical order for site preparation
- First, select the model: Confirm form, heater and options.
- Check documents: Record dimensions, supports, door side, service entries and assembly needs.
- Survey the site: Survey levels, run-off, boundaries, buried routes, vegetation and access.
- Check local requirements: Consult the relevant bodies and competent trades early.
- Plan base and drainage: Coordinate bearing capacity, level and controlled run-off.
- Set service routes: Coordinate power, light, water, drainage and any flue.
- Build the base: Follow the plan and allow full curing or completion.
- Measure again: Check dimensions, diagonals, levels, supports and access.
- Clear delivery access: Remove obstacles and recheck the route.
9. Preparation errors that cause avoidable trouble
- Starting the foundation too soon: A later model choice may put supports or connections in different places.
- Checking only outer dimensions: Roofing, door operation, upkeep and fitting require extra room.
- Judging an existing terrace by looks: A level finish does not prove bearing capacity.
- Directing water at the base: Falls, downpipes or beds can cause lasting damp.
- Covering designed air openings: Added panels hinder drying and conceal inspection areas.
- Leaving power design until construction ends: The cable may emerge badly and require an exposed reroute.
- Checking access only on foot: Large parts and handling equipment need a wider passage.
- Postponing checks with local bodies: Boundary, heating or permission issues can force relocation.
For background on this sauna format as a garden wellness choice, read Barrel Saunas as Garden Wellness Spaces.
10. Lessons from other garden buildings
Greenhouses, garden rooms and pergolas benefit from the same sequence: define the use and structure, then plan support, drainage and access. Compare layouts in Greenhouse and Conservatory Designs and Garden Building Range to see how much footprints and access can vary. The article Bioclimatic Pergolas Compared with Glazed Roofs reinforces the need to coordinate drainage, exposure and existing garden connections early.
Questions about preparing a sauna location
Is ordinary lawn a suitable permanent support?
Usually not. Turf and topsoil hold water and can compress or move by different amounts. The sauna needs a stable supporting arrangement selected for both its construction and the soil beneath it.
Must the foundation be completely level?
Bearing points must comply with the specified plane and tolerance, while adjacent ground still sheds water. Never improvise a fall through structural supports; keep the load-bearing level separate from drainage gradients.
Could an existing concrete terrace carry the sauna?
Possibly, if dimensions, capacity, soundness, flatness, drainage and bearing layout are suitable. Examine cracking, movement and ponding first; an existing concrete terrace does not prove suitability.
What amount of working space is needed on each side?
No single measurement applies. Derive the working zone from the sauna, heater, flue, erection process, maintenance access and site restrictions. It must meet every need, not simply leave a narrow strip.
Is a foundation apron beyond the sauna walls advisable?
Let the foundation drawing govern. An oversized flat slab may hold water beside the timber, whereas one that is too small can fail to carry every bearing point. Refer to the binding technical information for the model purchased.
Is a floor drain always required?
There is no answer for every model. Construction, cleaning and intended use establish whether drainage is designed in or necessary. If an outlet is included, settle its location and onward connection ahead of foundation work.
Is a position close to trees possible?
Possibly, after reviewing roots, unsafe limbs, falling leaves or resin, damp shade and future canopy spread. Retain access to roof and wall surfaces for maintenance, cleaning and checks.
At what stage is an electrician needed?
Begin after the sauna, heater and position are selected, but before base or surfacing work. A Registered Electrical Contractor should agree the entry and wiring route, identify certification needs, and perform applicable work to the equipment instructions.
Can the sauna sit immediately beside fencing or the house?
Only where product spacing and site rules align with erection, airflow and upkeep. A nearby surface can alter air movement and drying. Avoid a void that cannot be entered or examined.
Which details need a final check before arrival?
Recheck base size and plane, condition, cure or completion, run-off, service positions and workspace. Walk the access route again for cars, low branches, softened ground and other temporary obstructions.
Final readiness check
Treat the plot as ready only after the selected model, foundation, drainage, required separation, utility entries and delivery arrangements have all been reconciled with the latest technical information.
- Latest technical and assembly information is available.
- Every bearing location corresponds with the foundation drawing.
- Water has a defined route away.
- Installers and maintainers can reach the sides and overhead area safely.
- Specialists have coordinated heater and utility planning.
- Access for delivery and erection remains unobstructed and sufficiently firm.
- Relevant bodies have checked requirements affecting the property.
Store photographs, survey notes and service-route drawings with the order file. Product warranty information is available at Warranty; Danish seller details are available at About Us.
