



Tracing Rainwater Through a Pergola
Built-in drainage directs water off a pergola roof, along channels and down selected discharge routes. Here, we map that movement and explain design preparation, erection checks, care, cold-weather operation and fault-finding.

A pergola handles rainfall as a sequence of linked steps rather than at a single drain. Water lands overhead, gathers in shaped collection zones, travels within gutters or structural profiles and exits at purpose-made openings. Successful drainage requires the roof, location, foundations, installation and onward disposal to work together.
This article describes the broad drainage principle found in modern aluminium pergolas. Individual models can be arranged differently, so the drawings, technical information and assembly directions for the purchased product remain decisive. Relevant ranges include the Bloomcabin pergolas, our bioclimatic pergolas and the wall pergolas.
Following rainfall from roof to ground
With the louvres closed, rain settles across their upper faces. Blade geometry and angle send the flow sideways into built-in gutters or hollow frame sections designed to collect it. From there, the water enters designated discharge openings before travelling down whichever posts the particular design uses as vertical drains.
That journey normally passes through five stages:
- Roof plane: Receives the shower and establishes where runoff travels.
- Louvre-edge junctions: Deliver runoff from the blades into collecting sections.
- Gutter or frame channel: Conveys gathered water towards a discharge point.
- Outlet: Links the horizontal channel with the downward route.
- Drainage post or discharge point: At patio level, it either releases the flow or feeds a deliberately planned onward route.
Drainage is limited by its narrowest or least favourable section. Leaves in an opening, a misaligned profile or a blocked exit can disrupt the entire route even when every other component is assembled correctly.
Functions of individual drainage components
| Element | Function | Inspection point |
|---|---|---|
| Louvres or roof modules | Direct rain towards the intended roof side | Complete closure, free movement and correct orientation |
| Edge channels | Receive runoff passed from the roof plane | Clear interiors, sound joints and open drainage areas |
| Frame profiles | Combine roof, support and sometimes drainage functions | Specified assembly order and correct alignment |
| Openings | Pass runoff into its downward course | Keep clear of sealant, fixings and dirt |
| Post drains | Take collected rain down within the pergola | Clear, unkinked routes and correctly assigned posts |
| Ground outlet | Releases water to paving, a channel or pipework | Keep accessible and protected against backflow |
Because aluminium profiles can serve both structural and drainage roles, an opening you did not expect may be intentional. Consult the instructions instead of sealing it automatically, and use sealant solely at the points specified there. For broader material and construction guidance, compare timber and aluminium pergola construction.

Rain behaviour around adjustable louvres
Rotating louvres allow a bioclimatic pergola to regulate daylight, shade and ventilation. Once shut, their edges meet or overlap, steering rainfall into designated collection zones. This arrangement controls runoff, but it is not equivalent to the fully sealed covering found on an enclosed building.
Following a shower, droplets commonly linger across blade faces, seals and edges. Rotation may then spill some of that water underneath, without proving that anything is faulty. To protect furnishings and fabrics, turn the roof in small stages and avoid standing where the retained water is likely to fall.
Because wind alters rainfall’s approach, strong Atlantic gusts may carry moisture over a frame edge or into the area below the covering. Learn more in our guide to bioclimatic pergolas. Roof choices are compared in classic or bioclimatic pergolas .
Freestanding and building-side drainage arrangements
A freestanding design may share roof loads and captured rain among several supports, yet not every post necessarily drains. Some constructions use selected supports only. Locate these in the product drawings while planning the site, and keep each discharge unobstructed.
A building-attached design also needs a properly detailed wall junction for its particular background. Plan runoff so it moves clear of the exterior wall and sensitive plinth areas, accounting for doorways, light wells, basement entrances, external insulation and existing downpipes.
Practical demands matter alongside appearance. Our guide comparing a wall-attached and freestanding pergola explains their main differences. Examples are shown under Bloomcabin wall pergolas and Bloomcabin pergolas .
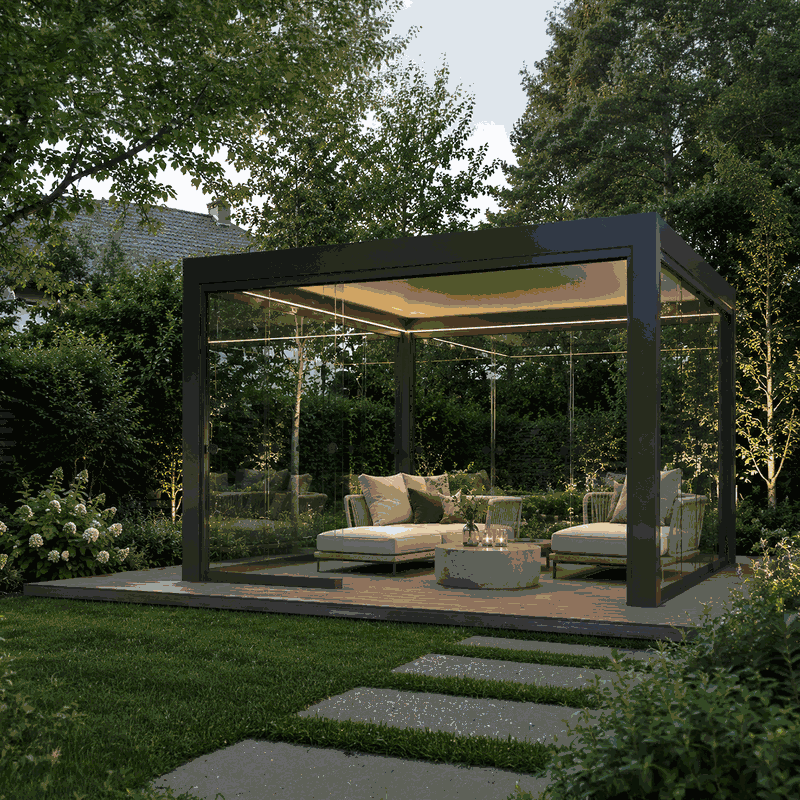
Plan drainage before purchasing
Decide the runoff route before selecting dimensions, alignment or extras. A theoretical path is only a start: the finished outlet must stay accessible, and nearby paving, channels or ground need sufficient capacity for the water collected.
- Which posts drain the model being considered?
- Would an outlet meet a door, path, seat or electrical component?
- Which way does the patio slope in relation to the building?
- Are channels, drains or soakage areas available?
- Could nearby trees or roofs deposit leaves, needles or dirt?
- Will inspection points remain accessible after adding walls?
- Should the local authority be asked about discharge or infiltration?
A larger roof collects more rainfall. For help assessing the footprint, use our guide to pergola dimensions. Wider selection advice appears in the buyer’s guide to aluminium pergola designs and within greenhouses and conservatories.
Preparing foundations and the patio surface
A sound foundation secures the structure and determines where drainage posts stand. Prepare the mounting surface as the product documents require. Paving that appears level does not necessarily provide suitable foundations or sufficiently strong fixing points.
Check levels, surface falls and existing services before construction. Never improvise a drain through foundations where support, fixings or frost resistance might suffer. Obtain competent advice if the arrangement is uncertain. Our foundation planning for pergolas explains the principal preparation decisions.
Prevent persistent pooling around base plates and anchors. Lay paving, slabs and jointing so the discharge remains unobstructed. If the finished patio surface will be installed after the pergola, account for its final level when setting out and erecting the structure.
Checks when the components arrive
Use the delivery documents to verify every package and component before erection. Give particular scrutiny to channels, frame sections, drainage fittings, posts and connectors, then remove any transport film or packing that might obstruct an outlet.
- Check contents and component labels.
- Examine each profile for bending and damage around its joints.
- Distinguish the drain-carrying posts from other post types.
- Read the full sequence before applying fixings or sealant.
- Compare foundation dimensions and alignment with the delivered structure.
- Keep small seals and drainage pieces clean in a separate container.
If a part is missing or unclear, do not improvise by drilling, cutting or fitting generic substitutes. The contact page accepts photographs and model information for checking. Details of the business appear on About Bloomcabin .
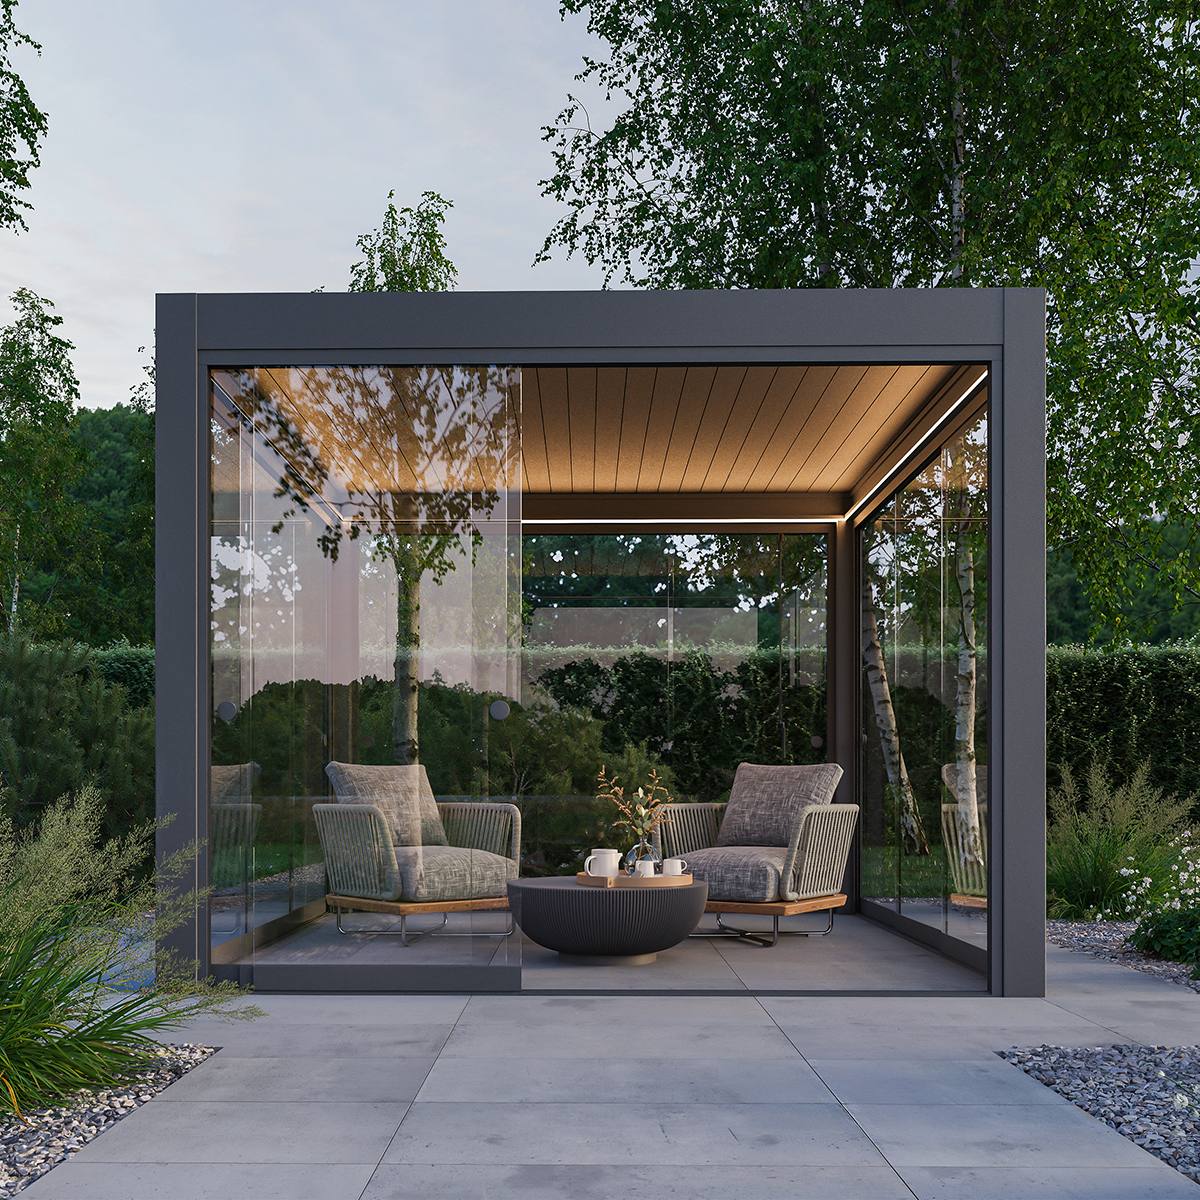
Assembly details that influence water movement
Even a slight mismatch where two profiles meet may divert water despite an otherwise straight-looking installation. Follow the stated sequence when aligning, joining and sealing every part, preserving the intended path at each junction.
- Squareness: An out-of-square frame may hinder louvres and gutter joints.
- Orientation: Keep inner, outer and drainage faces in their assigned positions.
- Posts: Place drainage posts at their specified frame connections.
- Seals: Seal only specified joints and leave functional openings clear.
- Connectors and screws: Use specified parts in the model’s stated sequence.
- Final check: Operate the blades, examine the channels, then test drainage gently with water.
Pour a modest quantity over separate parts of the roof, observing how it moves from blades to channels, discharge holes and posts. Do not use a forceful jet from a hose: its pressure and direction differ markedly from normal rainfall.
Choosing a destination for discharged runoff
Although built-in drainage finishes at the post discharge, responsible water management does not. Keep runoff clear of the home, slippery walkways and neighbouring land. Chronically wet planting beds, fragile patio sub-bases and enclosed voids lacking drainage are poor choices too.
Possible approaches include a properly graded surface, an open channel, suitable infiltration ground or a professionally designed pipe connection. Confirm that an existing line may receive the runoff and ask the local authority about requirements for that site. Soil conditions and property drainage arrangements vary.
Any buried connection should remain accessible and flushable, with backflow considered. It must not make the pergola post the lowest point of an overloaded system. Further ideas appear in practical information and other articles in the Bloomcabin blog .
Glazed sides, driven rain and surface condensation
Adding glass at the sides changes the degree of shelter, not the fundamental roof-water path. Although it reduces some lateral rain, the space remains an outdoor pergola rather than a sealed room. Designed gaps can occur beside tracks, moving-pane edges and junctions.
Gusts may push rain beneath the covering or against apertures. Moist air can also form droplets across louvres, glazing and aluminium. Because that moisture originates in the air, it does not alone prove a gutter leak. Regular ventilation and dependable air movement help limit dampness.
Arrange side panels without blocking outlets or maintenance access. See fixed and sliding pergola glazing for the available options. Other system boundaries are covered in our roof-and-glass bioclimatic pergola guide .

Routine cleaning and maintenance
Inspect periodically, particularly after unusual weather or substantial deposits of foliage and pollen. Follow the guidance for your exact product. Generally, lift twigs, leaves and loose dirt carefully from roof surfaces and channels.
- Set louvres safely as the manual directs before cleaning.
- Clean visible gutters and outlets without sharp-edged tools.
- Do not push rigid objects into concealed routes.
- Look for new paving, soil or foliage covering each post exit.
- Look over fixings, seals and profile junctions.
- Test free flow afterwards with a little water.
High-pressure equipment may drive moisture through joints or strain finishes and seals. Choose products compatible with every material being cleaned. Further advice appears in aluminium structure care.
Cold-weather operation and ice
Ice may obstruct channels, outlets and moving roof parts. Never force a blade against frozen snow or ice. Check that each movable section is free before operating it, and use the model’s own instructions to determine its winter setting and operating boundaries.
Runoff reaching paving can freeze into a slippery patch, which makes the area beyond the post part of cold-weather planning. Open channels and buried pipework must suit the actual site. Clear sediment and leaves before colder spells so that as little residual water as possible remains trapped.
Wind and snow exposure varies across Ireland. For seasonal guidance, read winter pergola care: snow, ice and wind. It supplies no structural rating; rely on the selected model’s documents.
Checking common drainage symptoms
| Symptom | Likely explanation | Initial action |
|---|---|---|
| Gutter overflows | Blocked outlet, intense rain or faulty transfer | Clear the gutter and visible outlet |
| Moisture appears where profiles join | Possible joint, seal or alignment issue | Photograph and compare with instructions |
| Only one post drains | May be intentional | Check the model’s drainage plan |
| Water pools at post | Covered outlet or poor fall | Expose outlet and nearby paving |
| Drips when opening | Water remains on louvres | Open slowly and observe dripping |
| Moisture on glass | Airborne moisture or driven rainfall | Check weather, airflow and direction |
Investigate along the flow, starting where rain arrives and continuing towards discharge. Random sealant can hide the fault or close purposeful relief openings. Images of the dry assembly and of a gentle test can make the true route easier to identify.
Decisions to make ahead of an order
- Which pergola meets the intended use?
- Which supports release runoff for the proposed arrangement?
- Can a wall-mounted pergola work with the wall construction and existing rainwater system?
- Will all foundations be ready before assembly?
- What route will runoff follow once it leaves a support?
- Can every channel, outlet and service opening still be reached?
- Will glazing or other side elements be added?
- Which permission and site-drainage matters require local confirmation?
For a Republic of Ireland project, contact the appropriate planning authority. Begin with planning considerations for Irish pergolas and greenhouses and obtain an answer for the particular property. Commercial customers may also consult our trade page .
Frequently asked questions
Are closed pergola louvres completely watertight?
No. Treat an adjustable pergola covering differently from the airtight roof of an enclosed structure. Shut blades channel rain towards the gutters, yet driven rainfall, severe showers, frame junctions or rotation while surfaces remain wet may produce a few drips.
Does every pergola post drain water?
No. A design may confine drainage to selected supports. Find their assigned positions in the product documents and account for them when setting out footings and organising erection.
May the outlet feed into pipework below ground?
Potentially, provided a competent person assesses the connection, cleaning access, backflow risk, freezing conditions and local suitability. A direct buried joint is unsuitable when there is no practical way to reach or flush it.
What causes dripping as the louvres are opened?
After rain, water clings to surfaces and edges. Turning the louvres changes their angle and releases it. Opening them slowly in stages makes the dripping easier to manage.
Can leaves block concealed drainage?
Yes. Needles, petals, small leaves and general debris may accumulate inside openings and channels. Gentle cleaning and routine observation make blockages less likely.
What checks help diagnose pooling around a post?
Start at the ground discharge, removing any soil, paving, jointing compound or object covering it. Next assess surface gradient and onward drainage. If pooling continues, note the product model and installed condition, and photograph the affected area.
Will sealing every gap eliminate intermittent drops?
No. Certain gaps serve as ventilation or purposeful water routes. Use extra sealant solely in positions identified by the product directions. Sealing elsewhere could hold water inside the structure or obstruct discharge.
Should louvres stay closed during frost?
Find the required cold-weather setting in the instructions for your model. When snow or ice obstructs blade movement, leave the mechanism untouched and follow its operating and winter-use guidance.
Does glazing improve roof drainage?
Side glazing can shelter against lateral rain without changing roof drainage. As it also influences ventilation and moisture formation, ensure every discharge and service location remains reachable.
Which details are useful when contacting support?
Send the model, configuration, order reference and location, noting when the problem occurs and the weather. Include wide and close photographs; a brief recording may clarify water movement. Mention pipe connections, alterations and extra sealant.
Final planning principle
Plan drainage as one continuous route, from rain’s first impact overhead to safe disposal within the property. Treat the roof, channels, draining supports, foundations and external runoff provision as parts of that single scheme.
Before ordering, settle more than the pergola’s colour and form. Establish outlet locations, finished levels, maintenance access and property-specific requirements as well. Tracing the proposed route before erection and adhering to the relevant product directions can prevent disruptive alterations and support reliable operation over time.
