



Outdoor Sauna: Plan Ventilation, Drainage and Moisture Control
Dry conditions in a garden sauna depend on far more than adding vents. Positioning, support, water disposal, air movement, warm-up and drying all interact. This guide examines the choices needed before ordering and assembly, followed by practical moisture checks during operation.
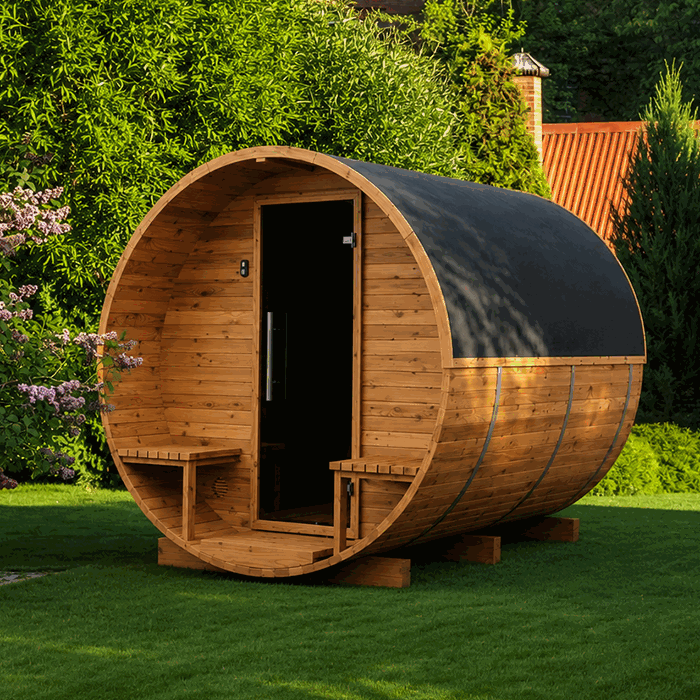
Heat, vapour, perspiration and sometimes splashed water enter the room whenever the sauna is used. Meanwhile, rainfall, snow, damp ground and fluctuating temperatures act on its exterior. Sound moisture planning therefore treats water generated indoors separately from weather and ground water outside.
The solution must reflect the sauna design, heater, supporting base, terrain, pattern of use and manufacturer documentation. Do not alter vents, outlets or electrical components merely because broad advice suggests it; the change could compromise the designed arrangement. Before installation, obtain site-specific guidance on drainage, wastewater and electrical work.
Bringing every moisture-control element together
Several linked measures keep an outdoor sauna dry. Ground levels and channels carry precipitation away. A stable base separates vulnerable parts from persistently damp soil. Roofing, façade junctions and apertures limit wind-driven rain. Within the room, air movement supplies fresh air or combustion air, spreads heat and carries vapour away. The floor deals with liquid water, while warmth remaining after bathing assists the final drying cycle.
When one part performs poorly, attention often shifts to the wrong place. A larger exhaust opening cannot cure rainwater collecting at the base, just as a sound roof cannot compensate for inadequate indoor drying. Follow the moisture path instead: establish where it originates, which surfaces or voids it could enter, and how it will leave the structure under control.

Questions worth answering ahead of purchase
- Operating pattern: How often will sessions occur, and is use planned throughout the year or only in certain seasons?
- Expected water: Will stone water be modest, or is regular wet cleaning planned?
- Heating equipment: Which intake and exhaust layout is specified for the selected heater and sauna construction?
- Site drainage: Can rain soak away, or does heavy rain collect near the proposed site?
- Water outlet: Confirm an acceptable destination for cleaning water and any discharge, checking the local position before starting work.
- Maintenance access: Can the vents, underside, outlet and outer walls still be reached for later inspection?
- Nearby features: Could walls, hedges, level changes or nearby structures hinder airflow and drying?
It is also sensible to confirm delivery arrangements, dry interim storage and a workable route to the assembly location. See Purchase and delivery , as well as the How to order.
Keeping outside water away
Select ground from which rainwater is directed away rather than towards the sauna. Hollows, lowered patio sections, downpipes and inward falls all deserve scrutiny. Even a properly built support cannot correct ineffective drainage across the plot. Repeated pooling alongside or below the structure raises its exposure to damp and slows recovery after wet weather.
Leave enough space beside neighbouring features to work and inspect the exterior. Thick hedging can restrict circulation; a close wall may deflect driving rain or create a shaded gap that dries slowly. Direct water from the roof towards a chosen discharge area without overloading the access, foundation zone or sauna drain.
Establish the property's planning and building-control position before construction. Since 27 July 2026, amended Class 3 rules can exempt certain structures incidental to a home, subject to all applicable conditions. See Planning permission for garden buildings in Ireland. The planning authority can address site classification, existing outbuildings and heritage restrictions. An exemption from permission still leaves building-control obligations to be considered.

Outdoor sauna ventilation
Air movement serves more than one purpose: occupants receive fresh air, heat circulates as intended, and moisture can escape once bathing ends. Vent locations should never be chosen simply because one wall is easier to cut. The proper layout follows the sauna construction, heater configuration and supplied assembly documents.
Inlets, room circulation and outlets
Incoming air needs a route through the occupied zone before it leaves. If it passes straight from inlet to outlet, much of the room is bypassed. Humid pockets may also develop below platforms, behind seating or inside an enclosed entrance section, even when exposed surfaces elsewhere already appear dry.
Assess the air route and heater as a single arrangement. A wood-fired unit needs an adequate combustion supply; an electric unit must be operated according to both sets of manufacturer instructions. Keep every opening clear of towels, stored belongings, fallen leaves, snow and later decorative coverings.
Natural airflow and fan-assisted systems
Natural ventilation relies on pressure and temperature differences, but its performance varies with wind, outdoor conditions and vent position. Fan-assisted ventilation can move air more deliberately; however, the equipment and location must suit sauna heat and humidity, with adequate replacement air.
Do not assume a domestic bathroom extractor is suitable. Its temperature rating, moisture resistance, position and interaction with the heater need assessment. If the connection is Restricted Electrical Works, it must be completed and certified by a Registered Electrical Contractor. The design must not create pressure that disrupts combustion or heater operation.
Drying after use
Start the drying routine when bathing has finished. Clear pools of water, move the designed vents into their drying setting and make use of residual warmth. Lift removable floor grilles and mats to expose the faces underneath to circulating air.
Opening the door for a limited period can help when this agrees with the designed airflow and the surroundings remain supervised and secure. It should not simply be left ajar: wind may carry in rainfall, snow, foliage or moisture-laden outdoor air. Judge drying by condition rather than minutes. Before an extended closure, seating, flooring and less visible spaces should feel dry and have no stale odour.
Floor drainage
There is no single drainage arrangement for every outdoor sauna. Light use may produce little liquid water; repeated water application or wet cleaning can demand a defined outlet route. Review the model’s floor details and intended water-management method before finalising the supporting base.
Questions for the drainage design
- At which points is water produced: around the heater, underfoot, by the entrance or while cleaning?
- By what path can it reach the drain without penetrating joints or running below components?
- Is the drain reachable for inspection and removal of obstructions?
- What is the final destination, and is it acceptable for this particular site?
- Is the pipe exposed to freezing conditions or possible reverse flow?
- Can the construction remain manageable if the outlet becomes partly blocked?
Do not presume that cleaning liquid or water poured over sauna stones can share the treatment used for roof run-off. Confirm with the relevant local body or a competent drainage adviser whether infiltration, collection or connection is appropriate for the property and intended use.
Preventing standing water
A puddle can point to an incorrect fall, an obstructed outlet or poorly shaped surfacing. Remove it before the next use with an appropriate squeegee or absorbent cloth, and then expose the damp location to moving air.
Avoid forming the whole support on a slope simply to serve the drain. The base and finished internal floor have separate functions, and an unintended incline can prevent correct bearing. Any fall should be formed in the part identified by the design, with the detail agreed before construction starts.
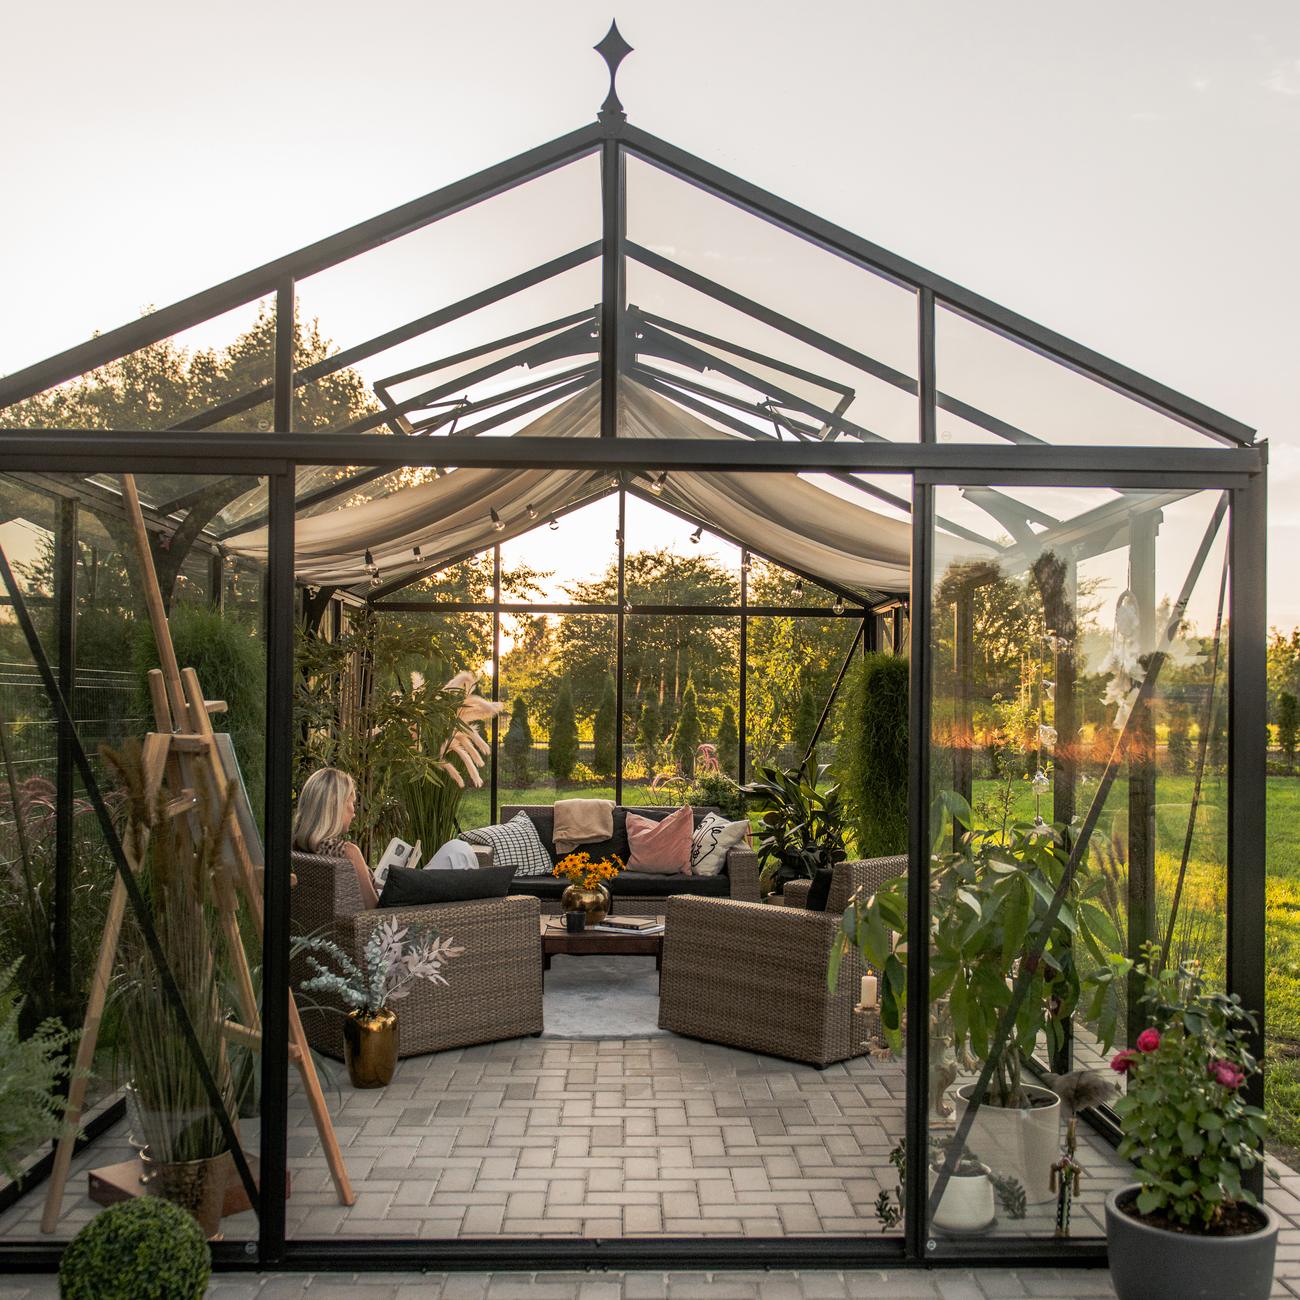
Timber moisture and surface condensation
Condensation appears where moisture-laden warmth reaches material cold enough for vapour to become liquid. A small amount on glazing or metal while warming and bathing need not indicate a fault. Frames that stay wet, droplets present long after drying, or dark areas that repeatedly return call for investigation.
Changes in humidity make timber expand and contract, and slight movement can therefore be part of its natural behaviour. Remaining wet for long periods is different and requires attention. Inspect exposed end grain, the lower faces of benches, floor contact points, door sills and corners with little circulation. High-pressure washing and saturating hidden gaps both introduce avoidable water.
Humidity behaviour in another type of garden structure provides a useful comparison. The article Managing greenhouse temperature and humidity uses a different setting to explain how the source of vapour, air circulation and surface temperature interact.
Assembly checks
- Review the location: Trace rainwater, confirm access, note shade and check clearance from nearby structures.
- Coordinate systems: Align the sauna, heater, airflow, drainage and electricity before groundworks begin.
- Check the base: Inspect its location, strength, level surface and planned service openings before assembly.
- Protect delivered parts: Unpack methodically and keep timber above wet, dirty or bare ground.
- Test drainage: Verify that discharge takes the planned path before enclosing sections that will later be difficult to reach.
- Check airflow: Keep openings, ducts and adjustable controls clear and easy to operate.
- Inspect junctions: Compare the roofing, entrance, glazed sections and service openings with the assembly documents.
- Document completion: Photograph the initial dry condition, relevant connections and points retained for later examination.
Where the documentation and actual setting do not correspond, consult Bloomcabin or the installer rather than improvising a modification. Also consult the Warranty page.
Delivery inspection and pre-assembly storage
When the shipment arrives, look for visible moisture and transport damage on both packaging and accessible parts. Provide a clean, level and dry storage platform until assembly begins. Soil, lawn and surfaces where water stands are unsuitable for direct storage.
Weather protection should repel precipitation without imprisoning damp air. Tightly sealing packages that are already wet can encourage condensation. Give the assembly documentation and instructions for each package precedence. For assistance with delivery inspection or storage, use Useful information or the Contact page.
Checks for regular sauna use
Before warming the sauna
- Check that inlets, outlets and any combustion-air supply are unobstructed.
- Look over flooring, the underside of seating and adjacent areas for damp or unexpected staining.
- Examine the drain and its approach for anything visibly obstructing flow.
- Move wet fabrics, wash-down equipment and other sources of humidity out of the room.
- In freezing weather, confirm the intended drainage remains functional.
After bathing
- Collect pooled water or direct it into the designed drainage route.
- Following the maker's guidance, use appropriate cleaners on seating and handled surfaces.
- Stand removable grilles up so air reaches the covered areas.
- Move each vent control into the designated drying setting.
- After drying, check for odour, visible moisture or remaining drops.
Seasonal maintenance
At the opening of every period of frequent use, examine roof drainage, external joints, door operation, glazing, vents, flooring, the outlet and the reachable space below. Clear away accumulated foliage, earth and biological debris, as these materials keep surrounding surfaces damp.
Because Atlantic conditions differ across Ireland, local exposure, shelter and drainage should guide inspection. Winter checks should cover snow-obstructed openings and frozen discharge routes, while spring can reveal settlement or frost movement. Strong summer sunlight may weather timber even as shaded faces remain damp longer. During autumn, clear fallen foliage and monitor slow drying.
Choose maintenance treatments for the particular material and location. Benches, heated areas and other internal faces have needs unlike those of external cladding. If broad care advice conflicts with the product documentation, rely on the maker's directions.
Reading the signs of excess moisture
| Symptom | Possible cause | First check |
|---|---|---|
| Stale odour when opened | Short drying, damp textiles or hidden moisture | Inspect benches, grilles, corners and underside; ventilate fully |
| Water remains on floor | Blocked outlet or water does not reach it | Clear the outlet; do not alter the floor unaided |
| Recurring drops on glass | Warm humid air meets cold glass | Check airflow and drying time |
| Dark mark at a junction | Ingress, condensation or persistent surface damp | Find the source, dry it and document recurrence |
| Damp only beneath a grille | Poor airflow underneath | Lift it after use and dry separately |
| The underside is wet following rainfall | Run-off, roof discharge or poor ground levels | Observe the outside water path during rain |
Persistent smells, softened wood, spreading marks or repeated leaks should never be hidden by fragrance or a superficial finish. Deal with the origin of the moisture first. If structural elements, wiring or heating equipment may be involved, cease using the sauna until a suitably qualified person has assessed it.
Planning the wider outdoor area
Browse the Sauna range to see different forms, including the Elma S sauna, Elma L sauna and barrel models: HC150, HC 180, HC 225, HCF 225, HCF 300 and LC 225 , comparing layout, site access and intended installation.
Further detail is available in Buying a wood, barrel or garden sauna and Outdoor wellness with barrel saunas. When coordinating the rest of the garden, explore the subjects of bioclimatic pergolas and garden trends and outdoor planning . Further articles on construction and appearance can be found in the Bloomcabin Blog . Complementary structures are listed under Garden buildings.
Common questions
Is a floor drain essential in every outdoor sauna?
No. The answer depends upon the construction, cleaning routine and amount of liquid produced. Where the floor is regularly wetted, however, it needs an orderly means of discharge to a suitable destination. Review the instructions for the particular model before its supporting base is built.
How long should the door be left open afterwards?
A short period with the door open can assist evaporation, but unlimited opening is unnecessary. Keep precipitation, wildlife and moisture-heavy outside air from entering. Instead, open the designed air passages for a supervised drying cycle, then inspect the interior before closing it.
Does closing the air openings raise the temperature?
Never obstruct the supply required for people or heating equipment. Closure can impair indoor air, alter the intended temperature pattern and affect heater performance. Use only the operating settings given in the documents for the sauna and its heater.
When is moisture on the glazing acceptable?
Brief, slight misting can occur when humid interior conditions encounter substantially cooler glazing. Large amounts, droplets that continue forming or frames that remain wet can indicate excessive humidity, ineffective circulation or an unusually cold junction; the underlying reason should be established.
May the outlet discharge immediately below the sauna?
Do not assume this is suitable. Water beneath the sauna may increase local dampness, cause frost problems or be inappropriate for the property. Give the outlet a planned, accessible destination and obtain site-specific drainage advice.
Should the supporting base fall towards the outlet?
Only where the model documentation specifically calls for this. The structure generally requires support of the correct geometry. Form the necessary gradient within the designated internal floor build-up or drainage layer instead of setting the whole foundation at an angle.
Is a bathroom extractor suitable for retrofitting?
Not until the proposal has been professionally assessed. The appliance has to suit the temperature, humidity and proposed position. Review extraction capacity, replacement airflow, electrical protection and heater interaction together. Any wiring must comply with the obligations that apply to that particular installation.
How should a musty odour be investigated?
Avoid trying to hide it with fragrance or excessive heating. Examine removable grilles, textiles, corners, lower bench surfaces and the space below the sauna. Wipe up visible dampness, allow each area to dry fully and trace its origin. Obtain competent help if the smell returns or the wood has altered.
When should I contact Bloomcabin?
Consult Bloomcabin when the assembly documents do not reflect the installation setting, moisture enters a structural connection, or you are considering alterations to airflow, the floor or the drainage arrangement. If possible, include order information, photographs and notes explaining when the issue appears. Begin via the Contact.
