



PREPARATION
Site Checks Before Ordering Glasshouses, Pergolas and Outdoor Saunas
A reliable survey covers more than length and width. Check boundaries, foundations, levels, wall junctions, doors, services, drainage and assembly access.
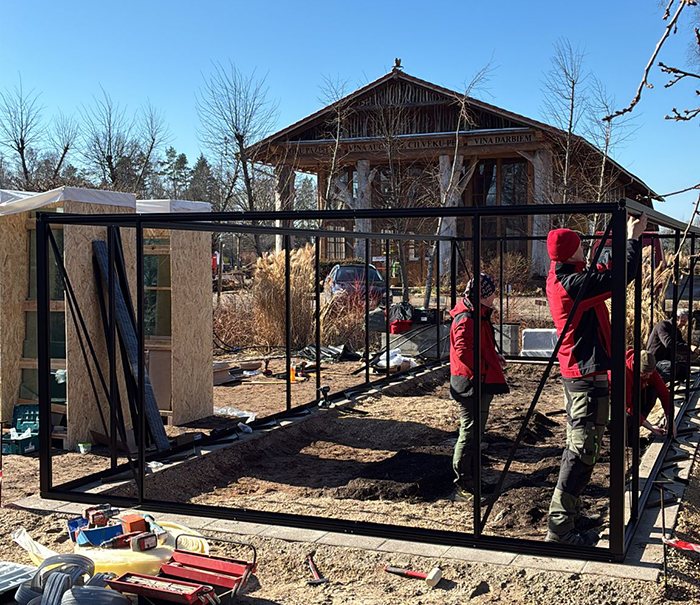
Ordering confidently starts with a carefully recorded site. Rough readings from two sides will not properly define space for any of these garden structures. Note vertical dimensions and diagonals, ground fall, base conditions, overhangs, usable movement zones, utility routes and room to bring in and assemble components.
Homeowners, design professionals and fitting teams can use this guide to capture site conditions methodically. It complements, rather than supersedes, the drawings for the selected model and enquiries to relevant Irish bodies. The latest product information and requirements for that property remain decisive.
Measure the plot before choosing the product
Establish exactly how much usable ground the plot offers before trying to squeeze in a favoured catalogue size. The findings should guide which form, direction and overall scale will work in practice.
Mark boundaries, buildings, walls, paths, trees, beds, chambers and known services. Planning or permission matters may also need investigation. Our article Greenhouse and pergola planning in Ireland outlines what to examine, but the local planning authority must consider the particular site and proposal.
Allow for activity beyond the structure’s outline. Doors, roof edges, drainage, maintenance and assembly all require room. A frame may fit the drawing yet remain impractical when an entrance cannot open fully or an outer wall cannot be reached.
Four rules for reliable measurements
- Measure twice: Record every important dimension at least twice. Where practical, two people should verify long spans.
- Never assume square corners: Patios, old bases and walls rarely form perfect right angles; take a reading across each diagonal.
- Log vertical readings on their own: A flat drawing hides any fall. Capture the difference in height at all corners and at notable points between them.
- Separate measured and planned values: Keep site readings, proposed locations and catalogue dimensions in separate columns so that an assumption is never mistaken for an existing condition.
Avoid immediately rounding a reading to a convenient figure. Approximate values are useful while narrowing the choice, but confirm every necessary product detail and interface dimension ahead of purchase and foundation work.
Prepare tools and documents
- a sturdy measuring tape plus a suitable laser measure;
- a level, long straight batten or dedicated levelling device;
- string, pegs, chalk or removable tape;
- a builder’s square, plumb bob and a ladder where its use is safe;
- notepad, site sketch and camera;
- the intended model’s technical drawing, base layout and fitting manual;
- available records for buried utilities, water disposal and previous bases.
Explore further planning help in Useful information, alongside Greenhouse and conservatory ranges together with Saunas. If the site raises product-specific questions, use Contact to verify the documents governing the chosen model.
Draw a complete site plan
Draw the location as viewed from above. Exact drawing scale is unnecessary, provided the direction is unmistakable. Mark north, every edge of the plot and one permanent reference, such as the corner of the house.
Measure the proposed structure from two permanent reference lines. Add side lengths, both diagonals, door-swing areas and maintenance routes. Where it joins a building, include a measured wall elevation.
| Plan section | Record these details |
|---|---|
| Plot and surroundings | Boundaries, buildings, walls, paths, vegetation, chambers |
| Proposed structure | Outline, orientation, doors, roof edges |
| Levels | Corner levels, falls, steps, thresholds, wall junctions |
| Services | Utility routes, drains, drainage direction |
| Logistics | Access, carrying route, restrictions, assembly area |
Core information required for any structure
Whichever type you are considering, write down:
- total usable length and width;
- the two corner-to-corner measurements for your set-out;
- levels at every corner;
- clearances from boundaries, walls and obstacles;
- the tightest passable point along the carrying route;
- overhead clearance below branches, eaves and utility lines;
- measurements and swing directions for adjoining gates or doors;
- where covers, pipework and cabling are situated;
- room for assembly, ladders and later maintenance.
Add intermediate readings wherever the ground or outline is irregular. A wall that looks straight can curve, patios can narrow towards one end, and kerbing may occupy the intended location of a support.
Choose the structure type before fixing its outline
The selected construction changes what the ground and base must provide. A pergola fixed to a building depends on an appropriate supporting wall, whereas the self-supporting version requires accurately established bearing locations. Compare Wall-fixed and self-supporting pergolas before deciding.
Roof operation also affects drainage, headroom and adjoining façades. See Bioclimatic and conventional pergolas and our introduction Understanding a bioclimatic pergola.
Sauna cabins with straight walls and barrel profiles use the surrounding area differently and offer different approaches. Review the individual documents for Elma S, Elma L with the HC150 barrel sauna using each model’s documents rather than garden photographs.
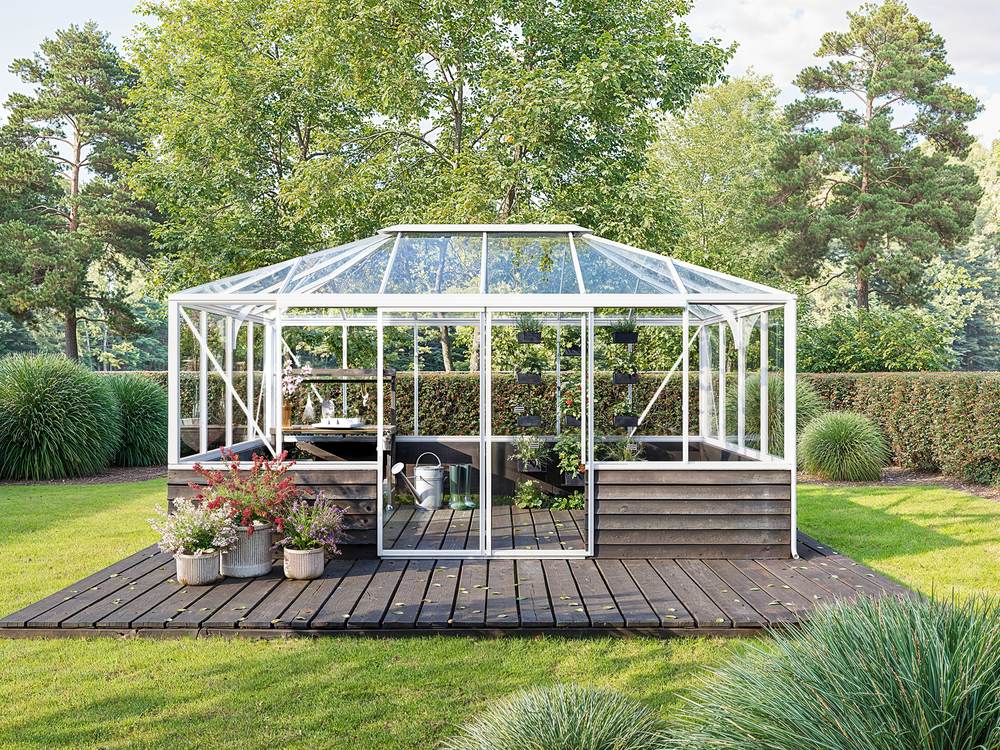
Greenhouse survey checklist
- Record sun, shade and the greenhouse’s long-axis orientation.
- Check the footprint, including foundation or plinth.
- Include the door’s travel and any requirement for access without a threshold.
- Inspect the ridge and eaves, noting overhead planting, cables and projecting roofs.
- Reserve working clearance for cleaning, ventilators and their opening gear.
- Plan water access, rainwater disposal and routes for soil.
- On attached models, record sills, downpipes, plinths and projections.
Period-style structures or layouts with strong geometric divisions can add setting-out axes and more intricate joints. Our feature on Victorian greenhouses explains their design language; nevertheless, the survey must follow the drawings issued for your exact model.
Pergola survey checklist
- Take patio depth and width readings at various points.
- Verify suitable load-bearing support beneath each intended post location.
- Include roof projections and integrated drainage routes.
- Relate available headroom to shutters and every nearby window or door.
- Include the movement envelope needed by glazing, shade systems and louvres.
- Note how rain leaves the patio and where splashback may occur.
- Map exposed sides and surroundings for site-specific assessment.
To choose dimensions, consult our Pergola dimensions guide . For a discussion of materials, open Timber compared with aluminium . If side panels are planned, include floor level changes, end stops and track travel in your readings; refer to Glass-walled pergolas.
Outdoor sauna survey checklist
- Record the full siting zone together with space for entry and servicing.
- Show where the door sits, the arc it follows and a hazard-free approach.
- Check supports or bearing lines against the product documents.
- Plot service routes for the intended equipment.
- Resolve drainage and cleaning arrangements for the site.
- Confirm separation from planting, buildings and surrounding features.
- Assess the transport route’s width, height, bends and bearing capacity.
Never apply one standard outline to different sauna models. Check documents separately for HC 180, HC 225, HCF 225, HCF 300 and LC 225 . For a general comparison, read Timber and barrel sauna guide.
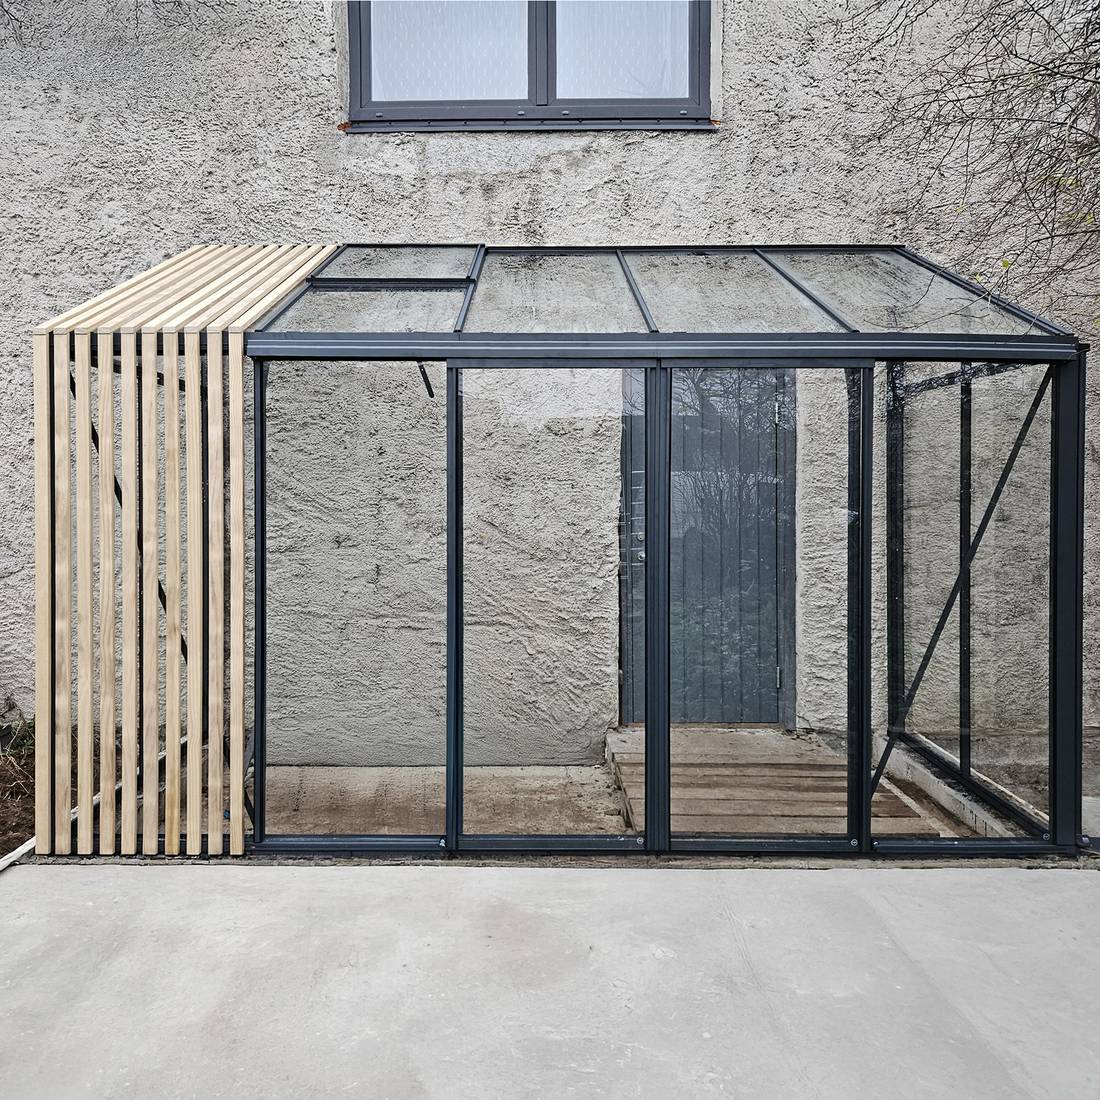
Survey the base and patio
An existing finish is not automatically a sound foundation. Record its build-up, edges, joints, fall, visible damage and known substructure. Support, frost resistance, anchoring and drainage require competent assessment for the proposed structure.
Pergola groundwork questions are covered by the Pergola foundation guide . Use the released technical drawing when setting out support or hole centres. Distances inferred from a photograph are not dependable.
Check a marked-out rectangle
- Mark the outside edges with string.
- Measure every long and short side.
- Compare the corner-to-corner distances.
- Where those two readings do not match, reposition the corners, then take them again.
- Level every corner.
- Reference the final positions to a fixed point.
Equal diagonals are useful but do not replace side checks. For complex plans, verify each rectangular section separately.
Extra checks where a structure meets a wall
Draw the wall as a measured elevation. Include façade width, available attachment height, doors, windows, roller-shutter housings, lighting, rainwater pipes, ventilation openings, outside taps, projections and plinth offsets. Examine the proposed profile line as well as the lower wall.
Suitability of the wall and its fixings must be decided for this property. Never fill gaps in knowledge about insulation, cladding or concealed construction with guesses. Bring in a suitably qualified contractor early whenever the substrate remains uncertain.
Plan doors, routes and interiors
Show every door in its fully open position, then look for clashes with paths, outdoor furniture, raised planters or doors already serving the building. Posts, seating and equipment must not pinch the principal circulation line.
Plan the interior before choosing orientation. A greenhouse needs space for benches and a wheelbarrow. Under a pergola, furniture, a grill or outdoor kitchen determines circulation. For a sauna, consider entry, changing and safe access to the building. Find ideas in Pergola inspiration for Irish terraces and gardens.

Services, drainage and site conditions
Plot existing and planned electricity, water, drainage and other services. Coordinate routes with the chosen product and applicable local technical rules. Ask a Registered Electrical Contractor whether electrical work is Restricted Electrical Works; if it is, that contractor must complete and certify it.
Observe the site during rain if possible. Mark surface flow, ponding and water from buildings. Also record shade, leaf fall, exposure and winter conditions. See Pergola in winter. Ireland’s Atlantic climate makes shelter, drainage and local exposure important; verify site loads and requirements separately.
Survey access for carrying and fitting
Start at the unloading location and follow the whole carrying route. Note its tightest width, lowest headroom, sharp turns, steps, falls, soft surfaces, gateways and overhanging growth. Test whether lengthy components can be manoeuvred at each bend and whether the final area leaves enough room for sorting parts and carrying out assembly.
Note restrictions on shared ground and narrow approaches. Adequate gate width alone does not ensure every long or bulky component can negotiate the remaining route.
Anna Koku Skola: a practical survey order
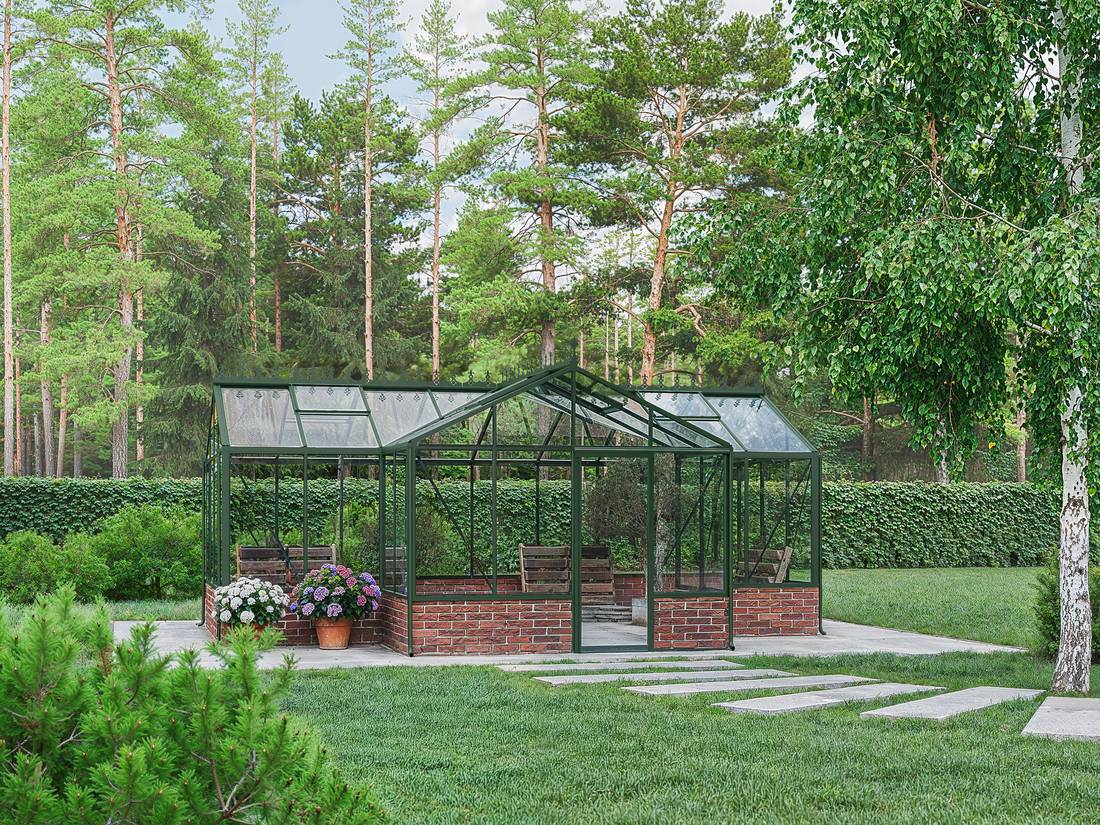
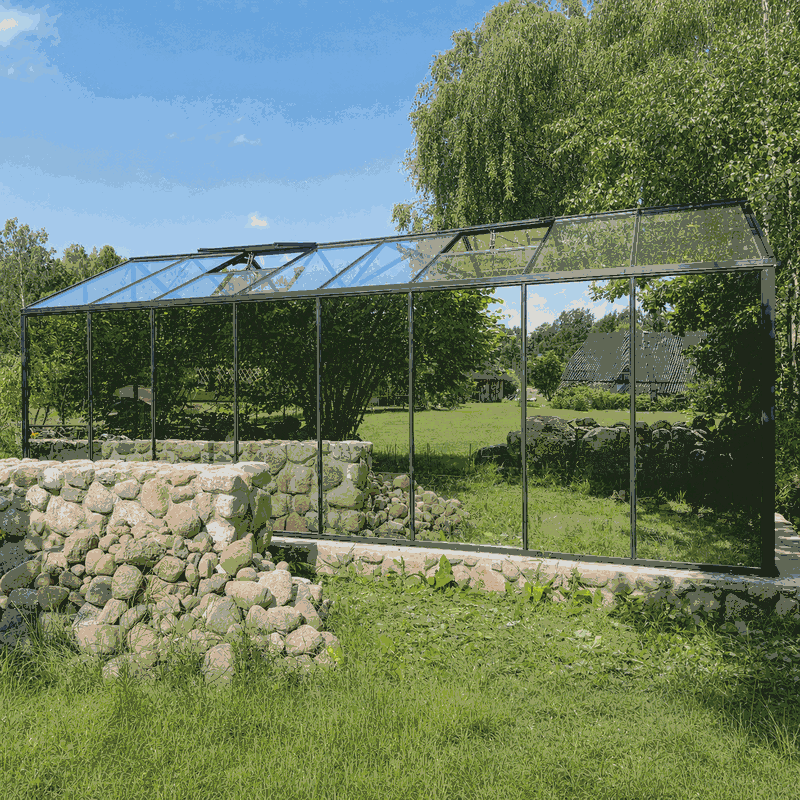
Treat the photographs labelled Anna Koku Skola as stages of a single job. Begin by recording the wider location; set out the intended shape next; reconcile base and attachment zones with the technical information; finally, clear the working surroundings needed by the fitting crew.
- Record the site: Put permanent reference features and obstructions onto the site sketch.
- Set the outline: Show the proposed shape with taut strings.
- Verify the set-out: Take independent readings for all sides, cross-corner lines and elevations.
- Reconcile interface areas: Check the wall junction, ground bearing and water routes against the relevant paperwork.
- Rehearse everyday movement: Swing the doors, follow circulation lines and mark zones for internal use.
- Confirm logistics: Recheck the transport route and assembly area.
These photographs are not records of unrelated projects. They show successive stages or viewpoints within one installation context.
Pre-order measurement worksheet
| Check | Reading or observation | Progress |
|---|---|---|
| Usable width and length | Enter | Pending/verified |
| Both diagonal readings | Enter | Pending/verified |
| Elevation at each corner | Enter | Pending/verified |
| Clearances from boundaries and existing features | Enter | Pending/verified |
| Door travel and circulation | Describe | Pending/verified |
| Foundation condition | Describe | Pending/verified |
| Utilities and water management | Mark | Pending/verified |
| Transport route | Enter narrowest point | Pending/verified |
| Product drawing checked | Note document version | Pending/verified |
Final pre-order review
- The exact model and chosen configuration have been identified.
- Every measurement comes from the actual site.
- Footprint, projections and opening areas are distinguished.
- Diagonals and levels are checked.
- Foundation and anchoring were assessed beyond the visible surface.
- Every wall interface and obstruction on the elevation has been documented.
- The allowance includes accessories and any extensions already planned.
- The transport and assembly route is workable.
- Local requirements were checked with the appropriate authorities.
- No unresolved technical assumption remains before approval.
Details about Bloomcabin are provided in About us . Further garden ranges relevant to an overall scheme are listed under Garden house.
Recheck documents after ordering
Once documents prepared for your order are received, run the site comparison again. Verify the model name, orientation, outside dimensions, base locations, doors and interfaces. Foundations and utility work must not rely on an earlier sketch, drawings for a related model or an on-screen image that has not been dimensionally checked.
Issue one up-to-date document revision to both the groundwork contractor and fitting crew. Add any site alteration to that record and reassess everything it affects.
Allow for upkeep after the fitting work
Ease of fitting does not guarantee convenient upkeep afterwards. Preserve workable access for washing, caring for hardware, inspecting water channels and replacing components that can be serviced. Keep vigorous shrubs away from elements that need recurring attention.
Set aside a safe ladder position and enough space to clean glazing and reach perimeter roof details. The model, setting and maintenance task determine what is needed, so no generic clearance should become a fixed project measurement.
Measurement FAQs
Can I order from the product-page footprint alone?
No. Identify precisely what the stated area or dimension covers. Roof overhangs, fixing areas and operating space may extend beyond it. Use the latest documents for the selected configuration.
How can I check a rectangular layout?
Measure both diagonals. A true rectangle has equal diagonals and matching opposite sides. Check the corners separately against the intended level.
Might an existing concrete terrace serve as the base?
Perhaps, although its visible finish proves very little. Its construction, condition, fall, edge spacing, load support, response to frost and available fixing methods all need to suit the proposal. Professional appraisal may be necessary.
How much clearance should remain?
No single figure suits every project. Decide the necessary room from door movement, eaves or overhangs, cleaning needs, fitting operations, rainwater control, plot constraints, applicable requirements and the details of that model.
Which readings are needed beside a wall-mounted glasshouse or pergola?
Prepare a measured view of the wall in addition to the footprint. Show the connection level, façade dimensions and construction, along with plinths, apertures, utilities, rainwater pipes and projecting features.
Do Bloomcabin drawings replace a site survey?
No. Drawings describe the product, while your survey records the property. Comparing both shows whether assembly, use and access are possible.
When should an installer be consulted?
Seek advice before foundation or utility work, particularly with slopes, restricted access, wall fixing or uncertain existing construction. Assumptions are easier to correct at that stage.
How should a sloping garden be recorded?
Take levels at each corner and wherever the ground changes between them; an average fall is not enough. The chosen structure and the particular setting must govern both foundation design and any reshaping of the terrain.
Do intended accessories belong in the measurements?
Yes. Side walls, shading, gutters, equipment, steps, furniture and future additions can affect space, connections or foundations.
What is the commonest measurement error?
The usual mistake is noting just the stated width and length. This overlooks cross-corner checks, varying levels, swinging doors, overhangs and space for fitting. Drawing the full setting keeps every such constraint in view.
