



ENQUIRY PLANNING
Preparing Site Evidence for a Detailed Quotation
Well-organised information about the proposed location makes it easier to select an appropriate greenhouse, pergola or outdoor sauna. This guide explains which images, checked dimensions, drawings and notes enable a reliable preliminary assessment.
A useful quotation enquiry needs clear evidence, not numerous files. Name the product type and intended use, then provide ordered photographs, checked dimensions and a simple site sketch. Record slope, drainage, the existing base or foundation, and access for delivery and possible installation.
These records do not replace a technical site inspection or specialist design. They can still expose obvious conflicts early, reduce follow-up questions and support comparison of suitable options. This applies to glasshouses and conservatories, all pergola types and the sauna selection.
Essentials for your quotation enquiry
Before submitting anything, make sure the package addresses all of the following:
- product type and intended use;
- site address, or at least its Eircode and locality;
- overview photographs from several directions;
- close views recording façades, surfaces, water disposal, obstructions and entry routes;
- available length, width and relevant heights;
- clearances separating the position from structures, boundary features, planting and circulation routes;
- slope and proposed surface or foundation;
- an annotated plan view with dimension chains and a north arrow;
- details of vehicle approach, the proposed unloading place and onward carrying route;
- information about visible utilities, access chambers, rainwater arrangements and technical installations;
- clearly labelled preferences, assumptions and unresolved points.
Do not fill missing information with apparently exact figures. Write “check required” or “position approximate” instead, so measured evidence remains distinguishable from details that are still uncertain.
1. Identify the structure and its purpose
Begin by naming the structure under consideration: standalone greenhouse, lean-to greenhouse, orangery, wall-attached or freestanding pergola, rectangular outdoor sauna or barrel sauna. If undecided, list each alternative explicitly. Browse the complete collection.
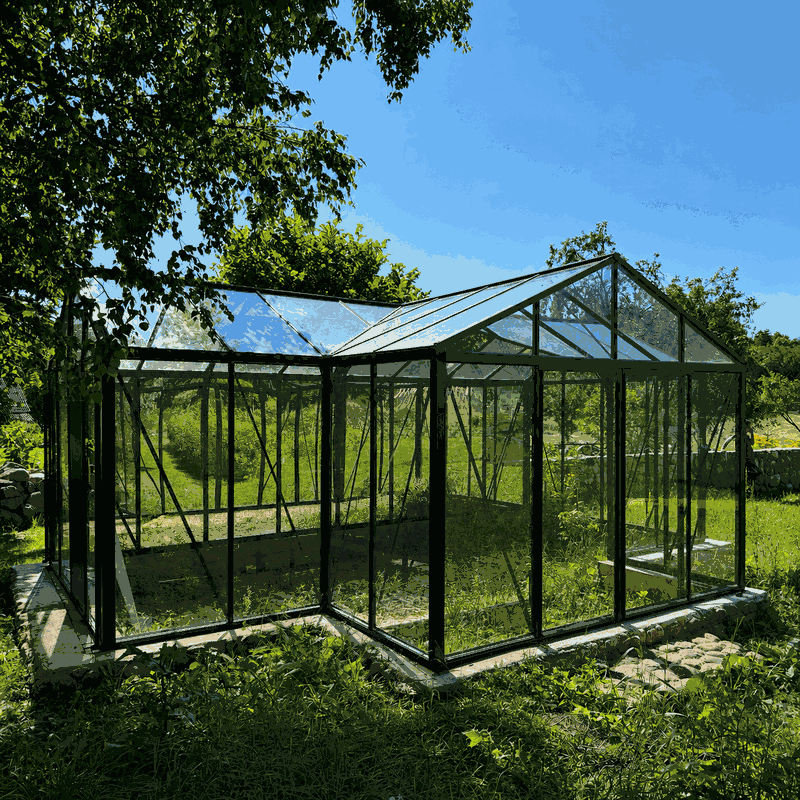
How the structure will be used affects the information needed. A greenhouse review should account for cultivation beds, working space, airflow and access to water. To compare broader garden approaches, consult the article about polytunnels, the detailed look at Victorian greenhouses and the overview explaining an orangery-style greenhouse.
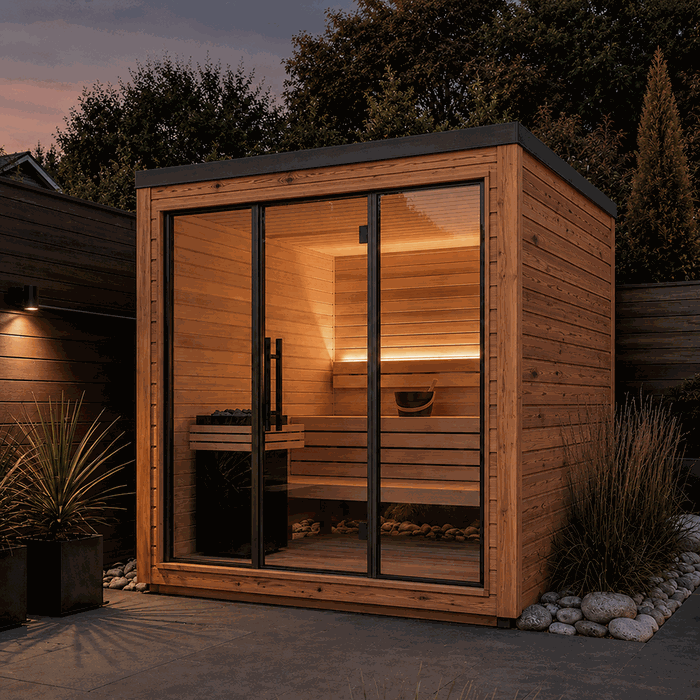
For a pergola enquiry, explain its planned role: perhaps an outdoor sitting area, shade, shelter from weather or a connection between home and garden. Where comparison is useful, consider bioclimatic designs alongside traditional pergolas , followed by attached and independently standing pergolas. A sauna enquiry should give likely occupancy, preferred shape and intended technical equipment. Helpful examples are the outdoor sauna Elma S, the outdoor sauna Elma L or the barrel sauna HC150 as each makes the preferred overall format easy to identify.
2. Build a complete photographic account of the site
Do not photograph only the empty area. A preliminary technical review must show the site in context. Wide views establish its relationship to the house, garden, paths and boundaries; close views capture connections, level changes and obstacles.
A practical order for photographs
- Arrival and unloading: Starting at the public road, record each stage of access as far as the proposed place for unloading.
- Transport route: Show gates, passages, steps, tight corners, walls, overhead features and delicate surfaces.
- Site overview: Photograph the proposed position from all four main directions, with enough surrounding context visible.
- Ground: Capture hard surfacing, exposed soil, any foundations already present, perimeter details, inspection chambers and noticeable falls.
- Adjacent structures: Include the building face, eaves or other projections, rainwater pipes, openings, raised bases, steps and retaining features.
- Obstacles: Record planting, fences, lighting, utility points, exterior appliances and fixed elements in the garden.
- Images supporting dimensions: Take selected close-ups with a measuring tape or folding rule positioned legibly against the exact feature concerned.
A scale visible within an image is helpful for orientation; the actual dimension must still be stated in writing. Camera perspective, wide lenses and differences in elevation can make apparent distances misleading.
Evidence that cannot stand alone
- one panorama;
- estate-agent or old garden photographs;
- photographs with the ground obscured;
- dimensions written on an image where the start and finish cannot be identified;
- screenshots of mapping that omit a scale;
- an unmeasured mark on the lawn.
Where vegetation or stored materials conceal a critical line, take another photograph obliquely if possible. Explain which objects are due to go and identify anything intended to stay in place.
3. Survey the space that can actually be used
Measure the usable site rather than only the desired product footprint. Show the full available area and clearances from fixed features. Record two measurement levels: overall dimensions for the site and individual offsets to each obstruction.
| Measurement | Purpose of the measurement | Suitable record |
|---|---|---|
| Overall length and width | Defines the available planning area | State clear endpoints and unit |
| Diagonals | Indicate whether the corners form right angles | Measure both diagonals |
| Clearances to obstacles | Checks access, use and possible conflicts | Measure from a clearly named edge |
| Level differences | Records slope and steps | Number measuring points on the sketch |
| Passages and openings | Relevant to delivery and later use | Clear width and, if relevant, clear height |
Use either millimetres or centimetres consistently within each drawing, and attach the unit to every recorded value. Also specify whether measurements run between finished faces, unfinished edges or points whose positions have only been estimated.
A nominally rectangular area may have corners that are not square. Compare both diagonal readings: unequal results reveal the discrepancy but not its cause. The pergola sizing guide can inform early product selection, although its dimensions must never be treated as the full working and construction space required.
4. Measure the façade for attached structures
For a lean-to greenhouse or wall-mounted pergola, the façade forms part of the design. “The house wall is about six metres long” is insufficient. Draw a straight elevation and add these measurements:
- the section of wall available between permanent restrictions;
- the vertical distance from intended finished surface level to the eaves or projecting roof edge;
- the location and full dimensions of every door and window;
- a measured offset between each opening and one named reference corner;
- how far sills, base courses, decorative bands and rainwater pipes project;
- locations of outdoor lights, vents, taps and equipment;
- the known build-up of the wall, noting outer insulation systems or finishes;
- how the roof drains and where that water travels.
Photograph the whole façade straight on and from both sides. Photos cannot determine fixings: wall capacity, substrate and suitable fasteners require project-specific assessment. If construction is uncertain, arrange inspection by a suitably qualified professional.
5. Document levels, drainage and the intended bearing surface
A terrace that appears level may contain a designed drainage fall. Lawns can hide hollows, filled areas or soft edges. Rather than writing only “flat” or “sloped”, measure level differences between identified points.
Mark four corners and the centre on the sketch. Choose one reference height and add the relative difference at each point. Without suitable measuring equipment, label the slope unverified rather than claiming unsupported precision.
Show where surface water and roof run-off can go, including drains, channels, downpipes, light wells, basement steps and lower neighbouring ground. A new structure must not trap or redirect water problematically. Assess suitable solutions for the particular site.
Describe what is present now: perhaps a concrete pad, paving, strip footings or natural ground. Our pergola foundation guide offers an overview, but cannot replace foundation planning for the actual ground and project.
6. Draw a simple site plan
An initial enquiry rarely needs a professional CAD file. A neat hand sketch is enough if fully labelled, legible and consistent. Use graph paper or simple drawing software, showing a plan view and, for a wall project, an elevation.
What the overhead drawing needs to show
- available-area outline;
- product position and orientation;
- the dwelling, outbuildings, built boundaries, circulation areas and terrace lines;
- reliably known property boundaries;
- significant planting and every other physical obstruction;
- all doors, with arrows for the desired swing or travel;
- where unloading occurs and how components continue to the site;
- chambers, services, drains and connection points;
- dimension chains, diagonals and numbered level points;
- north arrow and photo directions.
Number every photograph and place its number beside a viewing-direction arrow on the plan. A note such as “Photo 07, facing south towards the house wall” then becomes unambiguous. For two possible positions, draw separate alternatives instead of overlapping outlines.
Aerial imagery may help explain the wider setting, but it is unreliable for establishing legal limits, present-day planting or the contours of the land.
7. Describe access for delivery and potential installation
A spacious site may still have restricted access. Document the route from the possible delivery-vehicle position to the installation area, noting the narrowest clear width, overhead limits, steps and sharp turns.
- Is there a suitable stopping place for the delivery vehicle close to the property?
- Do gates, traffic controls or confined stretches of road restrict arrival?
- What carrying distance separates the drop-off position from the proposed structure?
- Will components travel across lawn, loose stone, stairs or finishes needing protection?
- Does any part of the carrying journey run through the house or another building?
- Might locked gates, parked cars or other temporary conditions prevent access?
Separate observed facts from assumptions. General guidance appears in purchasing and delivery. Raise site-specific questions through contact early.
8. Investigate local project conditions without delay
In Ireland, planning permission or an exemption depends on the specific site and proposal. A neighbour’s similar-looking structure proves nothing about your project. Ask the relevant planning authority about site constraints and classification, starting with Irish Planning Checks for Greenhouses and Pergolas, then confirm the appropriate route with the planning authority responsible for the site.
Record known boundaries, title or site constraints, service corridors and protected areas where relevant. Bloomcabin cannot verify a property boundary from garden photographs. If its position is uncertain, consult reliable records or obtain a competent survey.
For an outdoor sauna, record the power supply, cable route, ventilation, drainage and safe access. Ask a Registered Electrical Contractor whether domestic work is Restricted Electrical Works and what completion certification applies. State whether each connection exists, is planned or remains undecided; other specialist work needs project-specific design.
Materials and intended operation may also affect the review. Read about greenhouse polycarbonate, roof choices available for bioclimatic pergolas and automatic window openers to organise unresolved equipment choices before enquiring.
9. Label aspirations separately from site measurements
Keep preferences separate from measured facts. Write, for example, “measured available width 4.65 metres; preferred width about four metres”, not simply “four metres wide”. Mark colour, door position, glazing, roof form and accessories as preferences too.
Rank competing priorities. You might put maximum usable area first, an open outlook second and preferred door position third. This allows alternatives to be assessed objectively without presenting a design wish as an unchangeable site condition.
10. Organise the files clearly
Use a consistent pattern such as “01_Entrance”, “02_Component_Path”, “03_Location_North” and “Overhead_Plan_V2”. Do not combine every image into illegible screenshots; original photographs retain more detail and enlarge more clearly.
Include a short index listing the attachments, measurement date and unresolved points. Give a revised sketch a different filename from the earlier version. Add a date or version number and clearly identify the current document.
11. Use product documents at the right stage
Use product drawings and assembly instructions after narrowing the choice. Take confirmed external dimensions and connection principles only from the exact model’s documents, never a similar-looking product. Check that document, model and version correspond.
Further background material is collected under Practical Information. Topics concerning ownership after assembly, including maintenance for an aluminium greenhouse, should remain separate from the location dimensions. Reading the published guarantees cannot compensate for incomplete or inaccurate records of the proposed location.
12. Review everything before submitting the enquiry
Complete a final sense-check. Do the sketch and notes agree? Does every dimension include a unit? Can each photo be located? Are passage width and height recorded separately? Is existing work distinguishable from proposed work?
A particularly useful enquiry lets a person who has never visited the property explain the setting accurately from the supplied material.
Identify every unresolved point. A clearly stated gap is safer than an estimate used for later decisions. If a dimension changes, resend the complete corrected package and highlight exactly what was revised.
Questions customers commonly ask
Must my first quotation enquiry include drawings prepared by a professional?
Usually, a neat dimensioned hand sketch is sufficient for the first enquiry. Professional surveys or design may be needed for complex connections, uncertain boundaries, difficult foundations or substantial level changes. The site determines what is required.
Is the preferred greenhouse footprint all I need to provide?
No. Product dimensions do not confirm adequate room for installation, door operation, maintenance, drainage or access. Also provide measurements of the usable area and distances from adjoining fixed objects.
What is the right number of photographs?
There is no fixed total. Cover access, the transport route, four site directions, the ground, adjoining structures and important details. A simple open position may need fewer images than a confined wall installation.
Are measurements still necessary when I have photographs?
Yes. Images explain the spatial setting, yet lens choice and viewpoint can misrepresent proportion. Every dimension needs an identifiable starting point, endpoint, numerical value and unit.
Is an aerial or satellite view useful?
It can explain the broader surroundings, but it is not evidence of exact length, elevation or ownership limits. Use recent photographs taken at ground level, your direct survey and dependable property documentation for their respective purposes.
How do I record ground that is uneven?
Take height readings at several labelled points, then indicate the direction of fall, steps and drainage route. The correct sub-base or foundation response must reflect the selected product, the ground and conditions at that particular location.
Which records should accompany an enquiry about a wall or lean-to greenhouse?
Provide a frontal photograph of the entire wall, side views, a dimensioned elevation, ground measurements and details of windows, doors, eaves, plinths, downpipes and known wall construction. Assess wall-fixing suitability separately.
Should known services be drawn?
Yes, where known services affect construction, fixing or use. Plot water, electricity, drainage, chambers and underground service areas. Mark any assumed position explicitly as unconfirmed.
Can Bloomcabin determine where my boundary lies from garden pictures?
No. Fencing, hedging and the edge of paving may not coincide with the legally or survey-defined line. Refer to reliable property documentation and obtain suitably qualified help where doubt remains.
Does the issue of a quotation mean the proposed area is installation-ready?
No. A quotation is prepared using the information submitted. It is not a site inspection, foundation specification, planning determination or professional design. Establish all preparatory requirements independently for the chosen structure and the actual property.
Where should I put maintenance questions in my enquiry?
Mention operational needs that affect placement, such as cleaning access. List general maintenance questions separately from dimensions and surveyed site information so the technical record stays clear.
How should I respond when a measurement changes?
Tell Bloomcabin before any further decision uses the earlier information, and issue a fully labelled replacement drawing. List each amended value explicitly. Withdraw poorly identified earlier copies so outdated dimensions cannot accidentally influence later work.
For help compiling your material, go to the main enquiry page . If your order is bound for mainland Ireland or an island, read our Ireland-wide greenhouse delivery guide, then review the delivery conditions attached to your chosen product.
