



SUPPORT
Product Documentation, Drawings and Assembly Manuals
Use this technical guide to organise manuals, drawings, parts records and related product files from early planning and goods inspection through to a recorded handover.
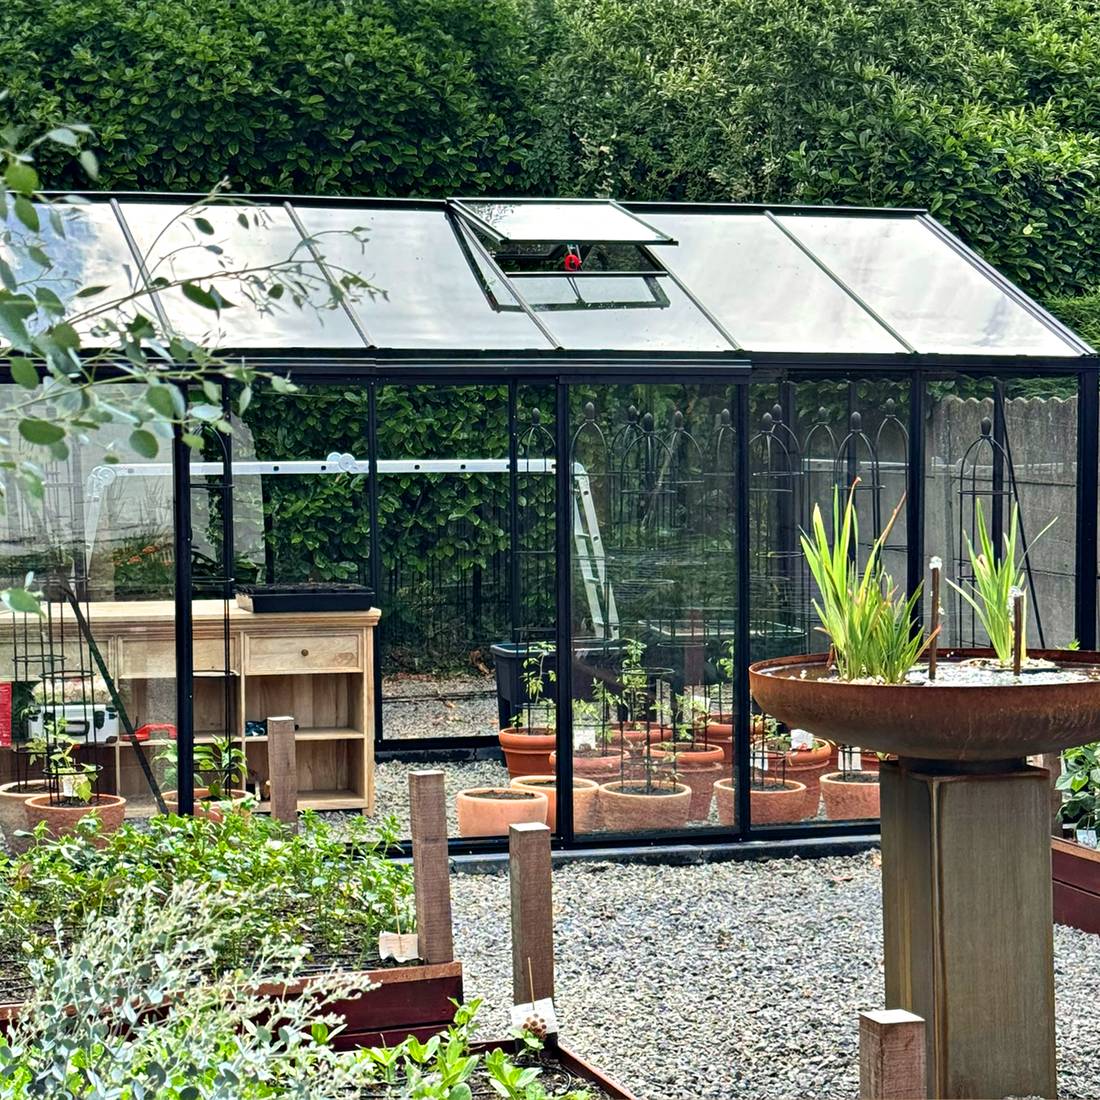
Working with manuals and technical files
Choose files using the full product name, specification and size. Before work starts, check that the main manual, drawings and option supplements belong to this order.
A well-controlled installation relies on manuals, dimensional drawings and parts records being used together. They inform site preparation, receipt of the goods, the build sequence and ongoing upkeep. Each file must, however, correspond to the precise product, chosen specification and contents of the current delivery.
Start with the file library provided above. The following guidance shows how to gather trustworthy project records and avoid reading the wrong information into them. If a product detail is unclear or two documents disagree, use the Bloomcabin contact page to obtain an answer before proceeding.
Files that may accompany a Bloomcabin product
Documentation varies by product type, model, specification and accessories. Details may be combined in a main manual instead of a separate file or supplied specifically for the order.
Depending on the order, the collected records may contain:
- illustrated assembly steps and working instructions,
- drawings showing views, measurements and component references,
- instructions for the base or intended position,
- component, parcel or packing records,
- separate files covering doors, windows, roofing or accessories,
- delivery receipt, storage and inspection advice,
- information on operation, care and maintenance,
- revisions or supplements prepared for the order.
A sales page supports product choice but cannot replace configuration-specific instructions. This matters for different forms, including a pergola fixed to a wall or standing independently and when weighing a standard pergola against a bioclimatic design.
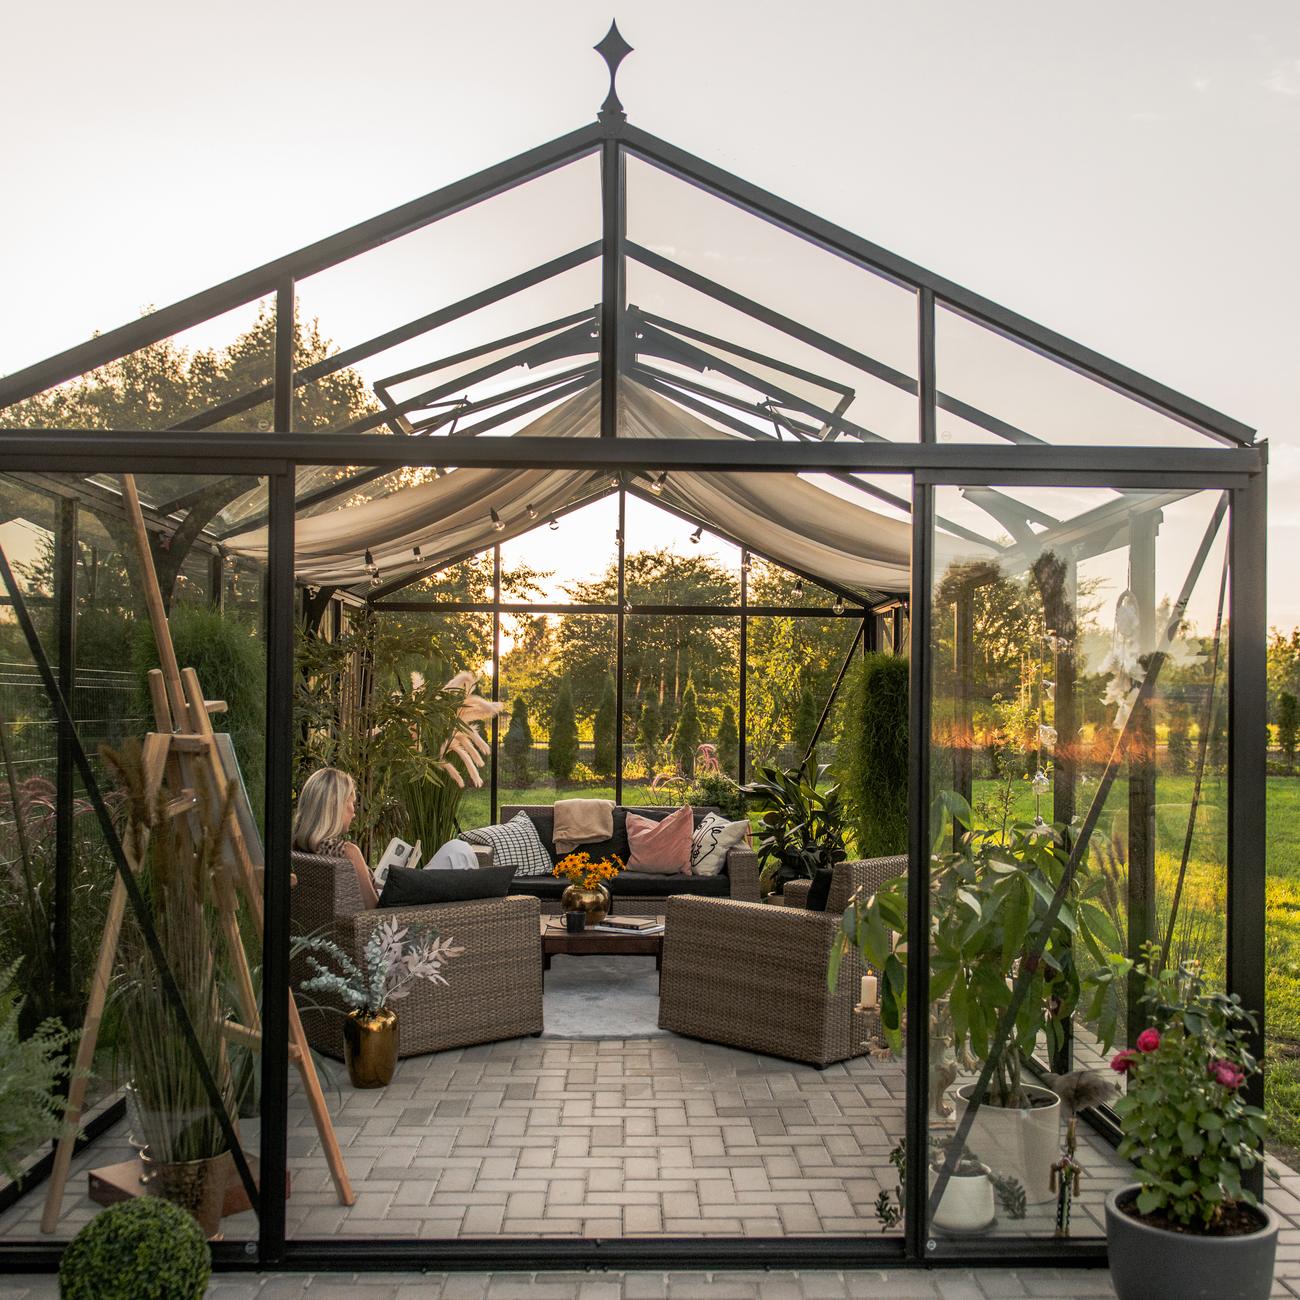
What to examine ahead of purchase
Review documents before installation day. Before ordering, establish the main outside dimensions, structural form, access route and broad suitability of the proposed location. For pergolas, consult the guide to choosing a pergola size during this early assessment. Product context for glazed structures is available in the greenhouse and conservatory range overview.
Before proceeding, check whether planning permission, another property consent or technical review applies. In the Republic of Ireland, exempt-development status depends on the site, proposal and all relevant conditions. Our overview of whether a greenhouse or pergola requires planning permission can orient your research; confirm the position for the property with its planning authority.
Also plan the delivery route, unloading area and safe temporary storage. Guidance appears under purchasing and delivery and in the article about ordering a greenhouse for cross-border delivery where it applies to the destination.
Tie each manual to the precise product
Similar appearance does not mean identical construction. Models may differ in profiles, joints, roof structure, doors, glazing or accessories. Sizes within one family can also change parts quantities or the assembly sequence.
Never approve a manual merely because the pictures resemble what arrived. Verify the model designation, selected specification, size and any applicable revision marker. The same care is needed with distinct sauna products, including the outdoor Elma S sauna, the barrel-shaped HC150 sauna and the barrel-shaped HC 180 sauna. Paperwork belonging to a different model is not a sound replacement.
Building the right file collection
Check the order confirmation against parcel markings, parts records and file titles. Then collect material for the main product, chosen size and every ordered option.
- Review the purchase record: Write down the model, specification and selected options.
- Inspect each file title: Retain it only when the product association is certain.
- Identify its issue: Where present, note a revision date, version reference or comparable marker.
- Gather related instructions: Include accessory guidance and files for components that differ.
- Quarantine contradictions: When measurements or build directions disagree, pause rather than choosing between them yourself and request clarification.
Preserve downloaded originals without annotations. You can mark working copies, provided they remain unmistakably identified as copies. The ordering process is explained under placing an order.
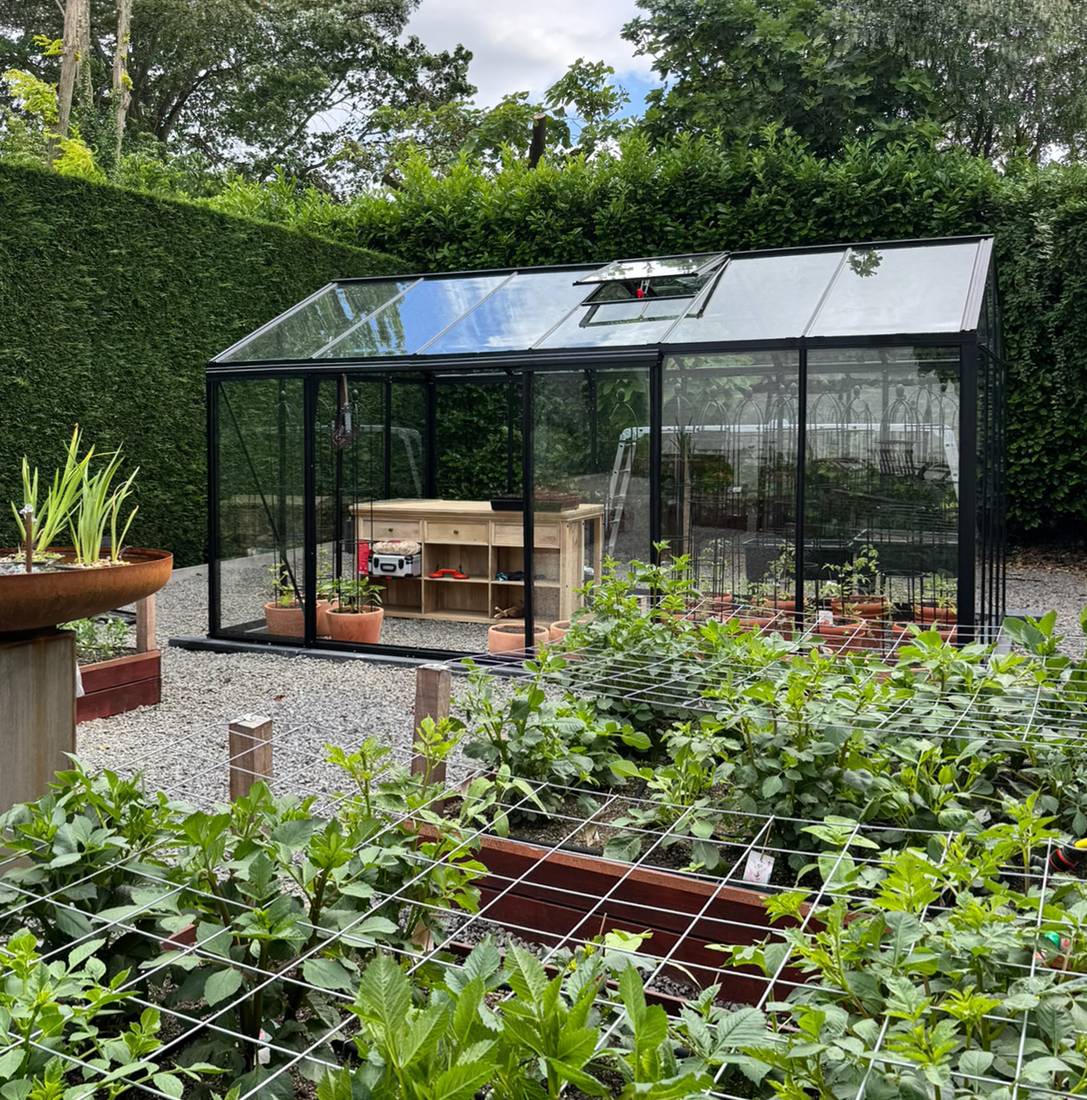
Interpreting a technical drawing
Verify the drawing before reading dimensions
First inspect the title area or file header for the model, drawing subject, revision, date, unit and sheet reference. Verify these details before transferring dimensions. On multi-sheet drawings, confirm every sheet belongs to the same issue.
Look for notices describing alterations. A later issue may supersede a particular detail or measurement, yet an older issue is not necessarily incorrect for every product delivered previously. What matters is the file specifically associated with that order.
Read each view for its intended purpose
A plan, side elevation, front elevation, section and enlarged detail each communicate something different. Plans usually map the horizontal layout; elevations describe heights and outside outlines. Sections expose otherwise hidden layers or parts, while details enlarge joints that the overall view cannot show clearly.
Broken lines may show hidden edges; centre lines, dimension extensions and reference marks are not physical parts. Follow notes on symmetry, repetition and reversed orientation. Read the drawing as one connected system, not as isolated figures.
Distinguish structure measurements from site setting-out
Product outside dimensions, structural centres, base measurements and working clearance may differ. Do not assume an exterior dimension defines the foundation. Assess openings, projections, drainage zones and installation access separately.
Work from dimensions printed on the applicable drawing. Screen views and paper output can be resized. A ruler or digital measuring tool is suitable only when the file expressly carries a scale, that scale has been verified and no stated measurement overrides it. If anything is uncertain, follow the written figure rather than apparent proportion.
Records for the base and location
The base joins a particular product geometry to the ground beneath it. During assembly, moving individual profiles will often fail to correct errors in position, level or squareness. Read both sets of instructions before excavation, shuttering or anchor work gets under way.
Our foundation planning guide for pergolas sets out important considerations, but local ground conditions and the product-specific instructions remain decisive. Review matters including:
- the proposed position and orientation within the property,
- working access now and for later upkeep,
- levels, datum heights and diagonal checks,
- the soil condition and its capacity to carry loads,
- drainage arrangements that prevent unwanted ponding,
- services, connection locations and intended fixing points,
- technical and construction requirements applying locally.
With a sauna, investigate the site- and equipment-specific requirements governing connections, safe operation and use. The general sauna overview helps with product choice but cannot replace planning material prepared for the order.

Inspecting goods when they arrive
Make receipt inspection a planned project stage. Compare parcel quantities and labels with the delivery paperwork. Record visible damage, damaged wrapping or missing packages promptly and clearly. Open packages carefully to protect labels, finishes and components.
Arrange parts by their assembly section and identifying reference. Support long profiles correctly to avoid distortion. Glass, sheet material, timber, fittings and fasteners each require stable temporary storage suited to the material. Observe any instructions packed with the goods.
Inventory the delivery from its packing or component record rather than relying on photographs. For a shortfall, record the exact line reference and take informative pictures. General details on cover and terms appear under warranty ; for an individual query, have the associated purchase and delivery information available.
Getting full value from the assembly manual
Complete the preparation before joining parts
Complete at least one end-to-end reading before starting. Identify the tools, equipment, number of people and safe working space needed at each stage. Verify the base, parts and project files before forming the first permanent joint.
Separate fittings and screws into clearly marked containers, keeping similar items apart. Place coated surfaces only on clean, non-abrasive supports. Leave protective coverings in place until the instructions call for their removal.
Respect the order of work
The stated sequence may preserve access, allow alignment or prepare for components fitted later. Tightening a frame prematurely can prevent adjustment. Omitting a modest-looking bracket may eventually require a much larger section to be taken apart.
Tick off finished work on a marked copy. If an illustration and the real assembly do not agree, pause and recheck the component reference, direction, earlier work and file issue. Pictures in articles about greenhouses with Victorian styling or orangery designs illustrate appearance and use; they do not establish the required construction order.
Monitor fittings, alignment and final adjustment
Fit only the connection hardware assigned to that stage. Its length, head form, washers and intended location may affect the construction. Where initial fitting is meant to remain loose for alignment, do not tighten every joint to its final position early.
Recheck verticals, levels, straight alignment, diagonals and consistent joints as work advances. Early discovery makes an error easier to trace. Before drilling another hole, adding a packing piece or applying force, verify the product match, installation direction and base geometry.
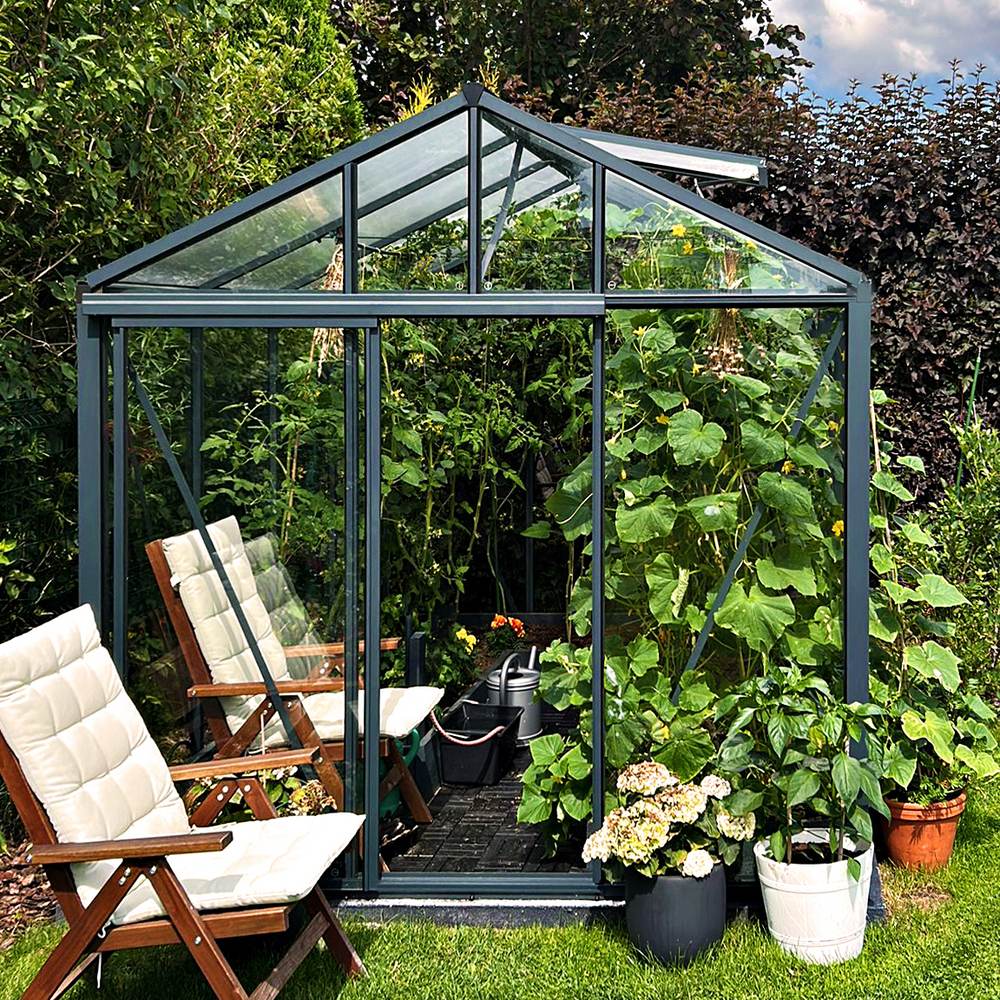
Reading Anna Koku Skola as a single build record
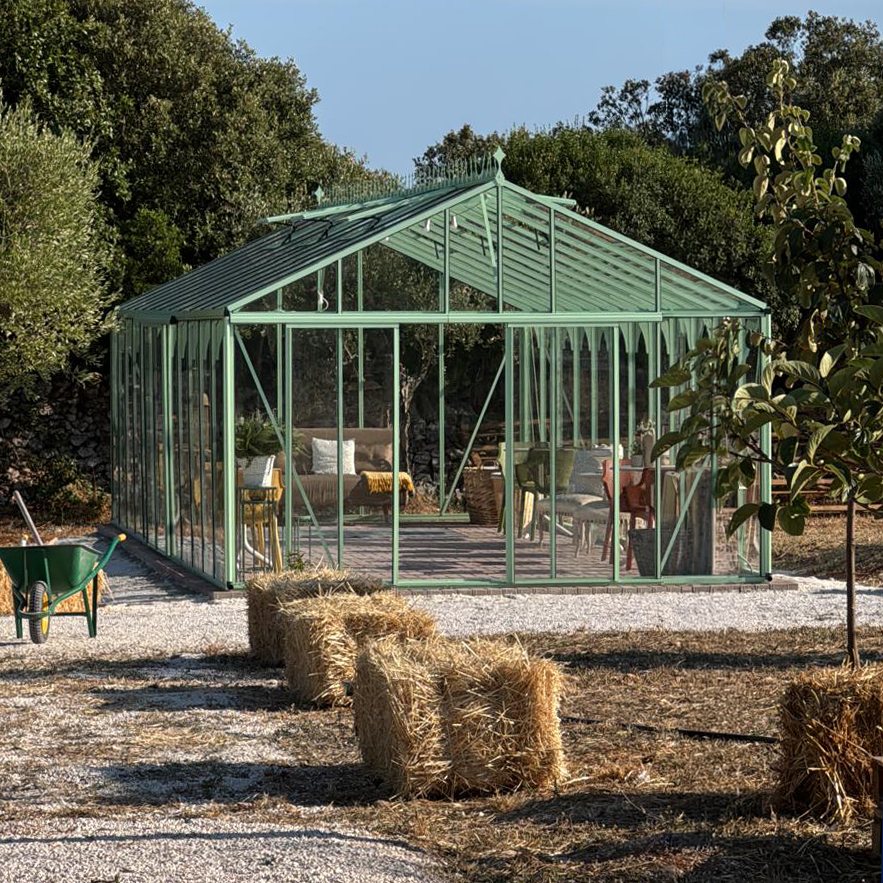
Anna Koku Skola records one installation rather than several unrelated projects. Its photographs capture successive points in that build. The changing frame, glazing and surroundings therefore reflect the movement of the work from one stage to the next.
The series helps explain space and progression, beginning with the prepared location and continuing through structural and later finishing work. It is still only visual support. A photograph cannot establish hidden fixings, precise measurements, tightening requirements or omitted intermediate actions; use the assigned technical files for those details.
Keeping documents controlled on site
When several people are involved, everyone must know which issue governs the work. Give one person responsibility for the files and for recording questions or updates. Remove or clearly mark superseded printouts.
| Item to control | Action on site |
|---|---|
| Current issue | Check the filename, date and revision before starting |
| Copies in use | Give every crew the same approved material |
| Conflict | Pause that portion of work and record why |
| Updated material | Store the new file centrally and withdraw superseded copies |
| Project record | Organise photographs, measured results and unresolved questions |
This basic control system avoids one crew following superseded information while another works from the updated issue.
Files for handover and future care
Retain the project paperwork after construction finishes. Future owners or operators may need it for maintenance, identifying replacement parts, later adjustment and safe transfer of responsibility. Keep unaltered digital files alongside any annotated site copies.
A handover folder may contain purchase evidence, final drawings, the main manual, accessory and care instructions, documented departures and photographs of hidden connections. Add the installation date and fitted specification.
Greenhouse owners can add the article on caring for an aluminium greenhouse to this folder. Practical operating context is also provided by the guides covering humidity and temperature inside a greenhouse and multiwall sheets and polycarbonate.
Other reading for ownership and preparation
Project documentation deals with preparing, building and preserving the particular structure. Selection and day-to-day use raise separate questions. Treat articles addressing those subjects as supporting reading, not as replacements for the assigned assembly material.
For ideas on productive greenhouse use, explore the articles about raising lettuce under glass and cultivating chillies and peppers . A pergola owner can separately consider the suitability of a roofed bioclimatic pergola . Browse additional subjects through our practical information library .
Questions customers often ask
How do I locate Bloomcabin manuals for an Irish order?
Use the library above and search by full model designation and specification. If the match is uncertain or an ordered option is missing, obtain the correct paperwork before assembly begins.
Is a manual from a similar Bloomcabin model acceptable?
Not in place of the assigned manual. Products with a similar appearance may use different profiles, hole arrangements, connectors or sequences. Another model's file might help explain your query, but it cannot govern work on this order.
How should I handle an option absent from the principal manual?
Look for option-specific instructions or a supplement, then identify where it joins the main sequence. If necessary details are absent or documents conflict, pause that work and request confirmation of the correct document association.
May the foundation be built before the manual is reviewed?
No. Study the manual together with every foundation instruction beforehand. This allows outside dimensions, anchor positions, levels, working access and possible service routes to inform the site plan. Correcting an already-built base that is unsuitable can involve substantial work.
May I measure a dimension directly from an on-screen drawing?
First verify the scale unambiguously. PDF viewers, browsers, monitors and printer settings can alter apparent size. Prefer written dimensions. Measure by scale only where the file expressly permits it and the output has been checked.
What is the safest response when a part will not fit?
Do not force or immediately modify the part. Recheck its reference, orientation, intended side, preceding steps, base geometry and document issue. Photograph the overall situation and close detail, including the relevant line references.
What information should accompany a missing-part or damage report?
Provide the order reference, product designation, parcel label, component reference and required quantity. For damage, clearly photograph both the item and its packaging. Specific evidence supports better identification than simply reporting that a profile is missing.
Can installation be directed by product photography?
No. Images communicate appearance or visible progress but do not reliably expose hidden joints, exact measurements or omitted stages. The photographed example could also differ in its size, options or specification.
May installers use separate printed copies?
Only after confirming that every copy is the same approved issue. Otherwise, crews could follow conflicting steps. Assign one document controller and withdraw all superseded printouts.
What paperwork should be retained once installation is finished?
Keep clear product identification, final assembly and maintenance files, accessory instructions, relevant purchase evidence and records of special installation details. Store paper copies dry and accessible, with a separate digital backup.
Can the product manual take the place of professional site planning?
No. It cannot by itself evaluate soil, local snow or wind exposure, boundaries, existing structures, underground services or requirements imposed locally. Any necessary professional, planning-authority or technical assessment must address the actual property and proposal.
Documentation check before closing the project
- The delivered model, size, specification and options agree with the purchase record.
- Someone has completed a full reading of the current manual.
- Every drawing and supplement is positively associated with the supplied product.
- Site and foundation requirements were examined before construction.
- The parcels and their contents were inventoried, with differences recorded.
- All crews are following one approved issue of the paperwork.
- Written figures, rather than unverified screen scaling, provide the dimensions.
- Unexpected fit is investigated without force or unapproved alteration.
- Accessory, care and maintenance information has entered the handover folder.
- Original digital files, useful images and site records remain retrievable for the future.
Orderly records prevent misunderstandings, preserve the reasons behind decisions and support the product from purchase and construction through its later maintenance.
